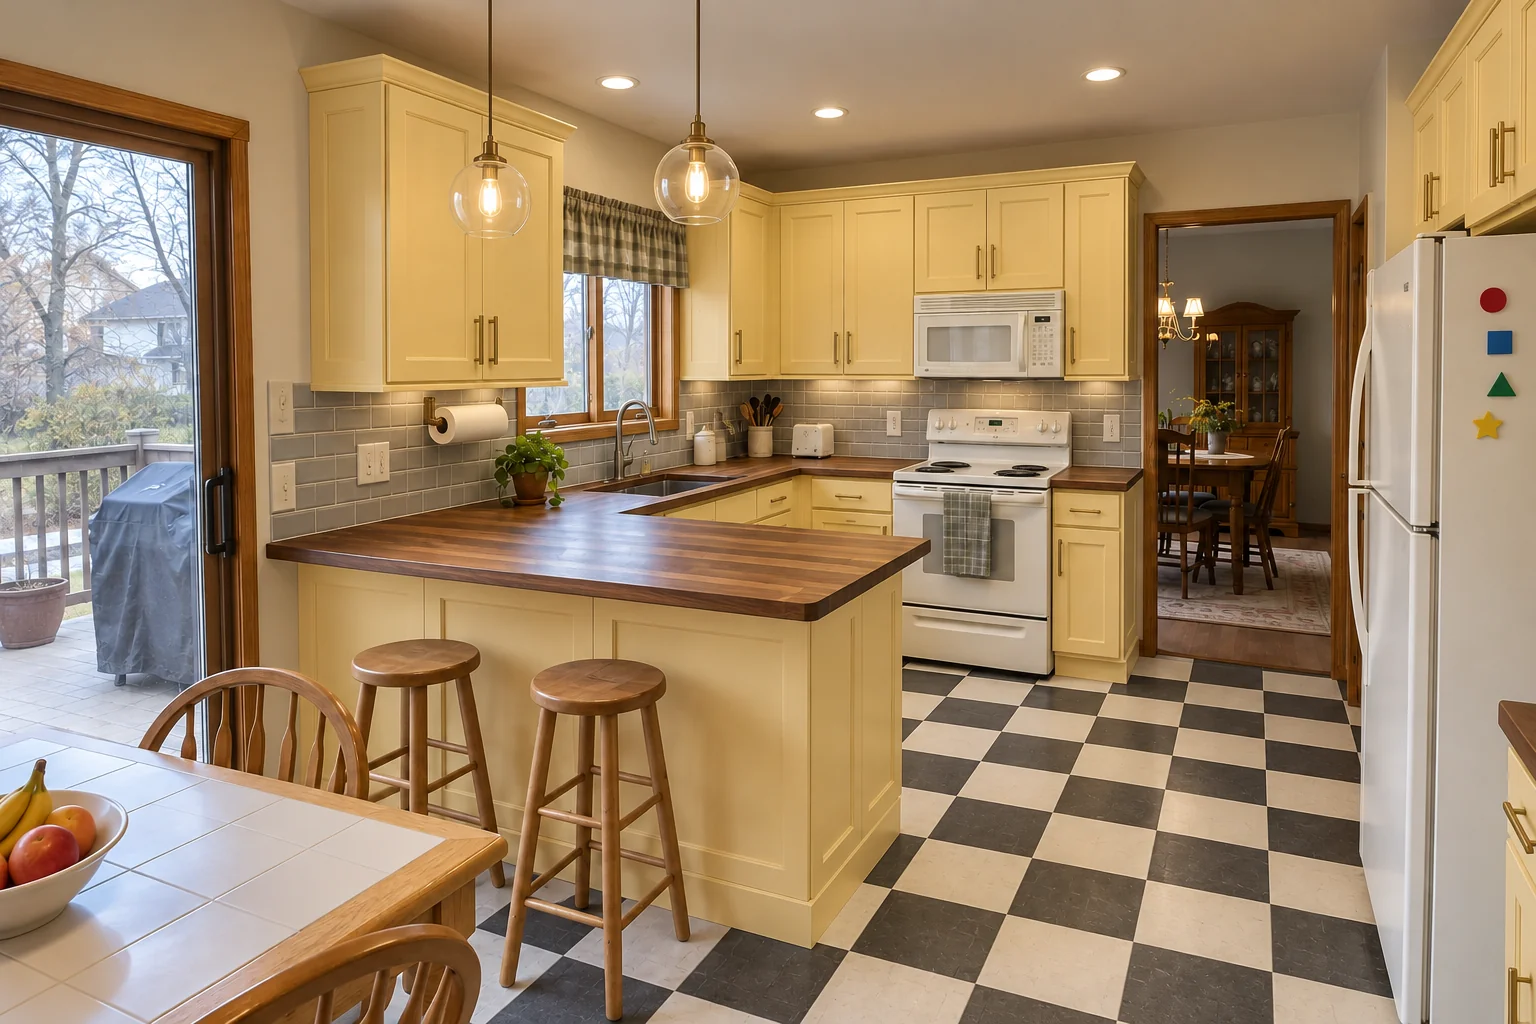
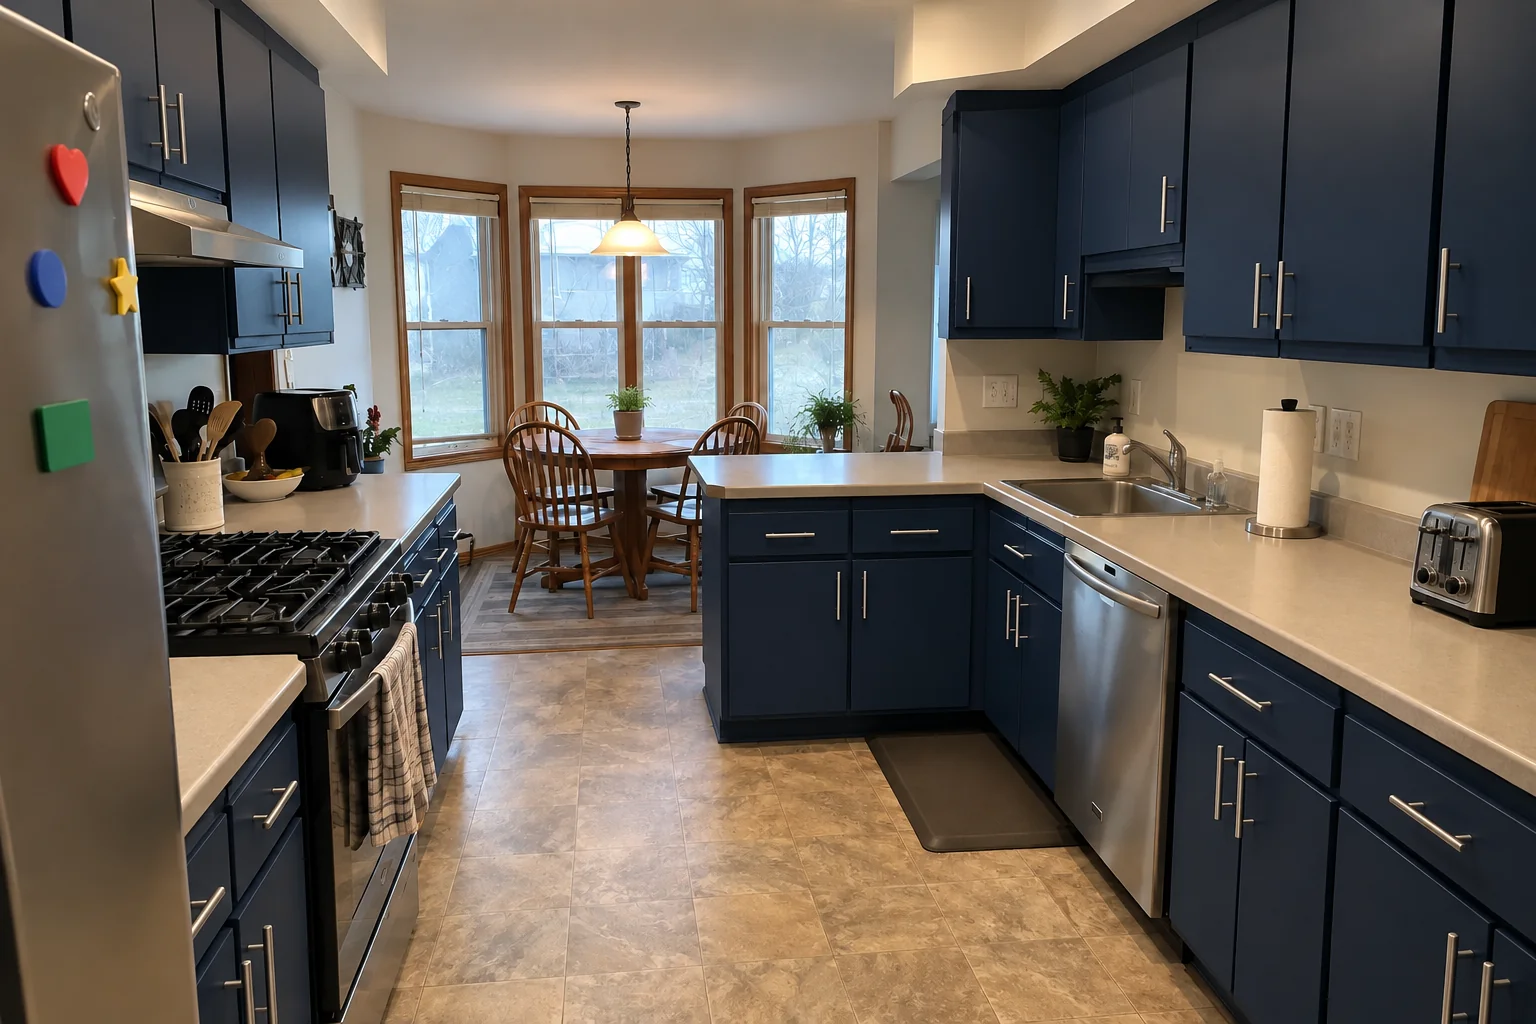
Serving Itasca & nearby Wood Dale, Elk Grove Village

Kitchen Island & Peninsula Installation in Itasca, IL

We add, enlarge or replace kitchen islands and peninsulas in Itasca, with seating, power and plumbing planned around real clearances.

  • Kitchen remodels across Itasca ZIP 60143
  • One project manager from drawings to final walk-through
  • Permits and inspections handled for you

Prefer a callback?

Leave your number and a Itasca island installer will call you.

Island and peninsula problems we solve in Itasca

Whether you are adding a first island, replacing a small one or turning a wall into a peninsula with stools, the job is part carpentry, part trades. Our Itasca crew handles the cabinets, the floor anchoring, wiring, any plumbing and the countertop in one schedule.

Dated peninsula with a half wall

Many 1970s kitchens have a peninsula topped with a knee wall or hanging cabinets. Removing them opens the view and leaves a clean seating counter.

Concrete floor in a condo

Running wiring to an island through a concrete floor needs building approval. A peninsula connected to an existing wall avoids most of it.

Want a sink in the island

Moving the sink to the island lets you face the room while you work. It needs a drain path and a vent that meets the plumbing code, usually a loop vent run inside the island.

Want the cooktop in the island

Cooking at the island means venting over it and running power or gas through the floor. We size the hood and route the lines during the rough-in.

No place to sit in the kitchen

If everyone stands around while you cook, a seating side on an island or peninsula gives them a place without blocking the work zone.

Aisles too tight around the island

Squeezing past the island every time someone opens the fridge means it's too big for the room. A narrower island or a peninsula frees the aisle.

Island that wobbles or shifts

Wobbly islands crack countertops and loosen cabinets. Ours are screwed to blocking on the floor and leveled first.

Island too small to be useful

If your island has no seating, no outlets and barely any storage, we can build a bigger one that does all three.
What the project covers

  • Layout and clearance checkTaped outlines on the floor so you can walk around the island before anything is ordered.
  • Floor prepWe repair the floor under the footprint and install cleats or blocking to fasten the base.
  • Plumbing and ventingWater lines and a properly vented drain when the island gets a sink.
  • Panels and seating sideFinished end and back panels, with knee space and furniture details where you want them.
  • Overhang supportHidden or visible supports sized to the overhang and the countertop material.
  • CountertopWe measure the finished island for the countertop and install it once fabricated.
  • Outlets, pendants and hookupsFinal electrical and plumbing connections and a test of every outlet and light.

Finishes and options

Legs, corbels and bracketsHidden steel brackets for a clean edge, or decorative corbels for a traditional style.
Waterfall endsThe countertop continues down the sides of the island to the floor for a clean modern look.
Quartz and granite topsStone tops give a large, durable work surface; long islands may need a seam or a single large slab.
Butcher blockA wood island top is easy to work on and can be sanded and refinished later.
Pop-up and side outletsWe place outlets where code allows and where they won't be in a spill zone.

Kitchen Island & Peninsula Installation before and after — Itasca homes

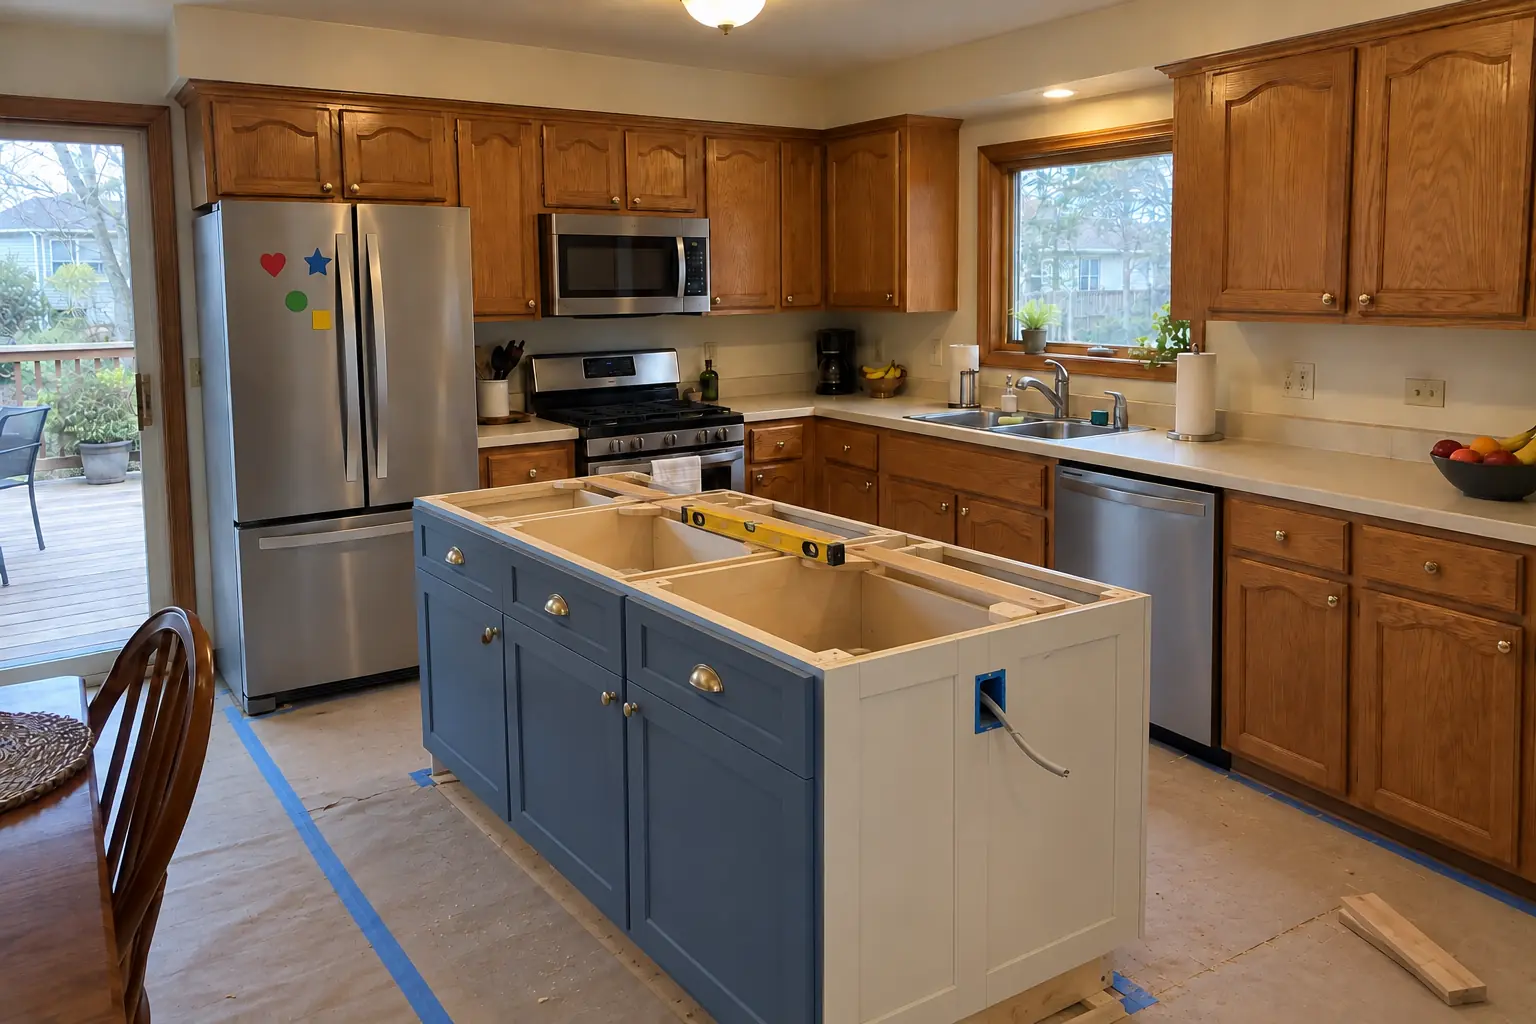
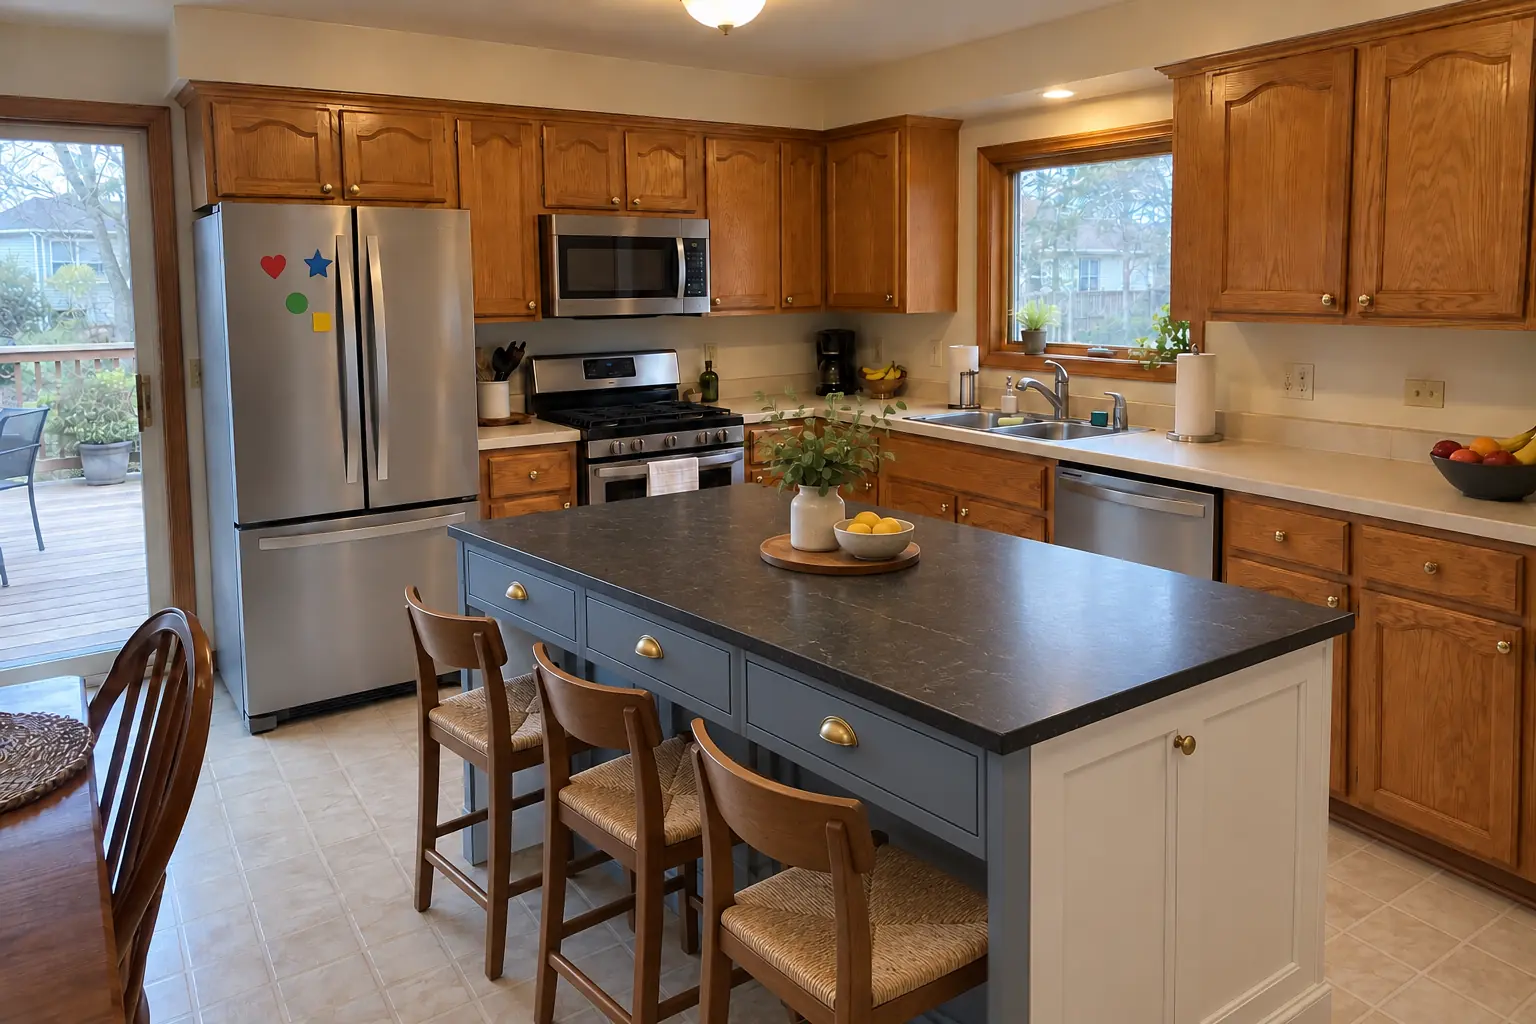
Kitchen Island & Peninsula Installation in a 1980s-1990s two-story colonial / tract house — beforeBefore
Kitchen Island & Peninsula Installation in a 1980s-1990s two-story colonial / tract house — in progressIn progress
Kitchen Island & Peninsula Installation in a 1980s-1990s two-story colonial / tract house — afterAfter

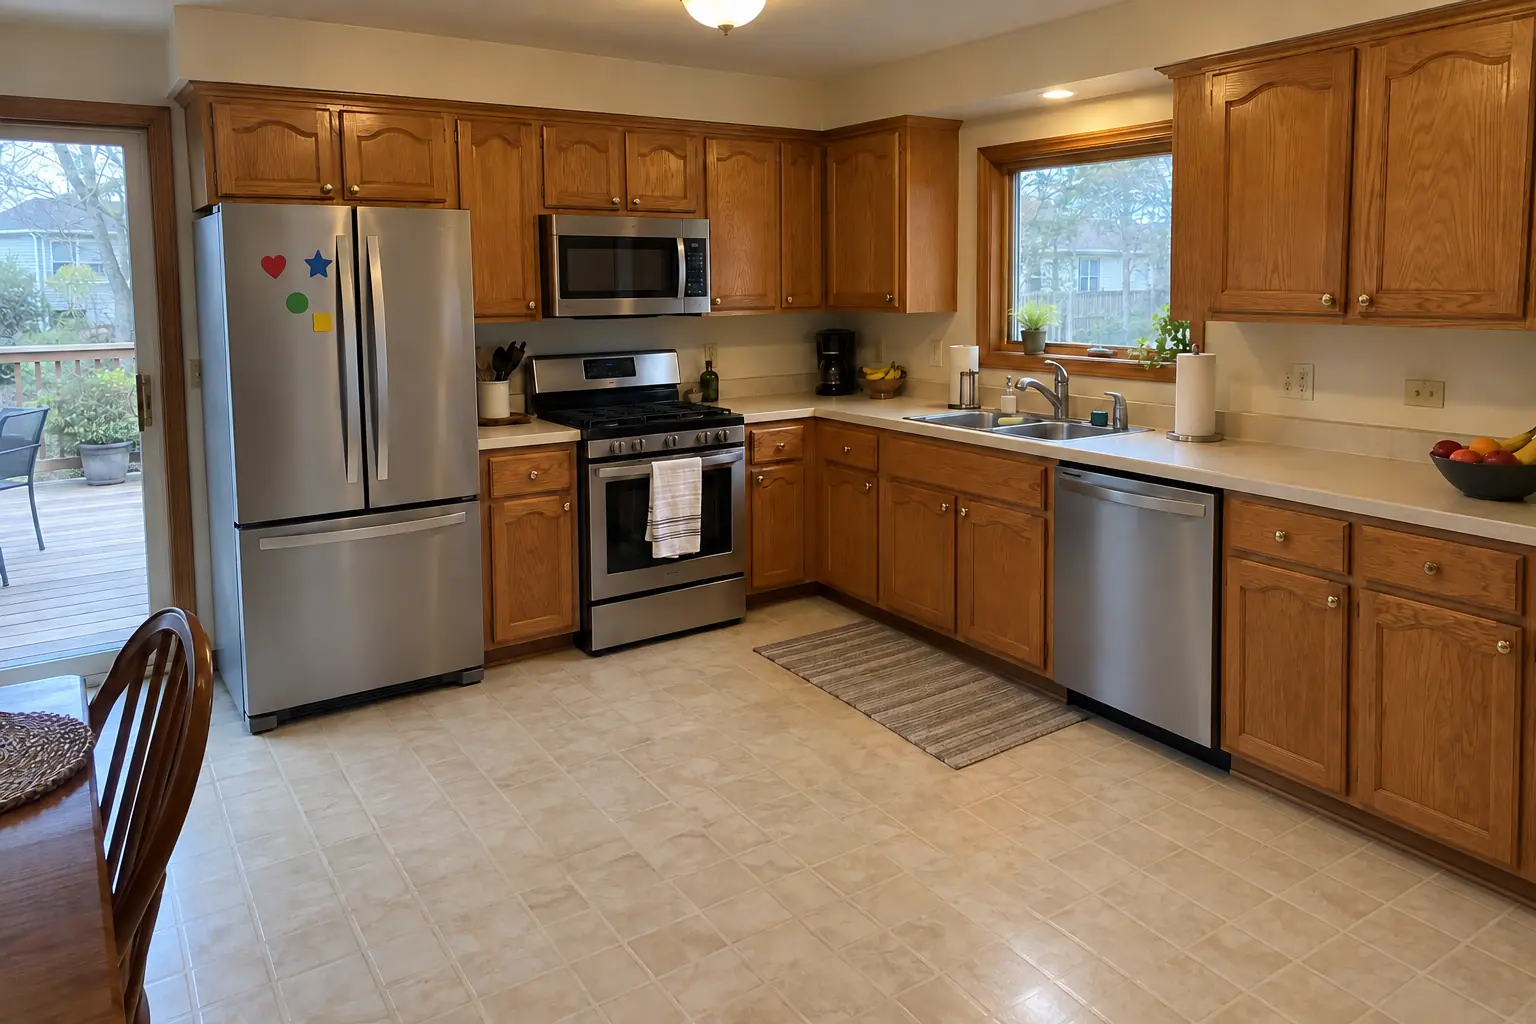
Before and after: a two-story colonial from the 1990s in Itasca

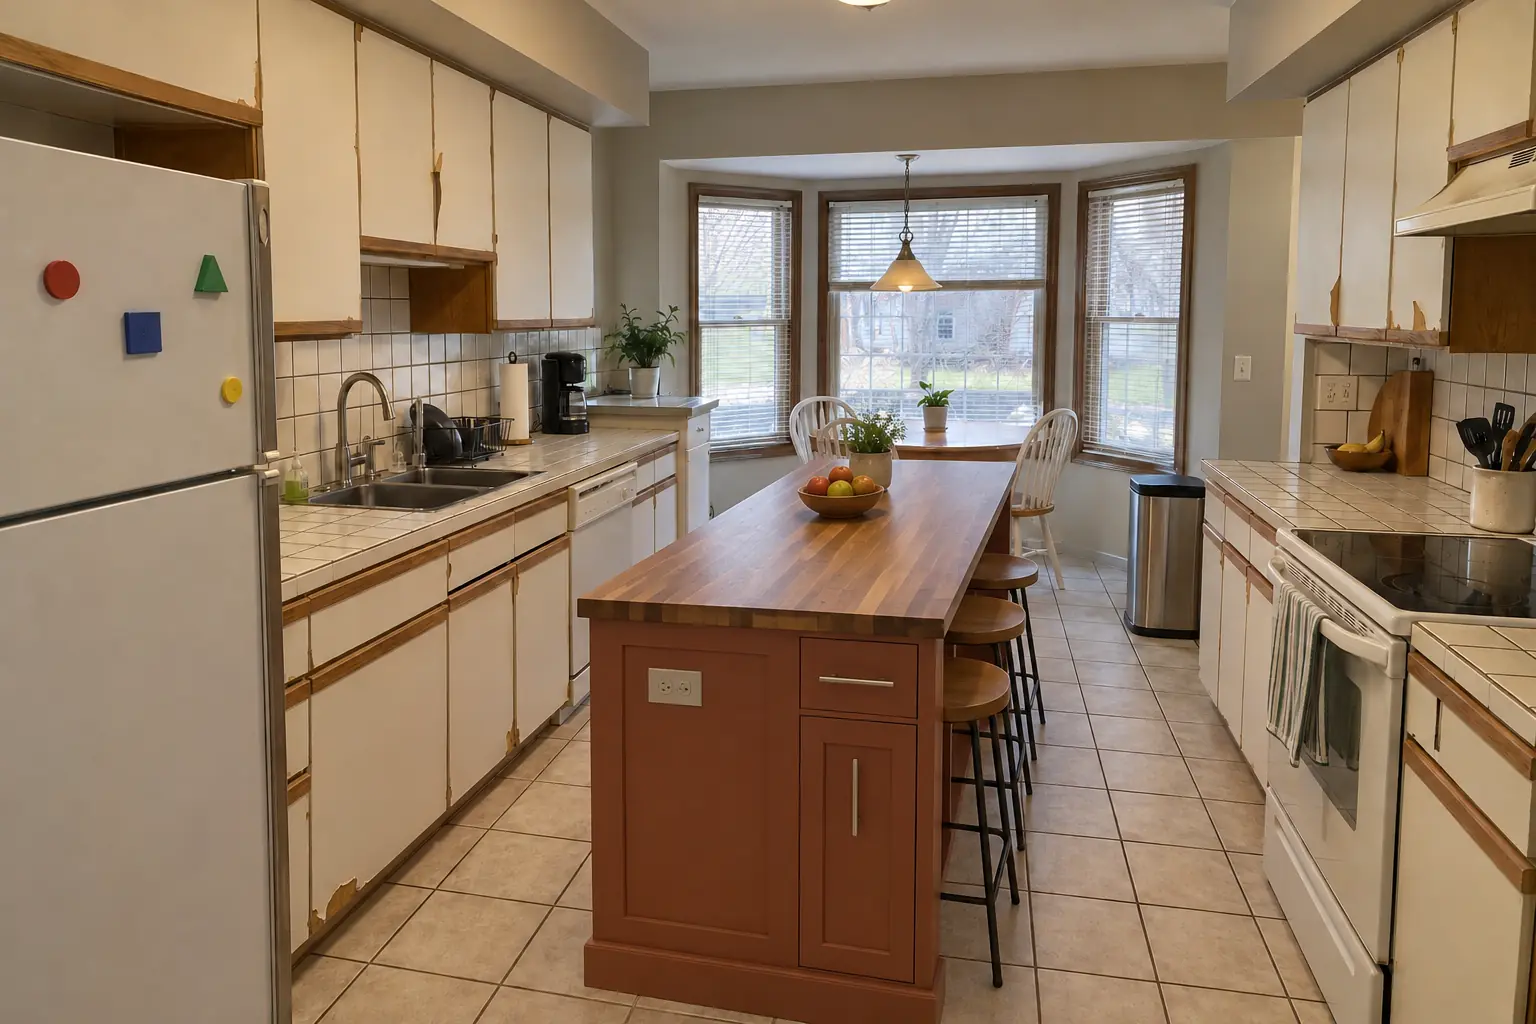
A two-story colonial from the 1990s in Itasca, a typical kitchen for Itasca. Before: honey-oak cathedral raised-panel cabinets with worn finish near the handles, brass knobs and almond laminate with a backsplash lip. What bothered the owners most: too little counter space and nowhere to sit. After: a new island in dusty blue with a black honed granite top and seating. On site this meant plumbing and venting, overhang support, plus countertop.
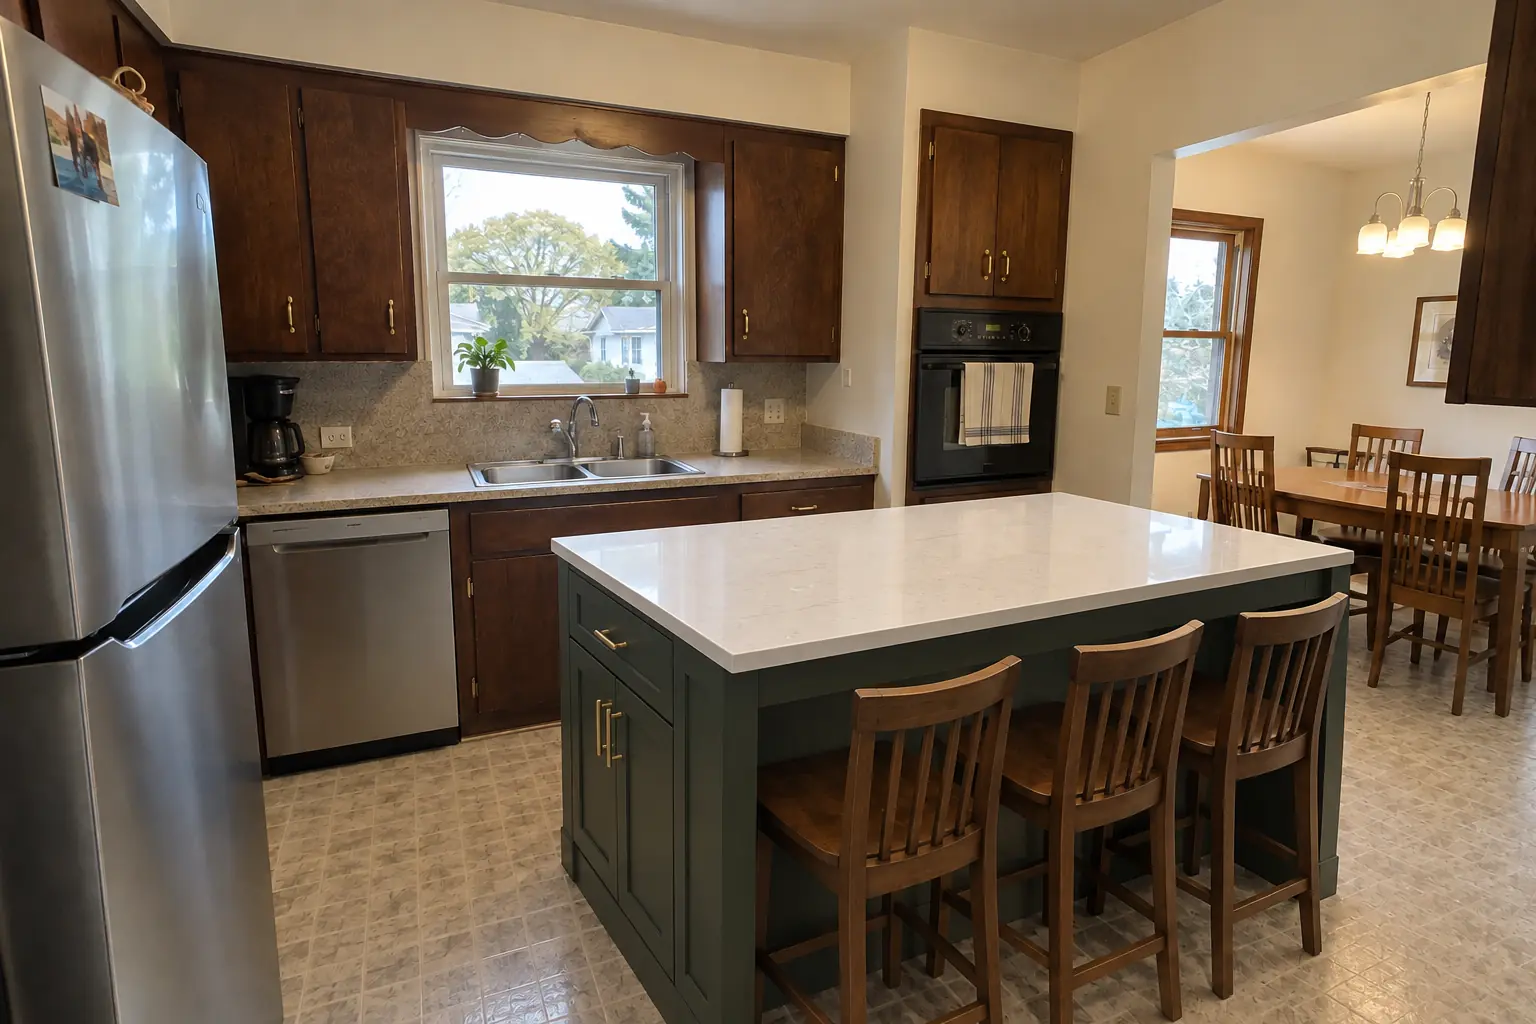
Kitchen Island & Peninsula Installation project in Wood Dale, beforeBefore
Kitchen Island & Peninsula Installation project in Wood Dale, afterAfter

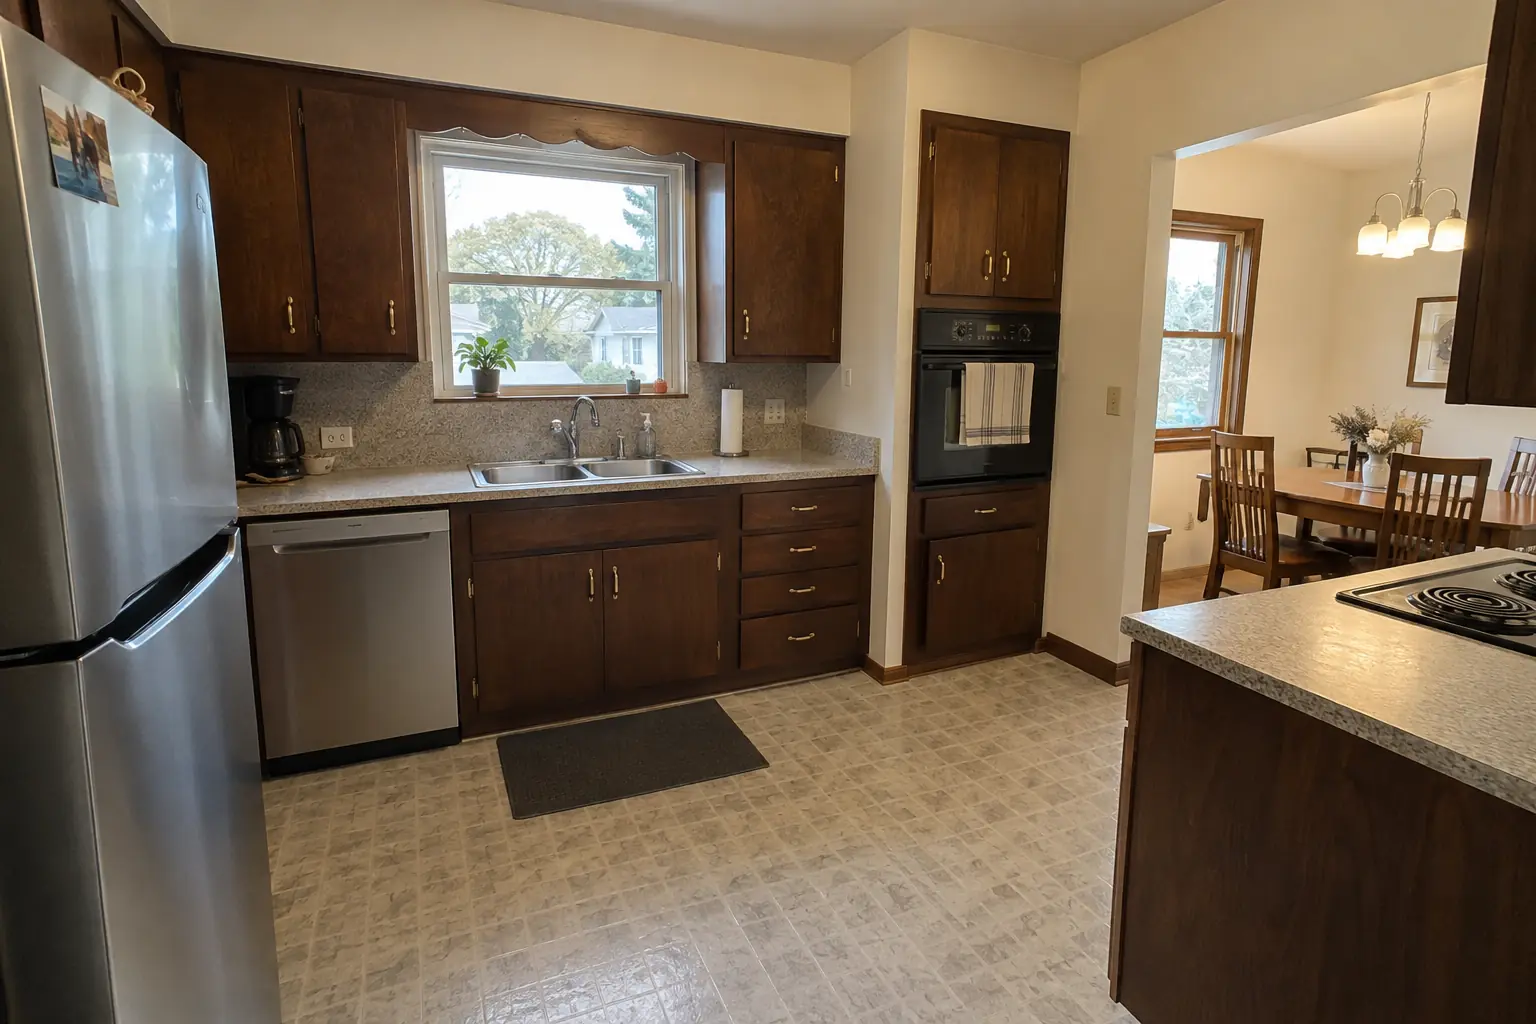
A Wood Dale 1960s ranch: before and after

A 1960s ranch in Wood Dale, a typical kitchen for Wood Dale. Before: dark walnut-stained flush-panel cabinets with brass pulls and speckled laminate. The main complaint was too little counter space and nowhere to sit. After: a new island in dusty blue with a creamy quartzite-look quartz top and seating. Work included floor prep, overhang support, plus countertop.

Kitchen Island & Peninsula Installation in Wood Dale →
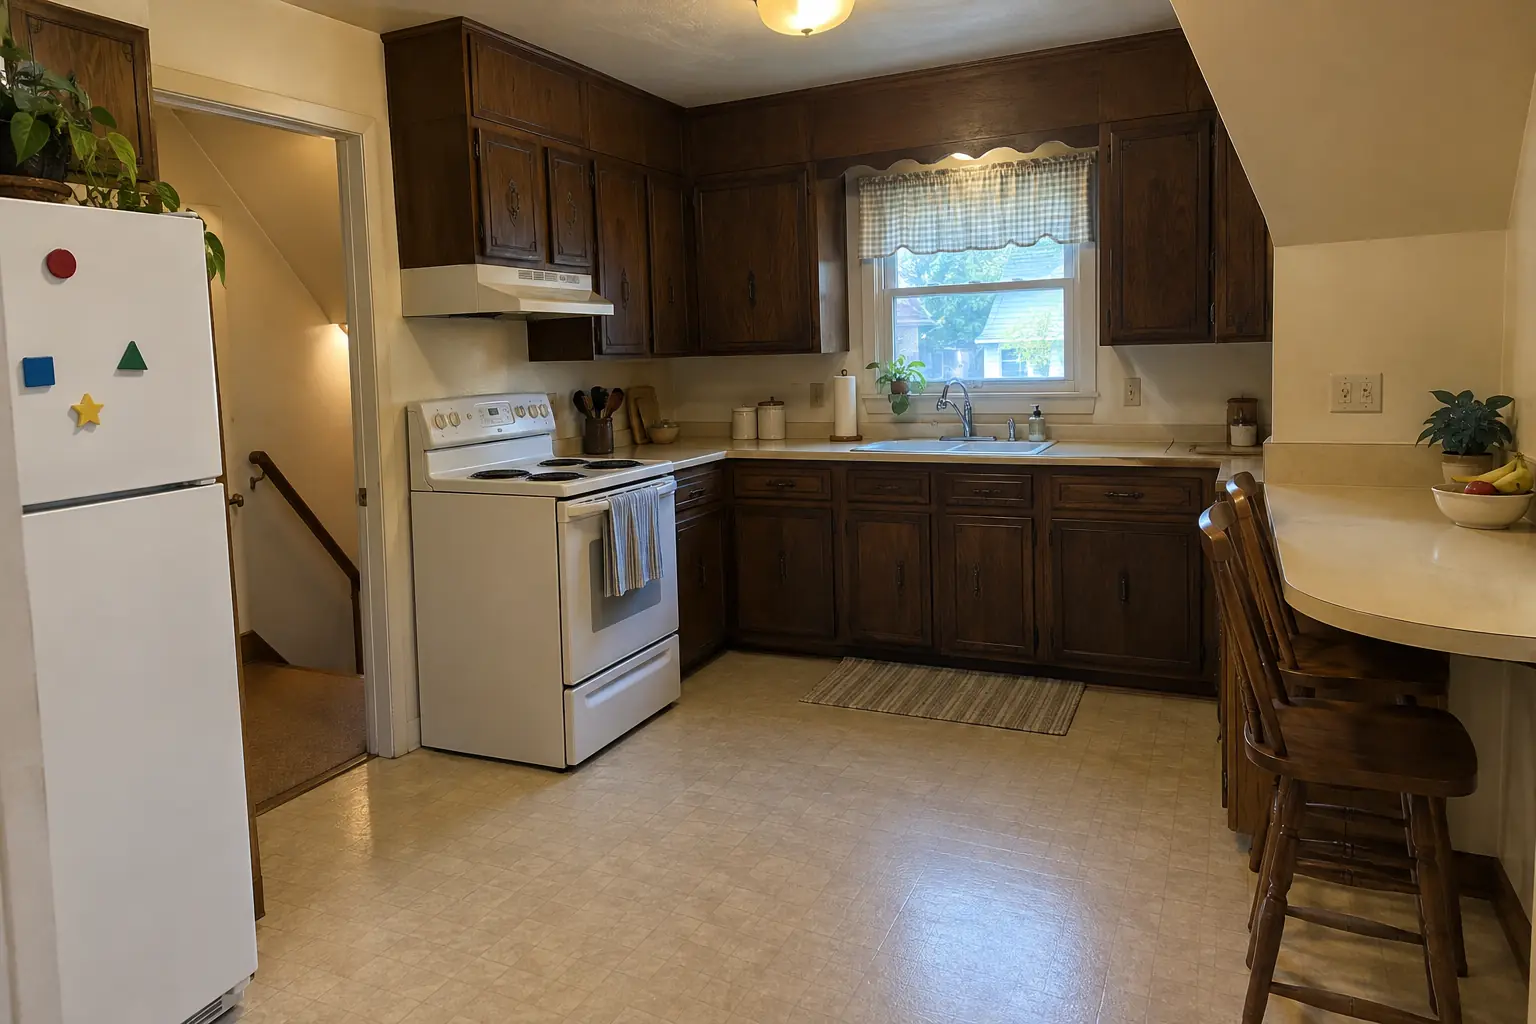
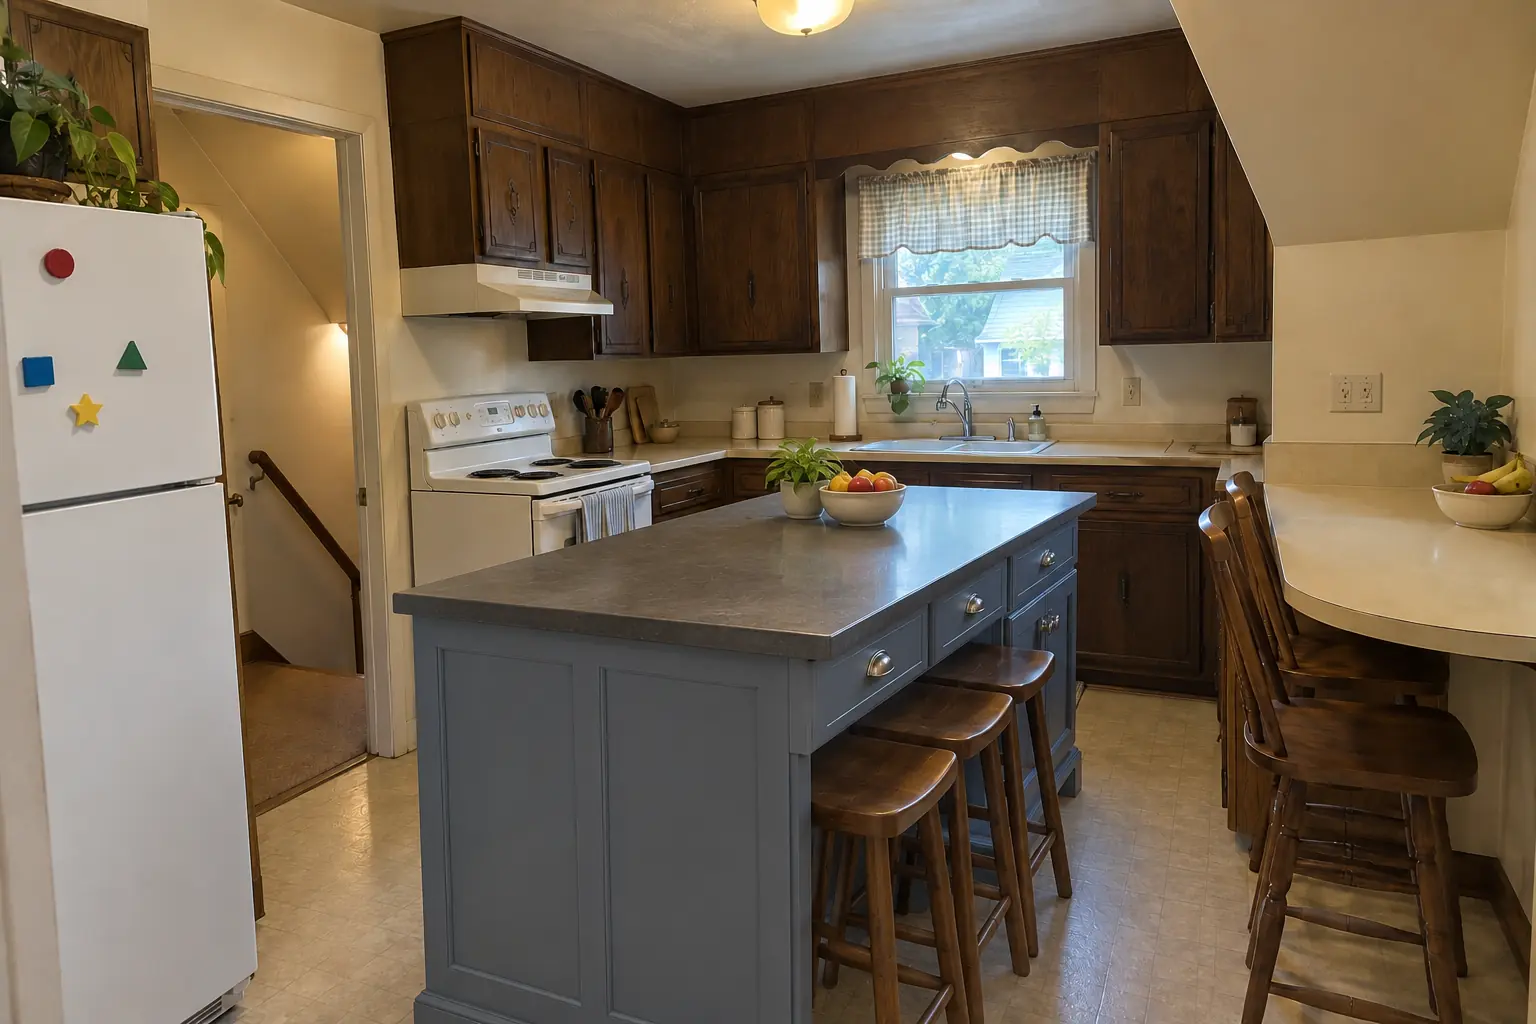
Kitchen Island & Peninsula Installation project in Elk Grove Village, beforeBefore
Kitchen Island & Peninsula Installation project in Elk Grove Village, afterAfter

Elk Grove Village kitchen, 1950s ranch: kitchen island & peninsula installation

The site: a 1950s ranch in Elk Grove Village. The kitchen as it was: 1970s dark pecan-stained cabinets and light beige laminate. The main complaint was too little counter space and nowhere to sit. After: a new island in dusty blue with a charcoal concrete-look quartz top and seating. On site this meant floor prep, overhang support, plus countertop.

Kitchen Island & Peninsula Installation in Elk Grove Village →
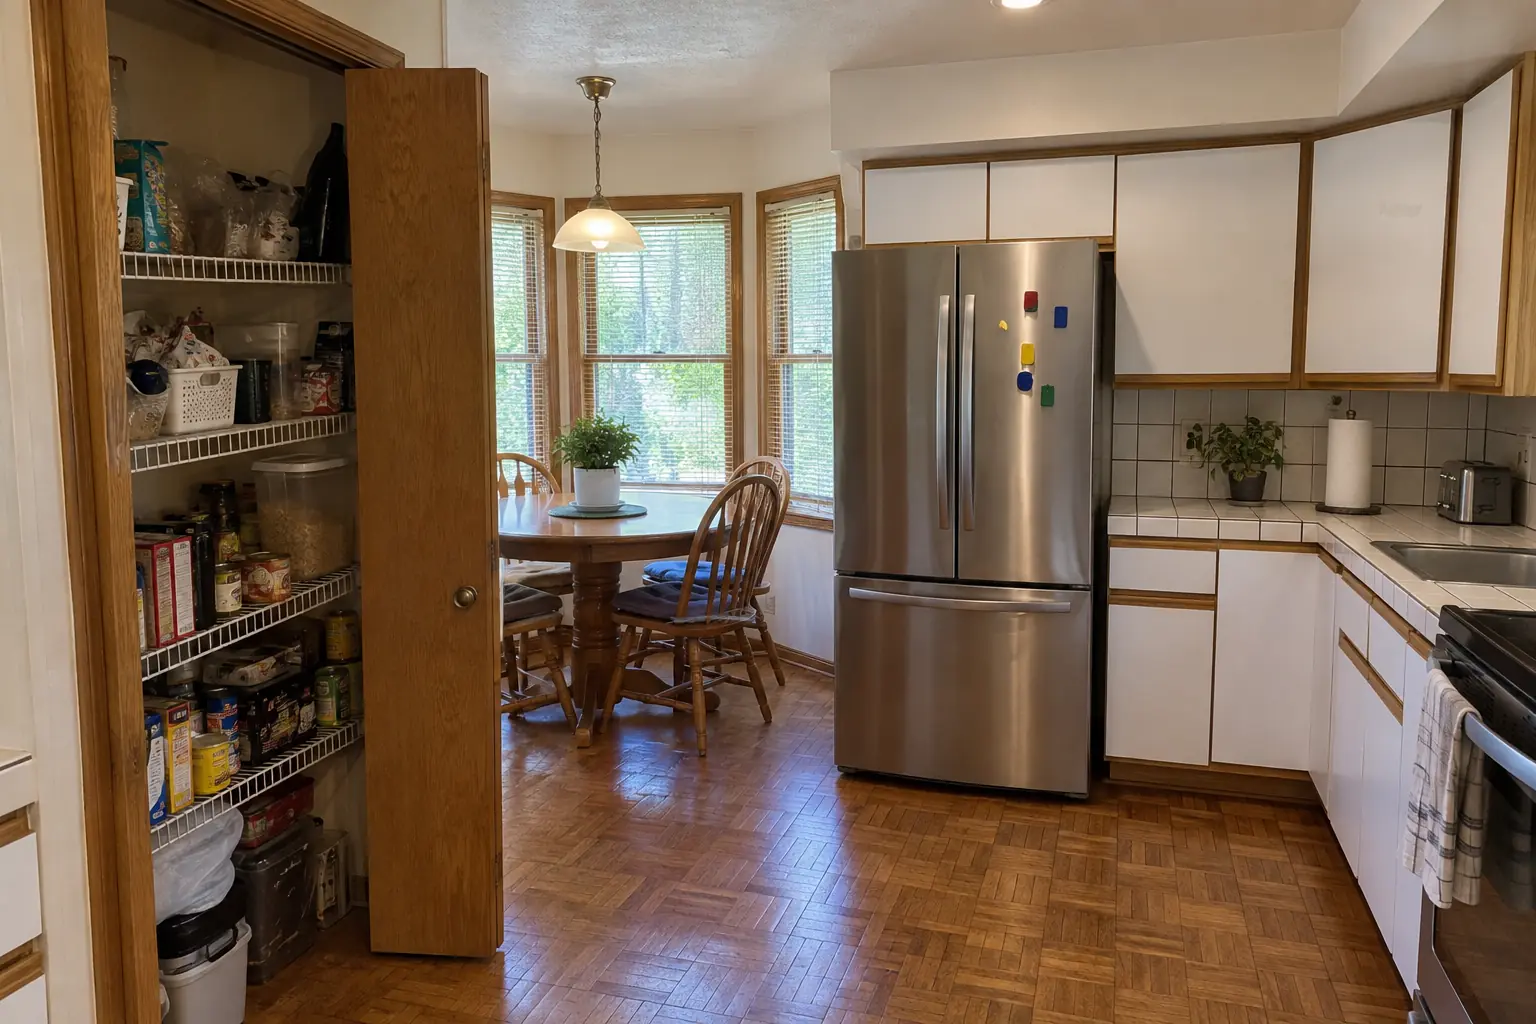
Pantry Design & Installation project near Itasca, beforeBefore
Pantry Design & Installation project near Itasca, afterAfter

An Itasca two-story colonial from the 1990s: before and after

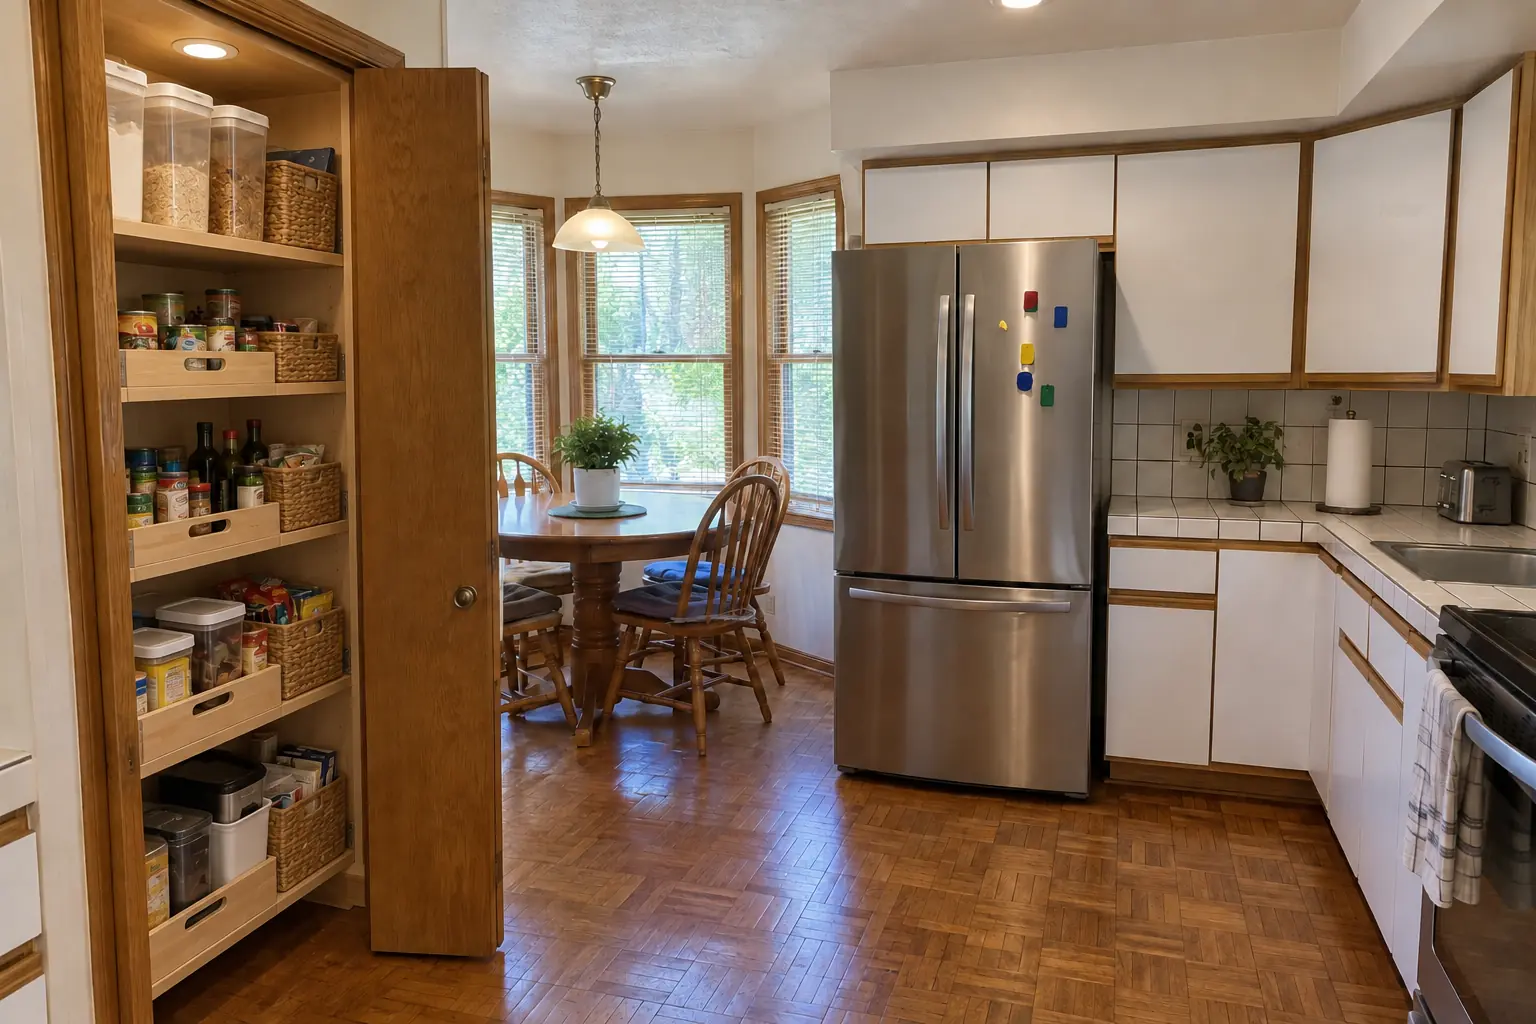
Finished: the closet next to the kitchen rebuilt as a pantry with solid wood shelves, pull-out baskets on the bottom and a light.

Pantry Design & Installation in Itasca →
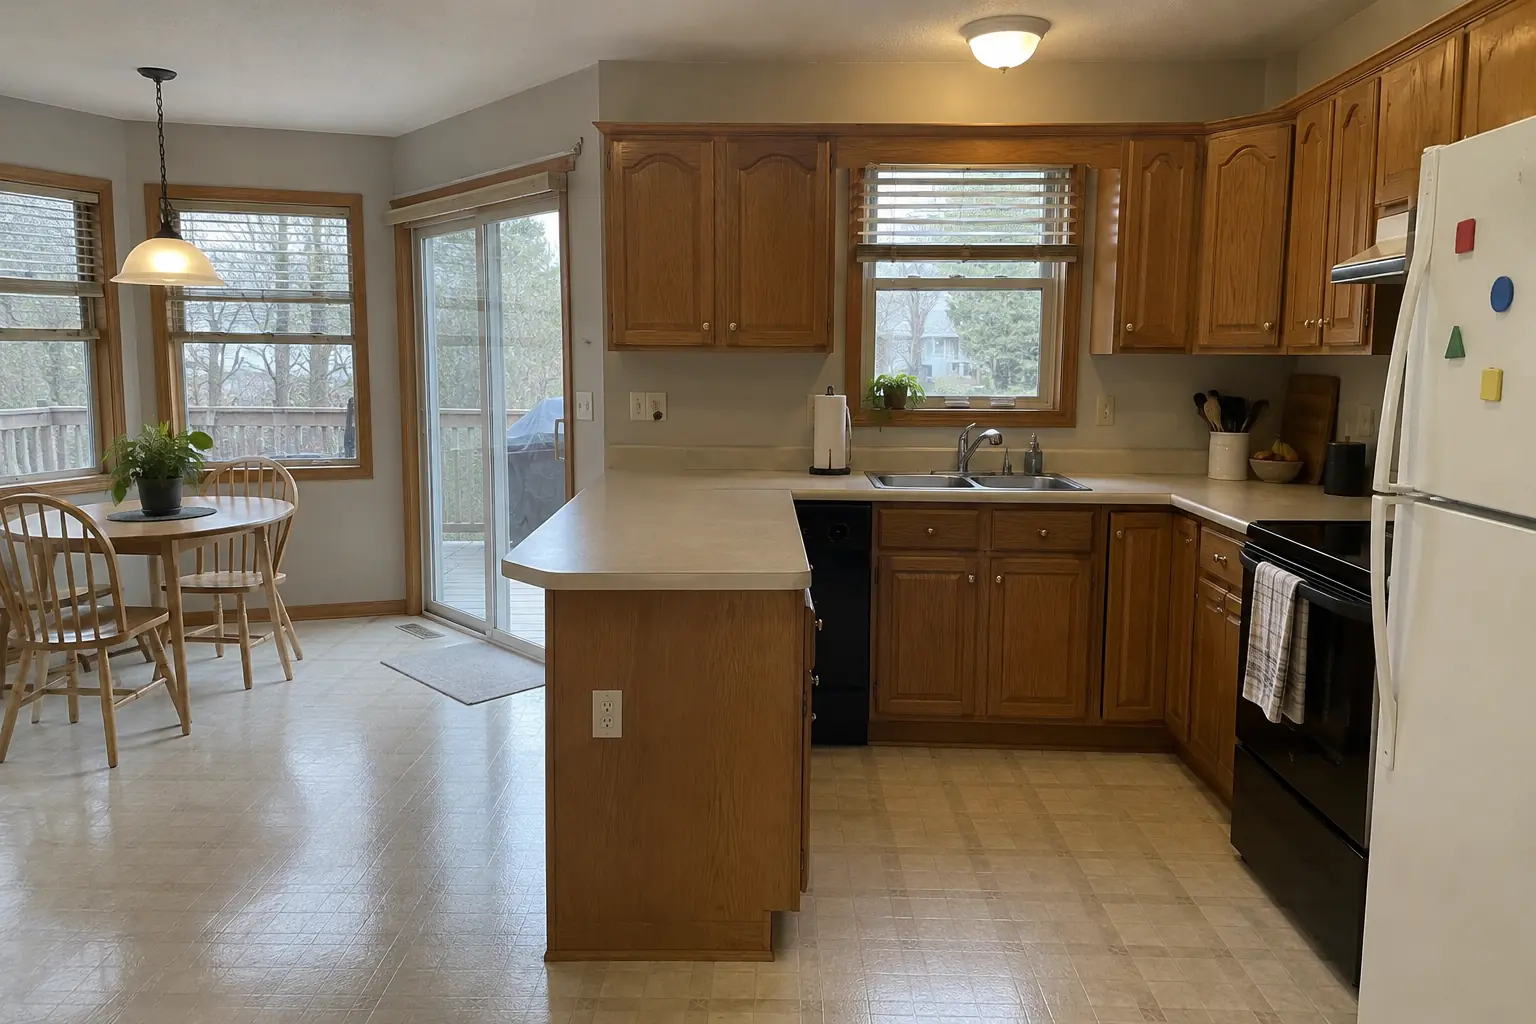
Built-In Breakfast Nook & Banquette project near Itasca, beforeBefore
Built-In Breakfast Nook & Banquette project near Itasca, afterAfter

Built-In Breakfast Nook & Banquette in a 1980s two-story, Itasca

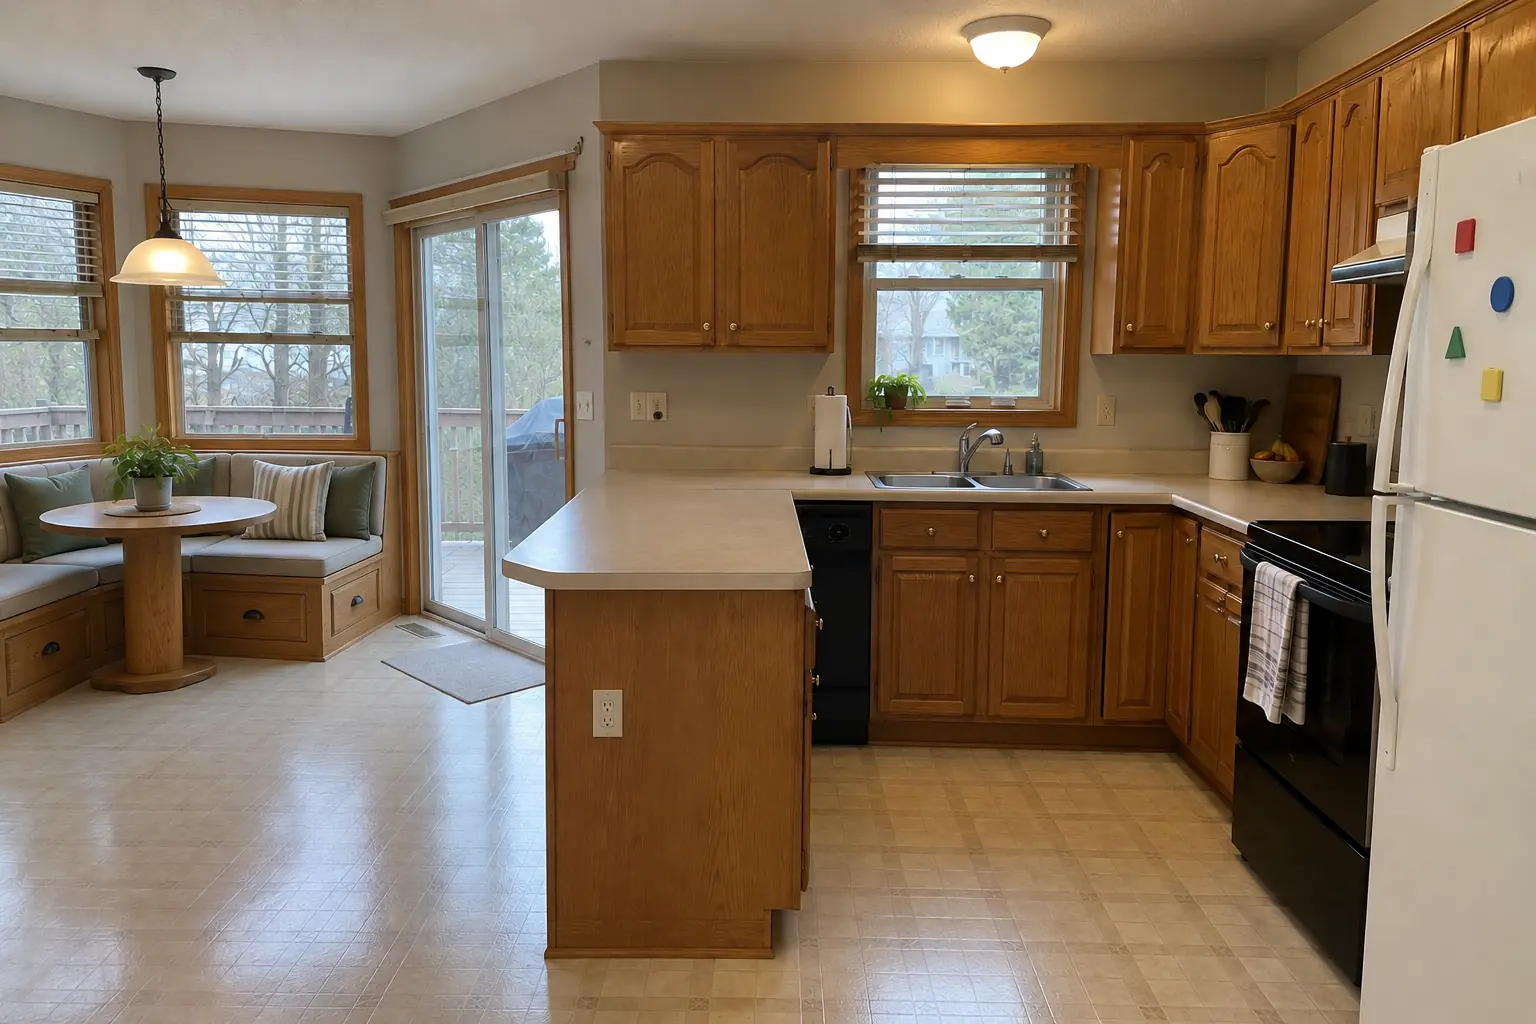
A built-in banquette bench with storage drawers and cushions under the window, with a round pedestal table.

Built-In Breakfast Nook & Banquette in Itasca →

From first visit to final walk-through

  1. Measure and mock-upA visit to measure, check clearances and see where power and water can reach.
  2. Plan and written estimateA layout with dimensions and a written estimate covering carpentry, electrical and plumbing.
  3. Rough-in and permitsWe pull any needed permit and run the lines, then the inspector checks them.
  4. Build and countertopCabinets fastened down, sides finished, then the countertop is measured and set.
  5. Hookups and walk-throughFinal connections, cleanup and a look at the finished island together.

Kitchen Island & Peninsula Installation questions from Itasca homeowners

Can the island match my existing cabinets?
Matching works when the line is still made; otherwise a contrasting island color is a safe, attractive choice.
Island or peninsula — which is better?
If the room can spare aisles all around, an island. If not, a peninsula gives you seating and counter space without crowding.
Will my floor hold a stone island?
In most homes the floor is fine. When we have doubts, we inspect the framing in the basement before ordering the top.
Can you add a sink to a kitchen island?
Yes. It needs a drain route, a supply line and venting; the vent is usually a loop vent inside the island cabinet. Access from below makes it easier.
How much space do I need for a kitchen island?
Clearance comes first: about 42 inches for one cook, about 48 for two. Whatever remains after those aisles is the island's footprint.
Do Itasca condo associations need to approve island project?
Associations usually set rules for work hours, elevators, deliveries and insurance, and many require approval for plumbing, electrical or structural changes. We provide the certificate of insurance and follow the building's rules.
What kind of Itasca homes do you work in?
In Itasca we see Pre-1900 and early 1900s homes in the historic district and Suburban growth after the 1940s. Each comes with its own walls, wiring and plumbing, and we plan the job around them.
Do I need a Itasca-registered contractor for island project?
Contractors must register with the Village and be bonded before a permit is issued; Certificate of Insurance naming the Village required. We take care of that before work starts.
What does Itasca ask for on electrical work?
Electrical contractors must hold a State of Illinois electrical license and post a $5,000 Code Compliance Bond to register with the Village. New circuits and wiring are done by licensed electricians.
Does island project need a Itasca building permit, and who files it?
Permits go through Community Development Department (Building Division), phone (630) 773-5568. When your scope needs one, we prepare the application and schedule the inspections.
Do you work in my part of Itasca?
Yes. Our crews work across Itasca, including North Side, South Side, Nordic Park, The Ranchettes — ZIP 60143 — and nearby Wood Dale, Elk Grove Village, Addison.

Working in Itasca

  • A lot of Itasca kitchens date from the 1970s. We know these layouts well and what is worth keeping.
  • Condo or townhome? We follow association rules on work hours and elevators and bring the insurance certificate your board asks for.
  • Live in the Itasca Historic District? Interior kitchen work is usually not reviewed. We check before anything touches the exterior.

North SideSouth SideNordic ParkThe RanchettesItasca Historical DistrictWalnut Street downtown

ZIP 60143

Kitchen Island & Peninsula Installation nearby

Planning a kitchen project in Itasca?

Call us — we'll check your ZIP, answer your questions and book an in-home estimate.

Call now (708) 400-7049
Call (708) 400-7049Callback