How to Remove Grease From Kitchen Cabinets, Plus a Post-Renovation Kitchen Cleaning Checklist
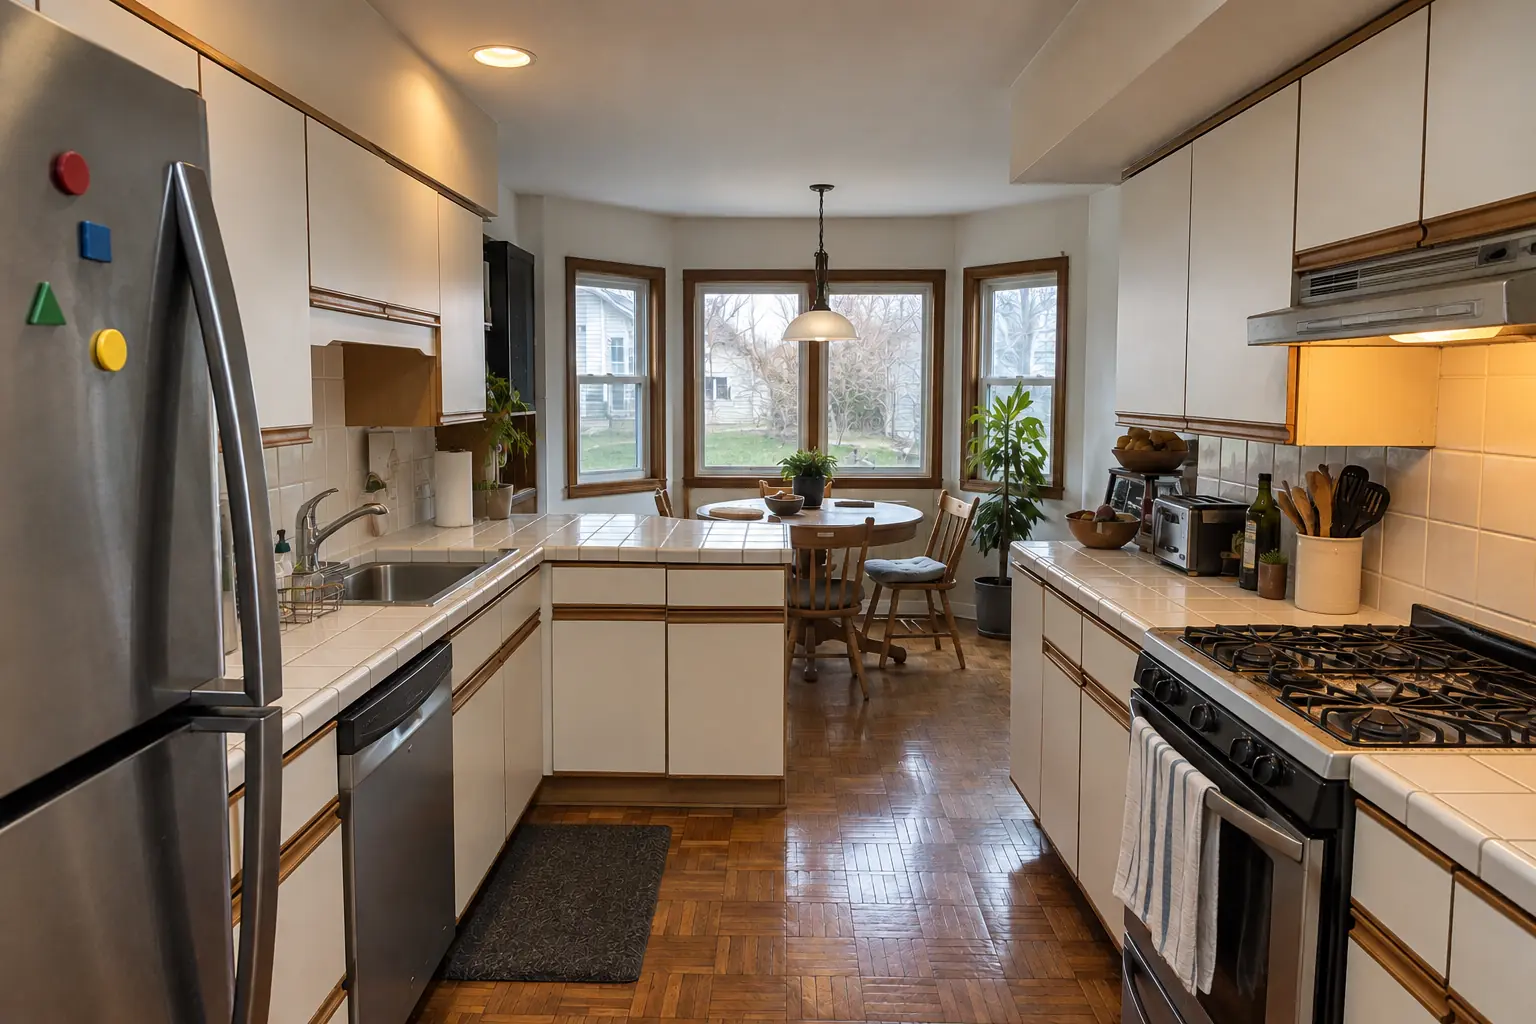
The safest way to remove grease from kitchen cabinets is the gentlest one that works. Most cooking residue on painted, lacquered, laminate and stained wood doors comes off with warm soapy water and a soft cloth. When it does not, step up slowly, testing each cleaner on the inside of a door first, rather than reaching for a scouring pad or an all-purpose degreaser that can dull or strip the finish.
The second half of this guide is a post renovation kitchen cleaning checklist. Construction dust is fine, gets inside drawers and appliances, and settles again for days after the crew leaves. Cleaning in the right order, top to bottom and dry before wet, saves you from wiping the same surfaces three times. We work in kitchens every day, so both lists reflect what we see damage finishes and what actually gets them clean.
Why grease builds up on kitchen cabinets
Cooking sends fine droplets of oil into the air. They land on the cabinets nearest the range, especially the doors above and beside it, and on handles touched with greasy hands. Dust sticks to that film, and over months it turns into a tacky, darker layer that ordinary wiping only smears around.
A range hood vented outside, run every time you cook and kept with clean filters, is the best way to slow the buildup. Recirculating hoods and dirty filters let more grease settle on the cabinets.
How to remove grease from kitchen cabinets, step by step
Work one door at a time, top down, and do not let the surface stay wet. Water that sits in joints, around hinges or on raw edges is what swells wood and MDF.
- Dust firstWipe with a dry microfiber cloth so you are not turning dust into mud.
- Mix a mild solutionAdd a small amount of dish soap to warm water. Wring the cloth until it is damp, not dripping.
- Wipe and let it workWipe with the grain on wood. On heavy spots, let the soapy water sit a minute, then wipe again.
- RinseGo over the door with a second cloth dampened in clean water to remove soap film.
- Dry immediatelyDry with a clean towel, including the edges and the area around hinges.
- Treat stubborn spotsUse a paste of baking soda and water on a soft cloth with light pressure. Test it first; it can scratch high-gloss finishes.
- Do the hardware separatelyClean handles and knobs on their own; on heavily used hardware it is often easier to remove them.
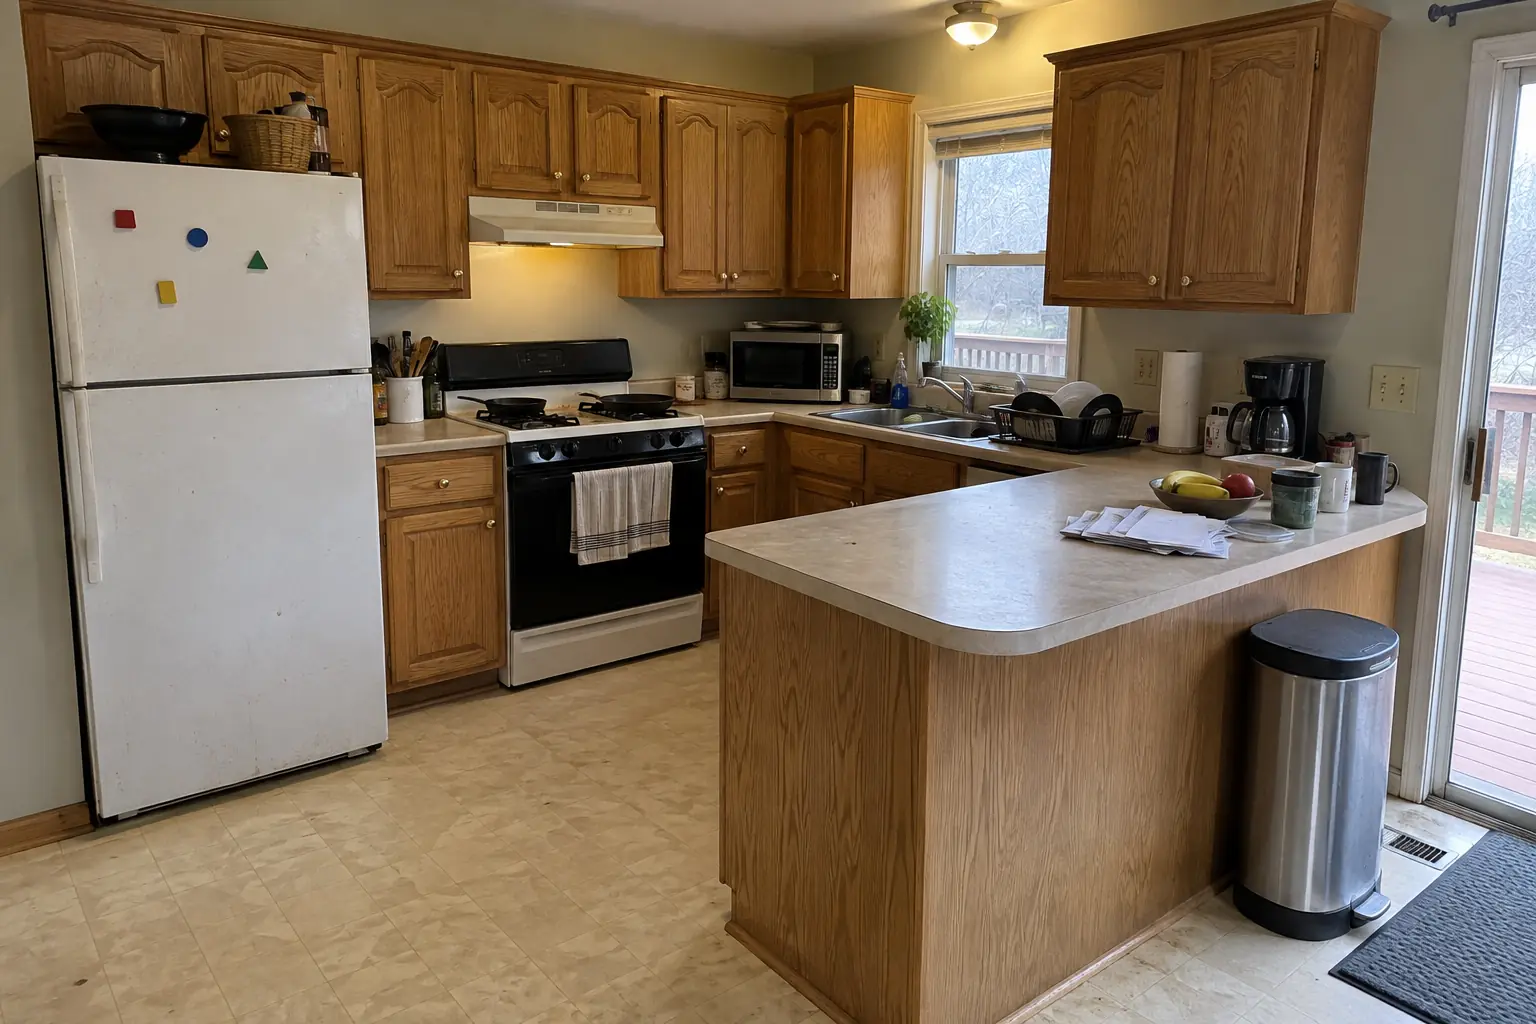 Before
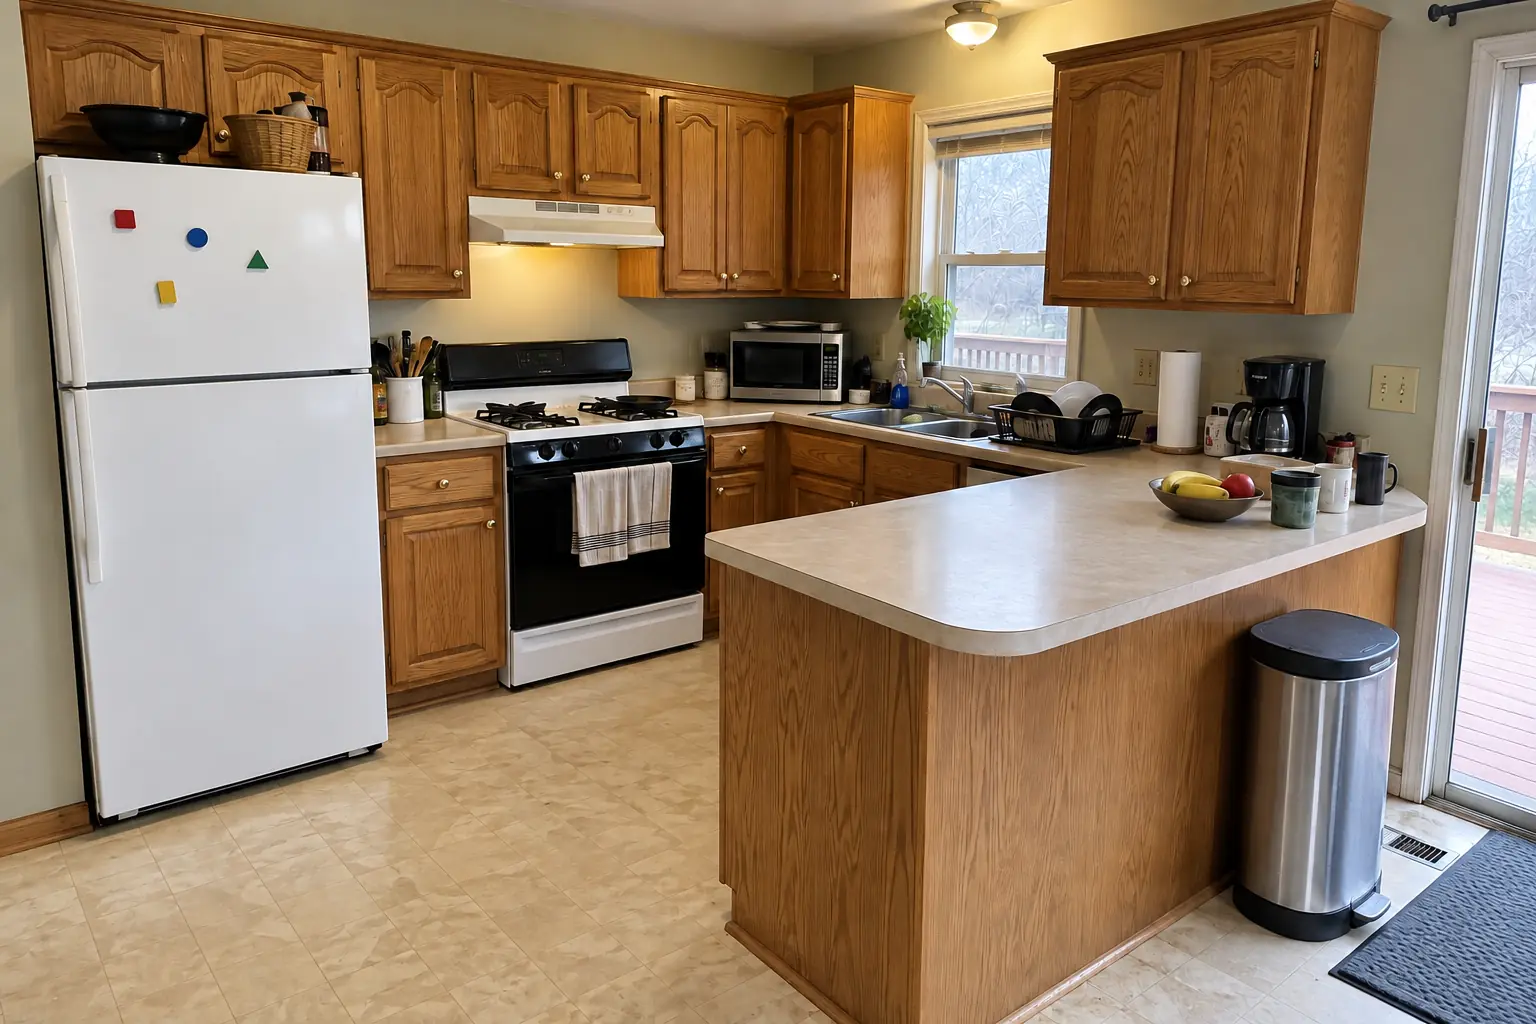 After
What to use on different cabinet finishes
Always check the manufacturer's care instructions if you have them. Many cabinet makers specifically warn against ammonia, bleach, abrasive pads and silicone-based polishes.
| Finish | Use | Avoid |
|---|---|---|
| Painted | Mild dish soap and water | Magic erasers, abrasive pads |
| Factory-finished stained wood | Soap and water, dried at once | Undiluted vinegar, oil polishes |
| Thermofoil | Soap and water | Heat, harsh solvents |
| Laminate | Soap and water | Soaking the edges |
| High-gloss lacquer or acrylic | Softest cloth, no abrasives | Baking soda, scrub pads |
| Unfinished or worn wood | Sparse cleaning, fast drying | Wet cloths left on the surface |
Your cabinet maker's care guide takes priority over this general list.
When cleaning is not enough
If the finish is sticky even when clean, or cleaning leaves light patches, the grease has often softened or worn through the topcoat. At that point the cabinets usually need to be degreased, sanded and refinished or repainted. Painting over grease without thorough degreasing is one of the most common reasons new cabinet paint peels.
For grease inside the range hood, wash or replace the filters on the schedule the hood maker recommends. Hood filters in most home kitchens can go in the dishwasher or soak in hot soapy water; check the manual.
Post renovation kitchen cleaning checklist
After a remodel, a construction clean comes before a regular clean. Dust from drywall sanding, tile cutting and sawing is very fine and spreads well beyond the kitchen. Remove it dry, with a HEPA vacuum and microfiber, before using water; wet-wiping drywall dust first leaves a paste and streaks.
Before you start, change or check the HVAC filter, since the system has likely pulled dust in during the work, and wait out any recommended cure times on grout, sealers or paint.
Top of the room
- Remove protective films from appliances, cabinet edges and fixtures; peel tape residue gently.
- HEPA-vacuum ceiling corners, light fixtures, vents and the tops of upper cabinets.
- Clean windows, sills and trim; scrape paint specks off glass with a new blade held flat.
Cabinets and counters
- Vacuum inside every cabinet and drawer, then wipe with a barely damp cloth.
- Wipe cabinet faces and hardware, and check hinges and drawer slides for dust and debris.
- Clean countertops with a cleaner approved for that material; stone and quartz makers list what to avoid.
- Remove grout haze from new backsplash tile with the product the tile setter recommends.
Appliances, sink and floor
- Clean inside the oven, dishwasher, microwave and fridge, and run the dishwasher empty once.
- Flush the faucet aerator and check the sink drain and disposal for debris.
- Vacuum and then damp-mop floors last, following the flooring maker's care guidance.
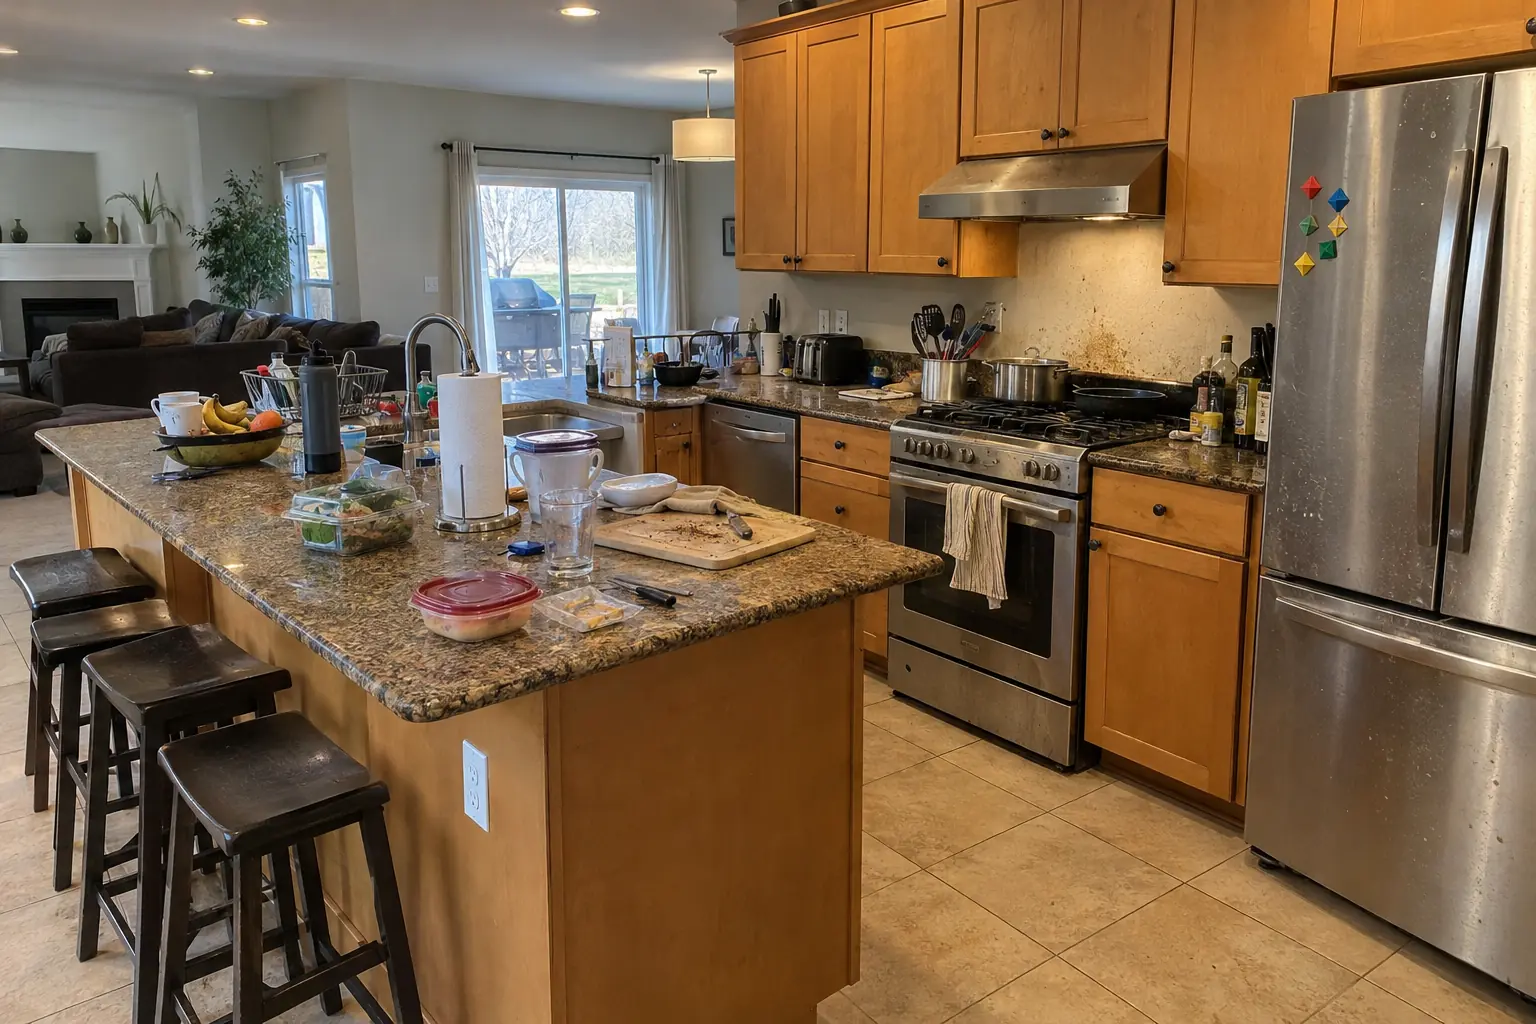 Before
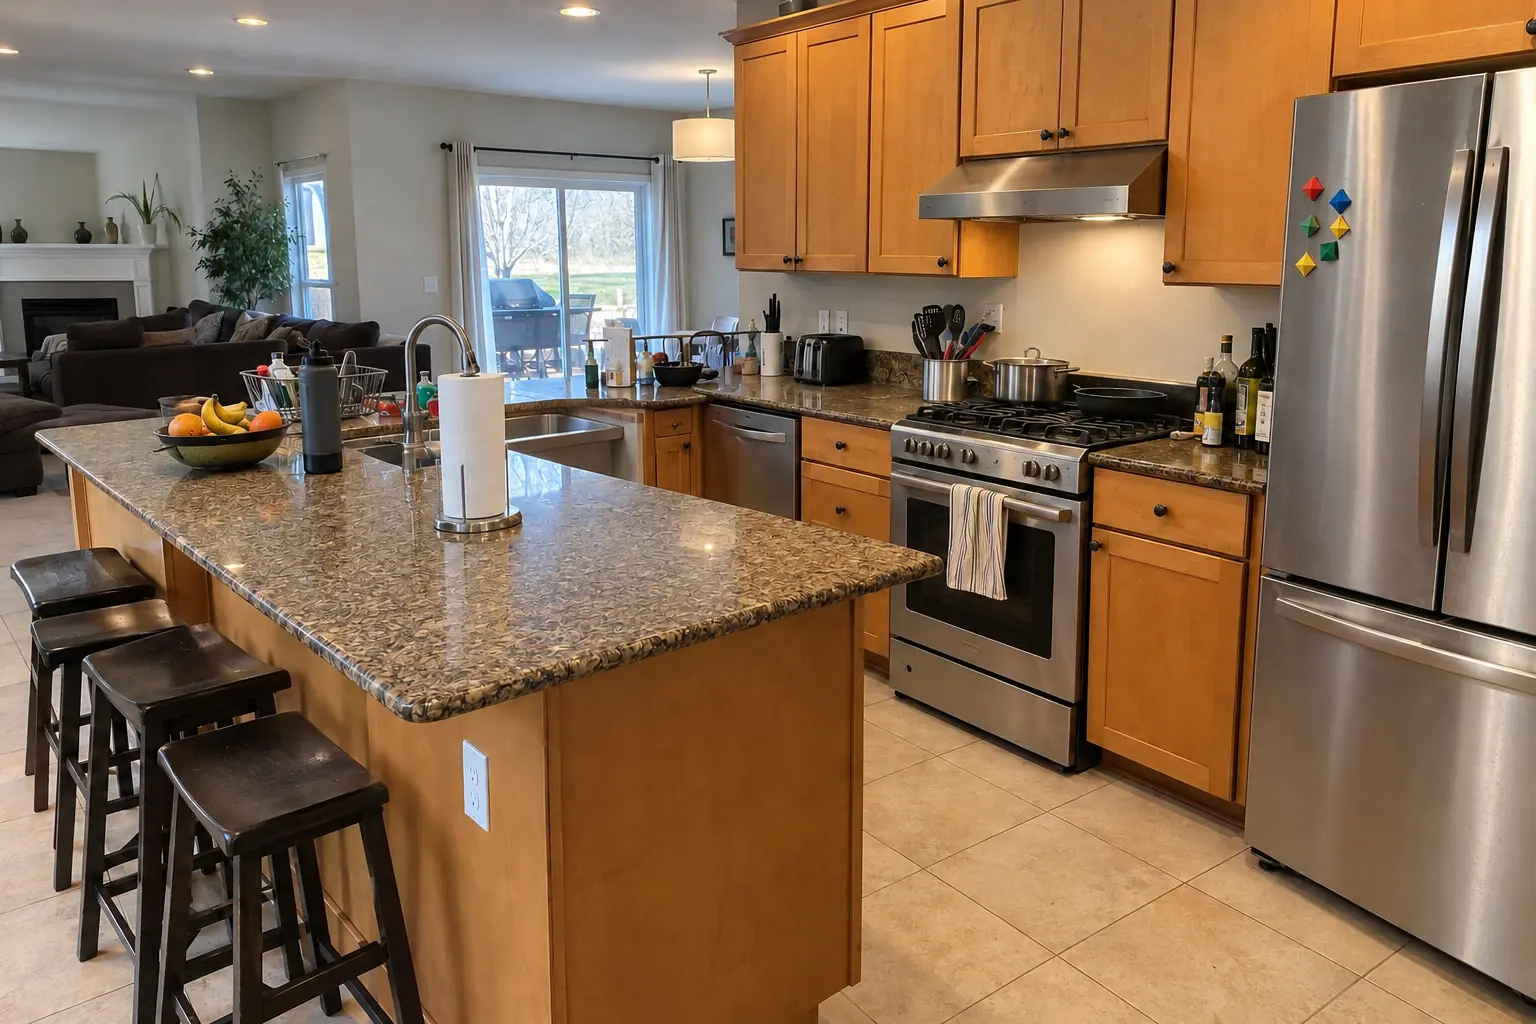 After
Mistakes to avoid after a remodel
New surfaces are often most vulnerable in their first weeks. A few habits protect them.
- Using a regular household vacuum on fine drywall dust; it can clog the filter and blow dust back out.
- Using vinegar or acidic cleaners on natural stone, which can etch marble and limestone.
- Scrubbing fresh grout or caulk before it has cured.
- Sliding appliances across new floors without protection.
- Using abrasive pads on stainless steel against the grain, which leaves visible scratches.
- Closing up cabinets full of dust; leave doors open while you clean so nothing settles back in.
Keeping kitchen cabinets clean afterward
A quick weekly wipe of the doors near the range with a damp microfiber cloth keeps grease from building into a sticky layer. Wipe spills right away, especially along the bottom edges of the sink and dishwasher cabinets, where water does the most damage. Run the hood during and for a few minutes after cooking, and clean its filters regularly.
Frequently asked questions
What is the best homemade degreaser for kitchen cabinets?
Does vinegar remove grease from kitchen cabinets?
Can I use Murphy Oil Soap on kitchen cabinets?
How do I get sticky grease off the tops of kitchen cabinets?
How long after a renovation should I deep clean the kitchen?
Should I hire a post-construction cleaning crew?
Kitchen Deep Cleaning in your town
- Carol Stream
- Naperville
- Schaumburg
- Wheaton
- Glen Ellyn
- Bloomingdale
- Bartlett
- Roselle
- Hanover Park
- Glendale Heights
- West Chicago
- Winfield
- Warrenville
- Lisle
- Downers Grove
- Lombard
- Villa Park
- Elmhurst
- Oak Brook
- Addison
- Itasca
- Wood Dale
- Elk Grove Village
- Hoffman Estates
- Arlington Heights
- Palatine
- Mount Prospect
- Des Plaines
- Park Ridge
- Skokie
- Evanston
- Northbrook
- Glenview
- Highland Park
- Buffalo Grove
- Lake Zurich
- Oak Park
- Berwyn
- Tinley Park
- Orland Park
- Bolingbrook
- Aurora
- Elgin
- St. Charles
- Geneva
- Batavia
- Crystal Lake
- Plainfield
- Woodridge
Keep reading
-
 CabinetsPainting Kitchen Cabinets: Options, Preparation and When to Hire a ProThe best way to paint kitchen cabinets is mostly preparation: remove the doors, degrease every surface, scuff-sand, apply a bonding primer, then two…3 min read
-
 Countertops, tile and floorsCountertop Care and Finish Options: Stone Restoration, Butcher Block Finishes and Laminate EdgesEach countertop material needs one thing done right. Granite and marble need a pH-neutral cleaner and resealing when water soaks in. Quartz needs…3 min read
-
 Running the projectLiving Through a Kitchen Remodel: Setting Up a Temporary KitchenYes, you can live in a house during a kitchen renovation, and most Chicago-area families do. Set up a temporary kitchen during the remodel in a room…4 min read