Painting Kitchen Cabinets: Options, Preparation and When to Hire a Pro
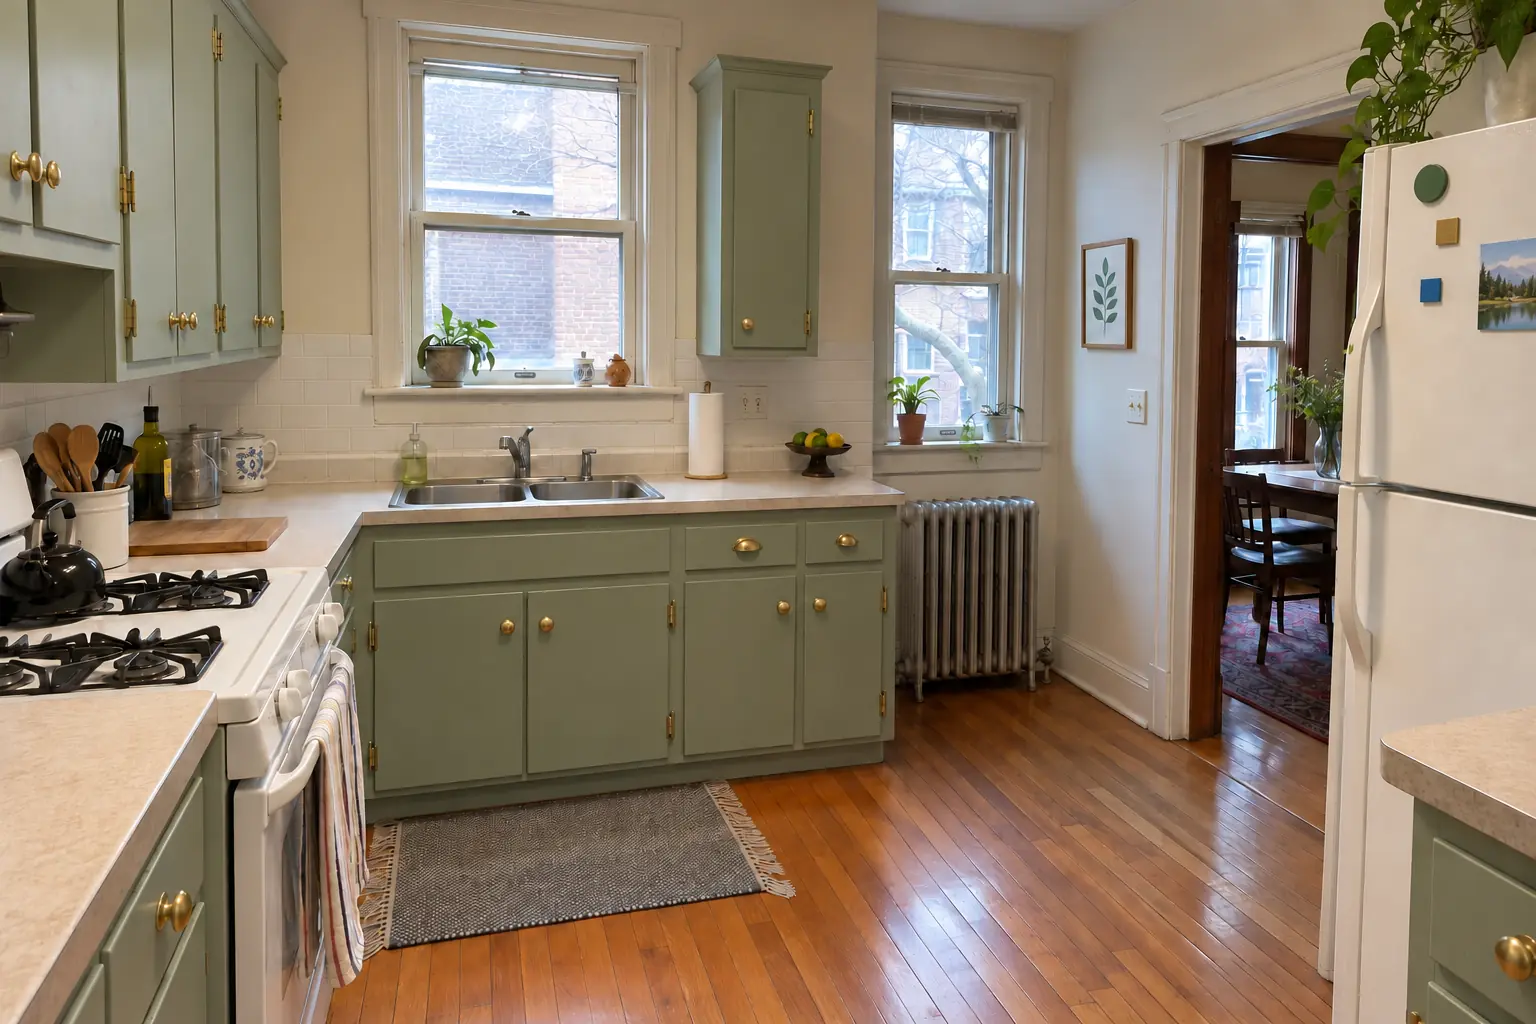
Painting kitchen cabinets is one of the most popular kitchen projects homeowners take on themselves, and one of the most often redone. The difference between a finish that lasts for years and one that scratches off with a fingernail is rarely the color or the brand of paint. It is cleaning, sanding, priming and patience.
This guide is for people weighing a DIY cabinet painting project against hiring it out. It walks through the steps in order, the products that hold up in a kitchen, two tone painted cabinet ideas, lead-safe practices for older Chicago-area homes, and the honest signs that a professional spray finish is worth paying for.
Can I just paint over my cabinets?
Not directly. Kitchen cabinets carry a film of cooking grease and hand oils, and most have a factory lacquer, varnish or older paint with some gloss. Paint brushed straight over that looks fine for a few weeks and then scratches off. Paint needs a clean, dull, primed surface to grip, and some surfaces should not be painted at all.
| Surface | Paintable? | What it takes |
|---|---|---|
| Solid wood | Yes, a good candidate | Degrease, scuff-sand, prime |
| Wood veneer | Yes, a good candidate | Light sanding only, prime |
| Previously painted wood | Usually | Sound paint only; strip if failing |
| Melamine or laminate | Sometimes | Specialty primer; edges wear faster |
| Thermofoil (vinyl-wrapped MDF) | Usually not | Peeling foil cannot be fixed with paint |
The best way to paint kitchen cabinets, step by step
Every durable cabinet paint job follows the same order. The early steps take most of the time and decide whether the paint sticks; the color coats are the quick part.
- Take the doors off and label everythingRemove doors, drawer fronts, hinges and pulls. Label each door and its location with tape inside the hinge cup hole or on the back, and bag the hinges and screws per door.
- Set up a drying spaceDoors painted flat on a rack, not hanging, get a smoother finish with fewer runs. In a Chicago-area winter the space must stay warm enough for your paint; many waterborne enamels list a minimum application temperature on the can.
- DegreaseClean every surface with a pre-paint degreaser, especially doors near the range and around the pulls. Rinse and let it dry. If water beads on the surface, it is still greasy.
- Scuff-sand and repairDull the gloss with fine sandpaper or sanding sponges; you are not removing the old finish. Fill dents and old hardware holes if you are changing pulls, sand flush, then vacuum and wipe with a tack cloth or damp microfiber.
- PrimeApply a bonding primer, let it dry as the label says, then sand lightly with very fine paper before the first color coat.
- Apply two thin enamel coatsThin coats level better and harden faster than one heavy coat, which can crack and sag.
- Let it cure, then rehangRehang doors only when the paint no longer feels soft, and add clear bumper pads to the frames.
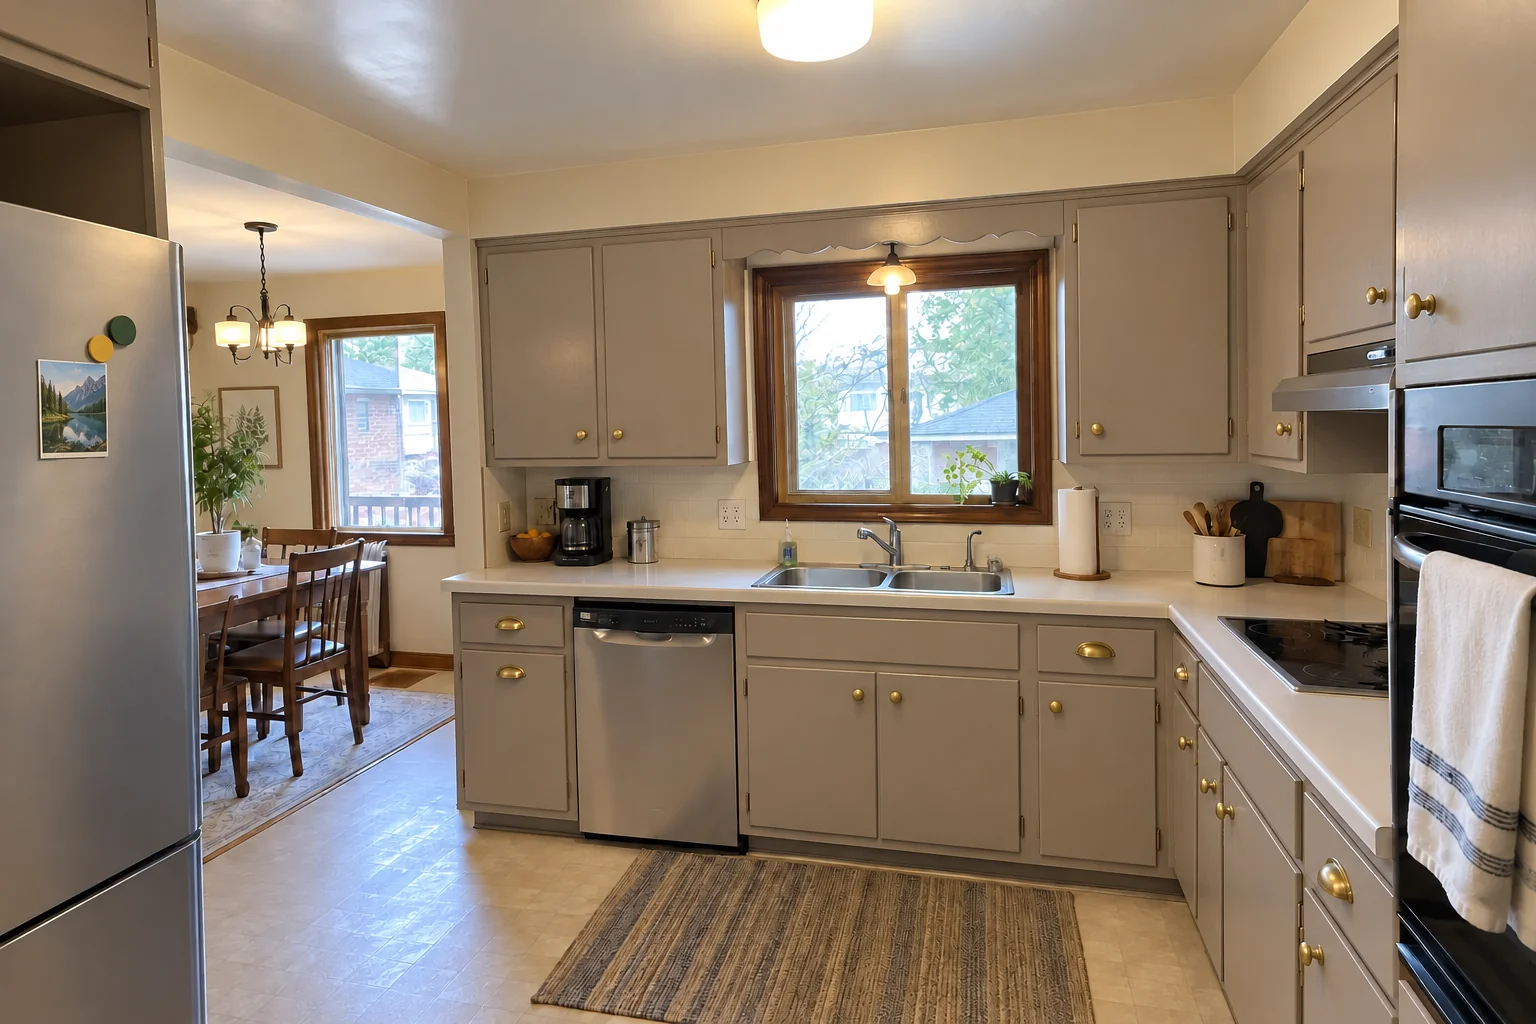
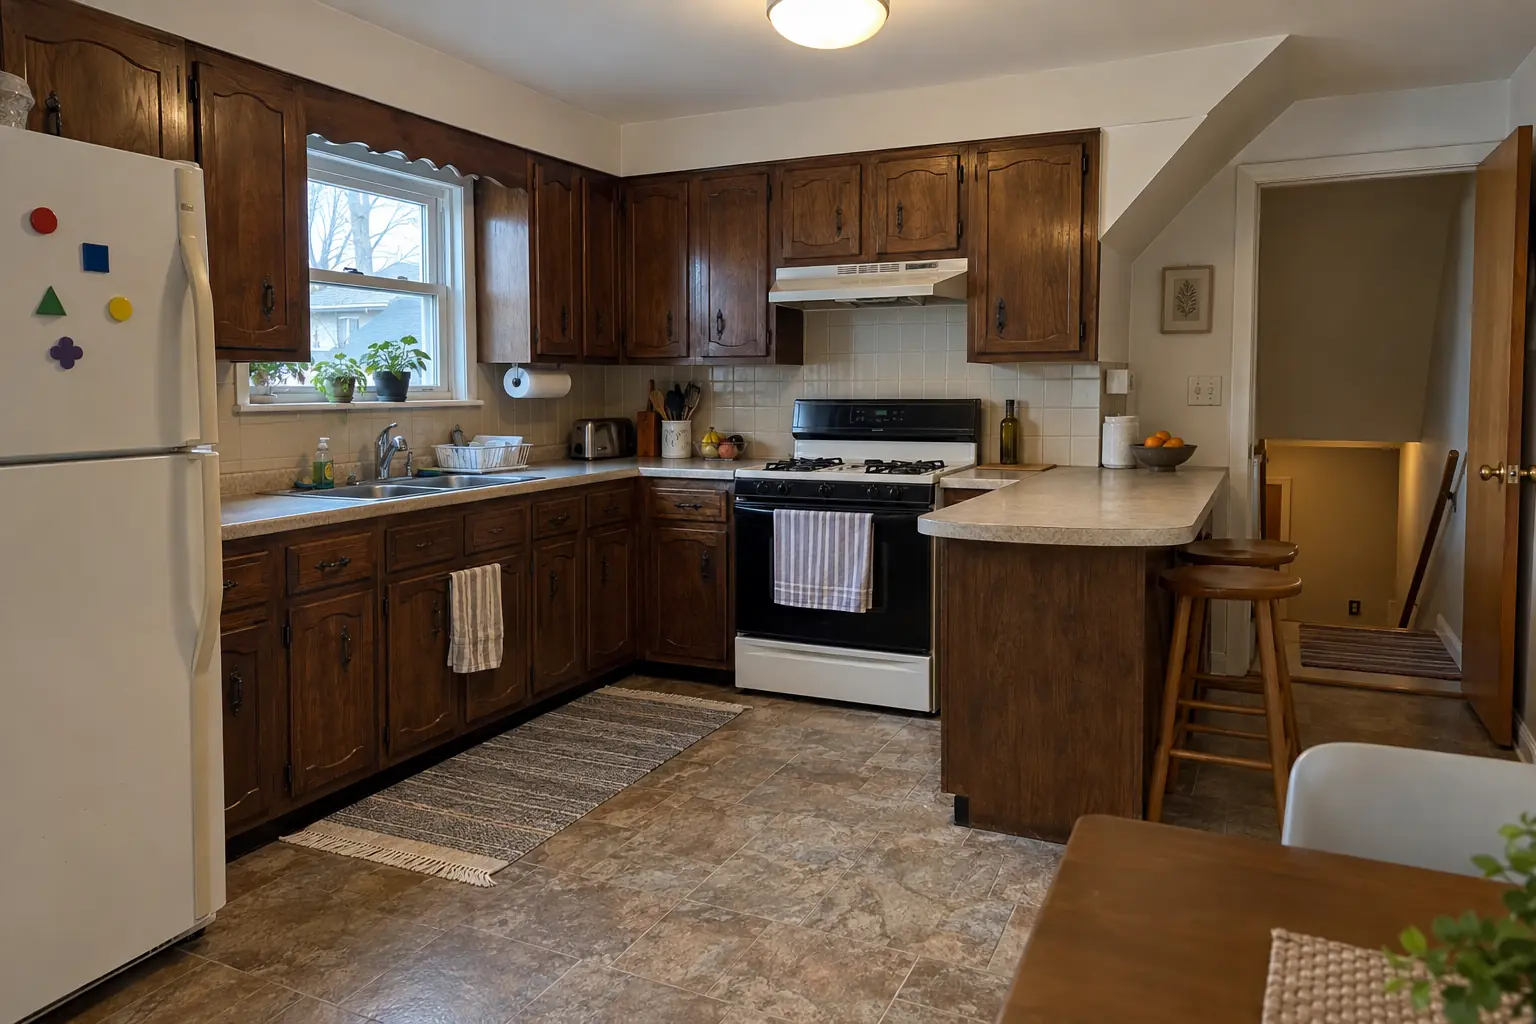 Before
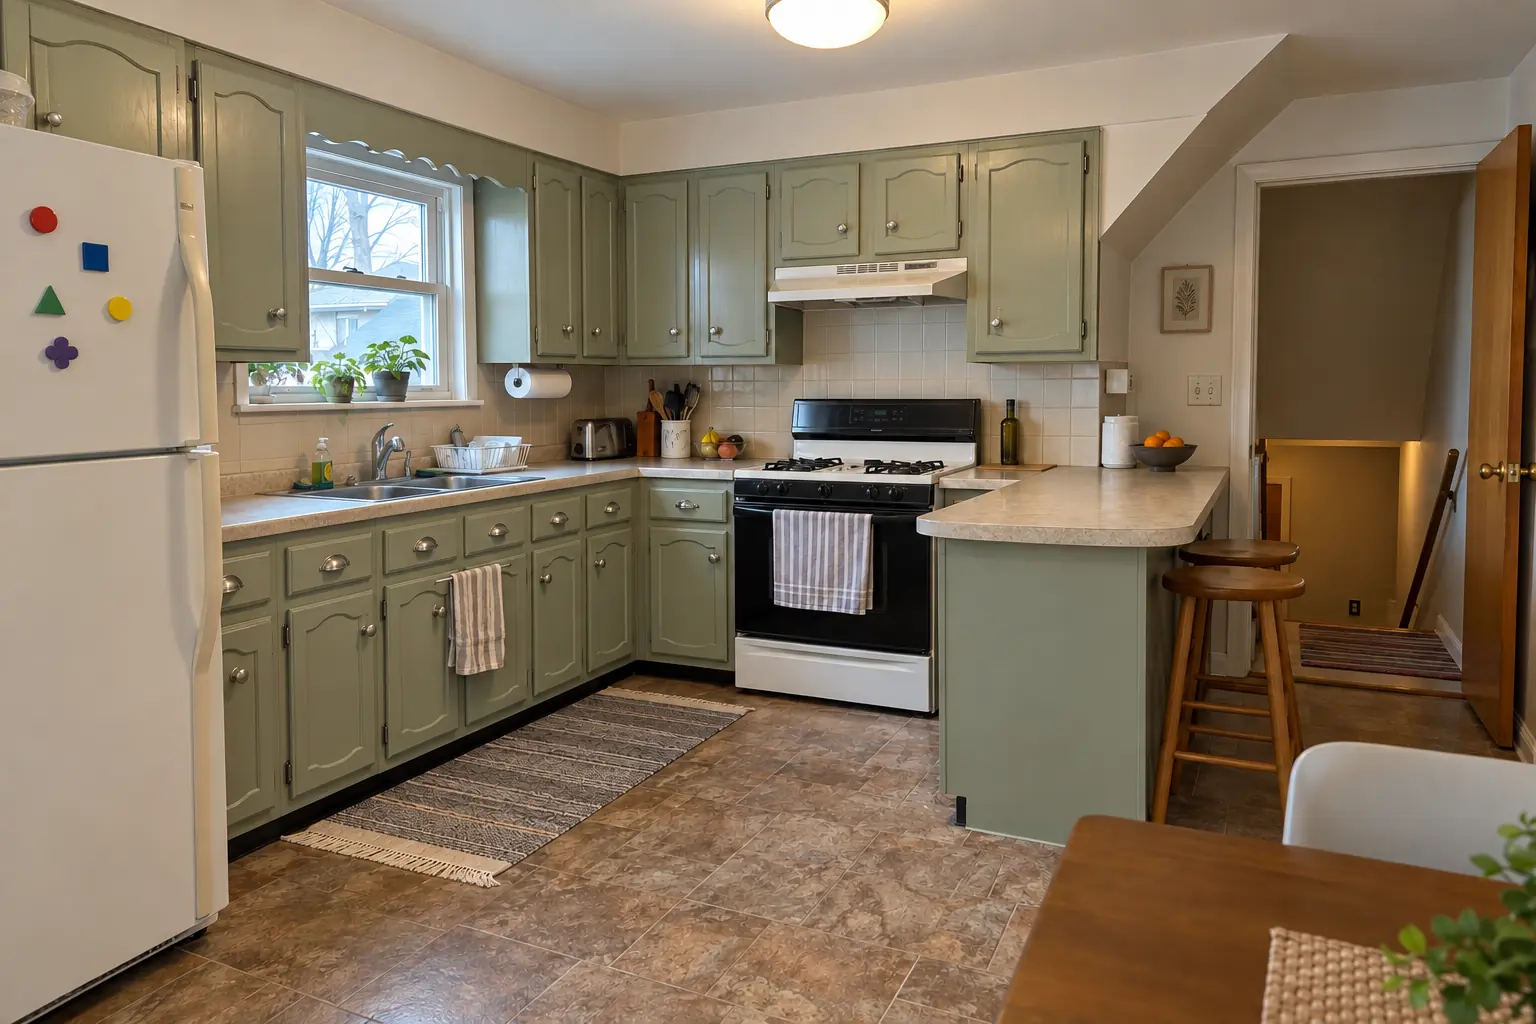 After
Choosing primer and paint for kitchen cabinets
Wall paint is too soft for cabinets. The right primer depends on the wood, and the topcoat should be an enamel made for cabinets and trim, which levels out better, dries harder and resists blocking (doors sticking to frames) better than standard latex.
Primers
Use a bonding primer made for glossy or hard-to-paint surfaces. On oak, the open grain shows through paint; for a smooth look you need a grain filler or several coats of a high-build primer sanded between coats. On knotty or tannin-rich woods, a shellac-based or stain-blocking primer stops yellow or brown bleed-through under white paint.
Topcoats and sheen
Satin and semi-gloss are the usual sheens because they wipe clean. Flat finishes mark easily in a kitchen.
| Coating | Hardness | Best use |
|---|---|---|
| Waterborne alkyd enamel | Hard once cured | Smooth, brushable DIY finish |
| Waterborne urethane-modified acrylic | Hard, good block resistance | Busy family kitchens |
| 100% acrylic cabinet enamel | Good | Simple doors, easy cleanup |
| Catalyzed or two-part coatings | Hardest | Professional spray shops |
| Chalk-style paint | Soft without a topcoat | Furniture, light-use pieces |
| Standard wall latex | Too soft | Not recommended on cabinets |
Brush, roller or sprayer?
A good brush and a fine foam roller can give a decent finish on flat or Shaker doors. A sprayer gives the smoothest one, but it needs masking, practice and ventilation, and overspray travels further than most people expect. Raised-panel doors are the hardest to brush, because paint pools in the inside corners of the profile.
Dry time vs cure time
Paint is dry to the touch long before it is cured. Most cabinet enamels can be recoated within a day, but many waterborne alkyds and acrylics take several weeks to reach full hardness; check the product data sheet for the number. During that period, treat the cabinets gently: no scrubbing, no harsh cleaners and no slamming doors.
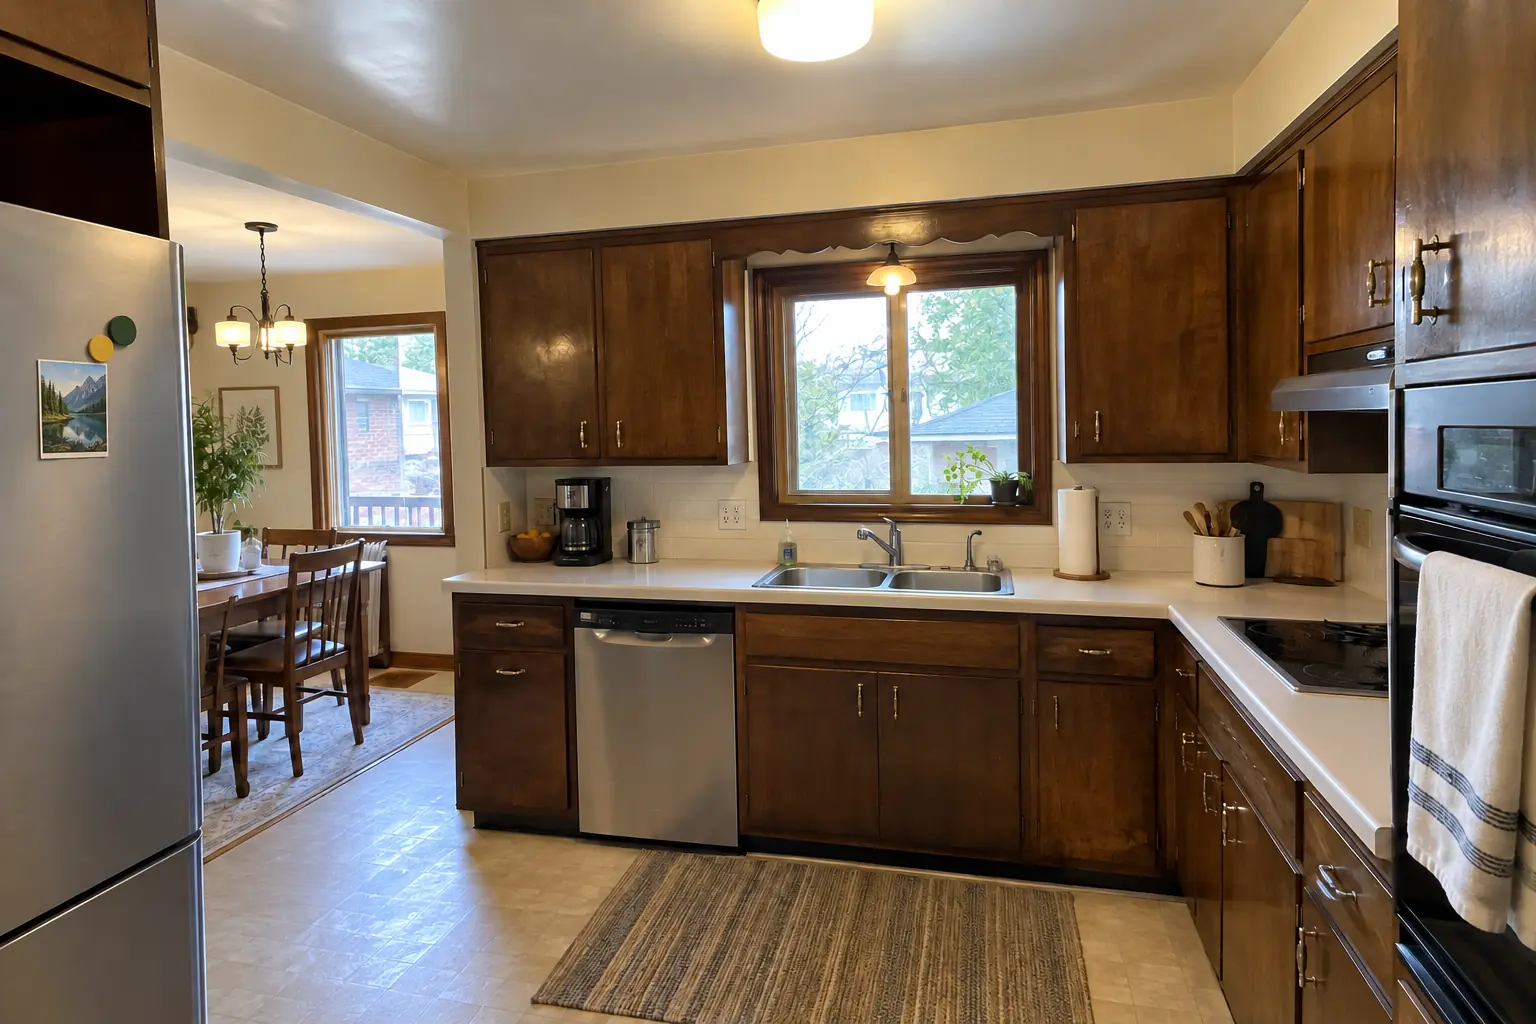 Before
 After
Two tone painted cabinets
Two colors can make a kitchen feel more considered, but they work best when the split follows the cabinets rather than cutting across them.
Two tone painted cabinets: uppers and lowers
A common approach is a darker color on the base cabinets or island and a lighter one on the uppers, which keeps the room bright.
Two tone painted cabinets with wood doors
Painted frames and boxes with stained wood doors, or painted perimeter cabinets with a natural wood island. Keep the wood tone consistent so it looks deliberate.
Two tone painted cabinet doors
Masking cleanly between colors on one door is hard by hand, so most people split colors by cabinet, not within a door.
Lead-safe practices in pre-1978 homes
Many homes in Chicago and the older suburbs were built before 1978, when lead-based paint was banned for residential use. If your cabinets have older paint, assume it may contain lead until a test shows otherwise. EPA-recognized test kits or a certified inspector can check it.
Sanding lead paint creates hazardous dust, especially for children and pregnant women. Contractors paid to disturb paint in pre-1978 homes must be certified under the EPA Renovation, Repair and Painting rule.
- Seal off the work area with plastic and mist surfaces before sanding.
- Avoid power sanders without HEPA dust collection.
- Never dry-scrape or use heat guns at high temperature.
- Clean up with a HEPA vacuum and wet wiping.
When DIY works and when a pro spray finish is worth it
DIY cabinet painting suits a patient owner with a place for doors to dry for a week or more. A professional sprayed finish earns its cost where brush marks, stain bleed or old coatings make a good result hard to reach by hand. Pros typically spray doors in a controlled space and may use catalyzed or two-part coatings that are harder than consumer paints but need spray equipment and ventilation.
| Situation | DIY usually fine | Pro usually worth it |
|---|---|---|
| Kitchen size | Small kitchen | Large kitchen |
| Door style | Flat or simple Shaker | Detailed raised panel |
| Color change | Similar tones | Dark stain to white |
| Existing finish | Sound, intact | Failing or peeling paint |
| Age of finish | Newer than 1978 | Pre-1978 paint |
Frequently asked questions
What is the best way to paint kitchen cabinets?
How much should I pay to have my cabinets painted?
Do I need to sand cabinets before painting?
How long should painted cabinets cure before I use them?
Can I paint cabinets without removing the doors?
Is chalk paint good for kitchen cabinets?
Kitchen Cabinet Painting in your town
- Carol Stream
- Naperville
- Schaumburg
- Wheaton
- Glen Ellyn
- Bloomingdale
- Bartlett
- Roselle
- Hanover Park
- Glendale Heights
- West Chicago
- Winfield
- Warrenville
- Lisle
- Downers Grove
- Lombard
- Villa Park
- Elmhurst
- Oak Brook
- Addison
- Itasca
- Wood Dale
- Elk Grove Village
- Hoffman Estates
- Arlington Heights
- Palatine
- Mount Prospect
- Des Plaines
- Park Ridge
- Skokie
- Evanston
- Northbrook
- Glenview
- Highland Park
- Buffalo Grove
- Lake Zurich
- Oak Park
- Berwyn
- Tinley Park
- Orland Park
- Bolingbrook
- Aurora
- Elgin
- St. Charles
- Geneva
- Batavia
- Crystal Lake
- Plainfield
- Woodridge
Sources
Keep reading
-
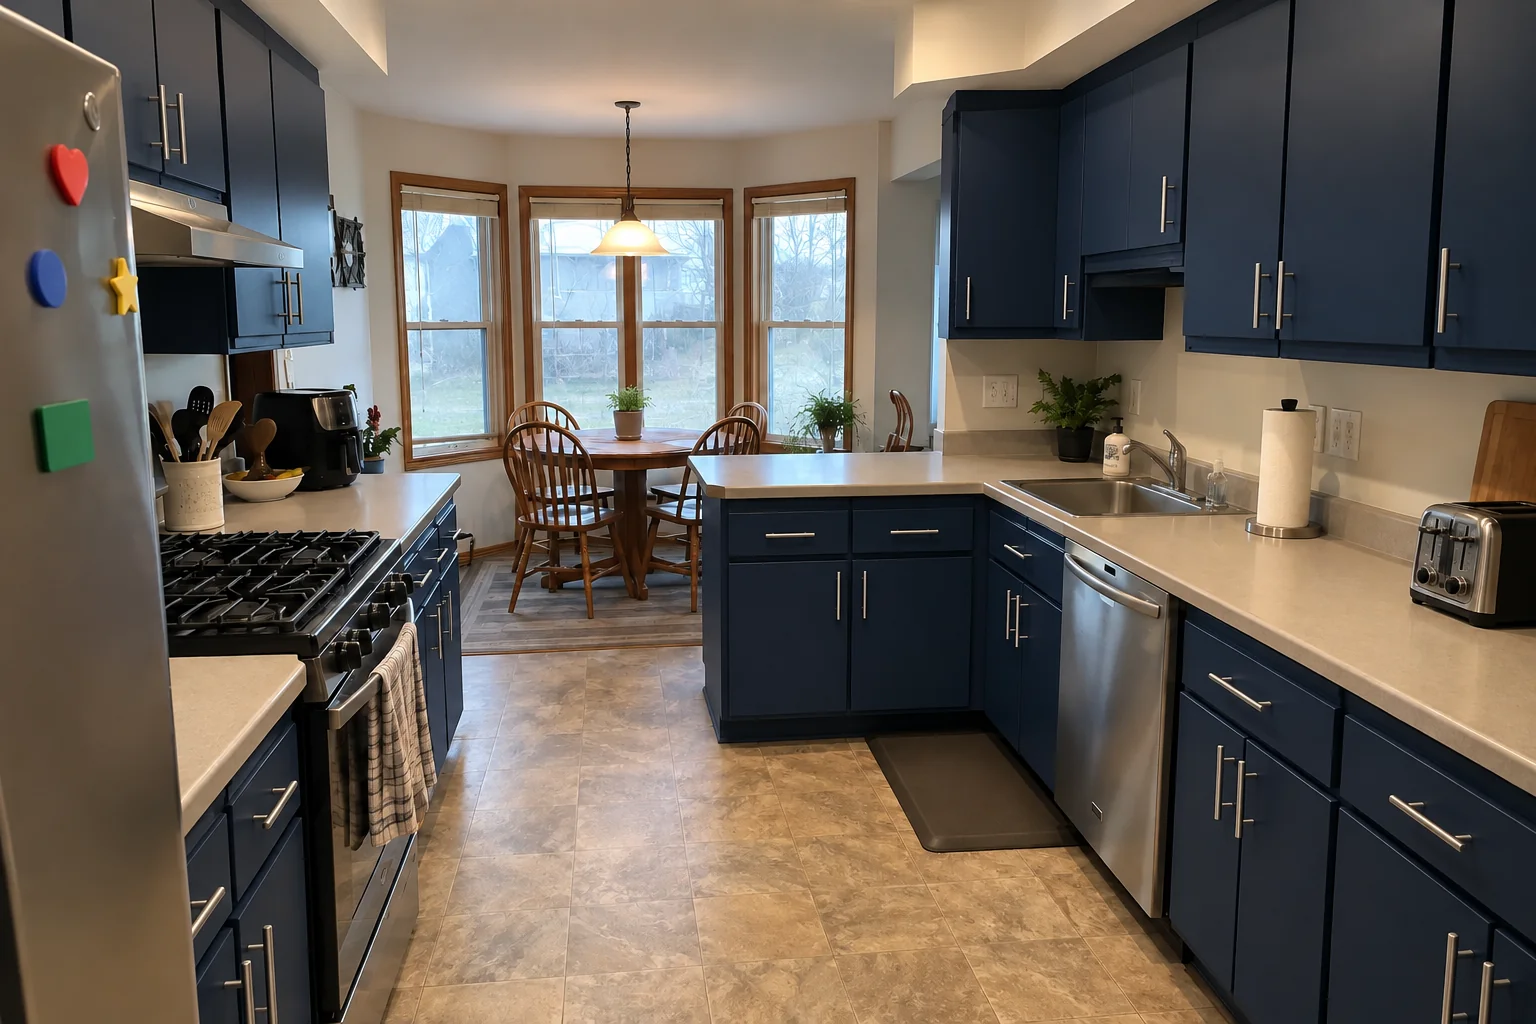 Costs and budgetingCabinet Painting Cost: What It Costs to Have Kitchen Cabinets PaintedCabinet painting cost for an average kitchen usually runs about $2,000 to $6,500, or about $30 to $70 per linear foot and $70 to $125 per door…3 min read
-
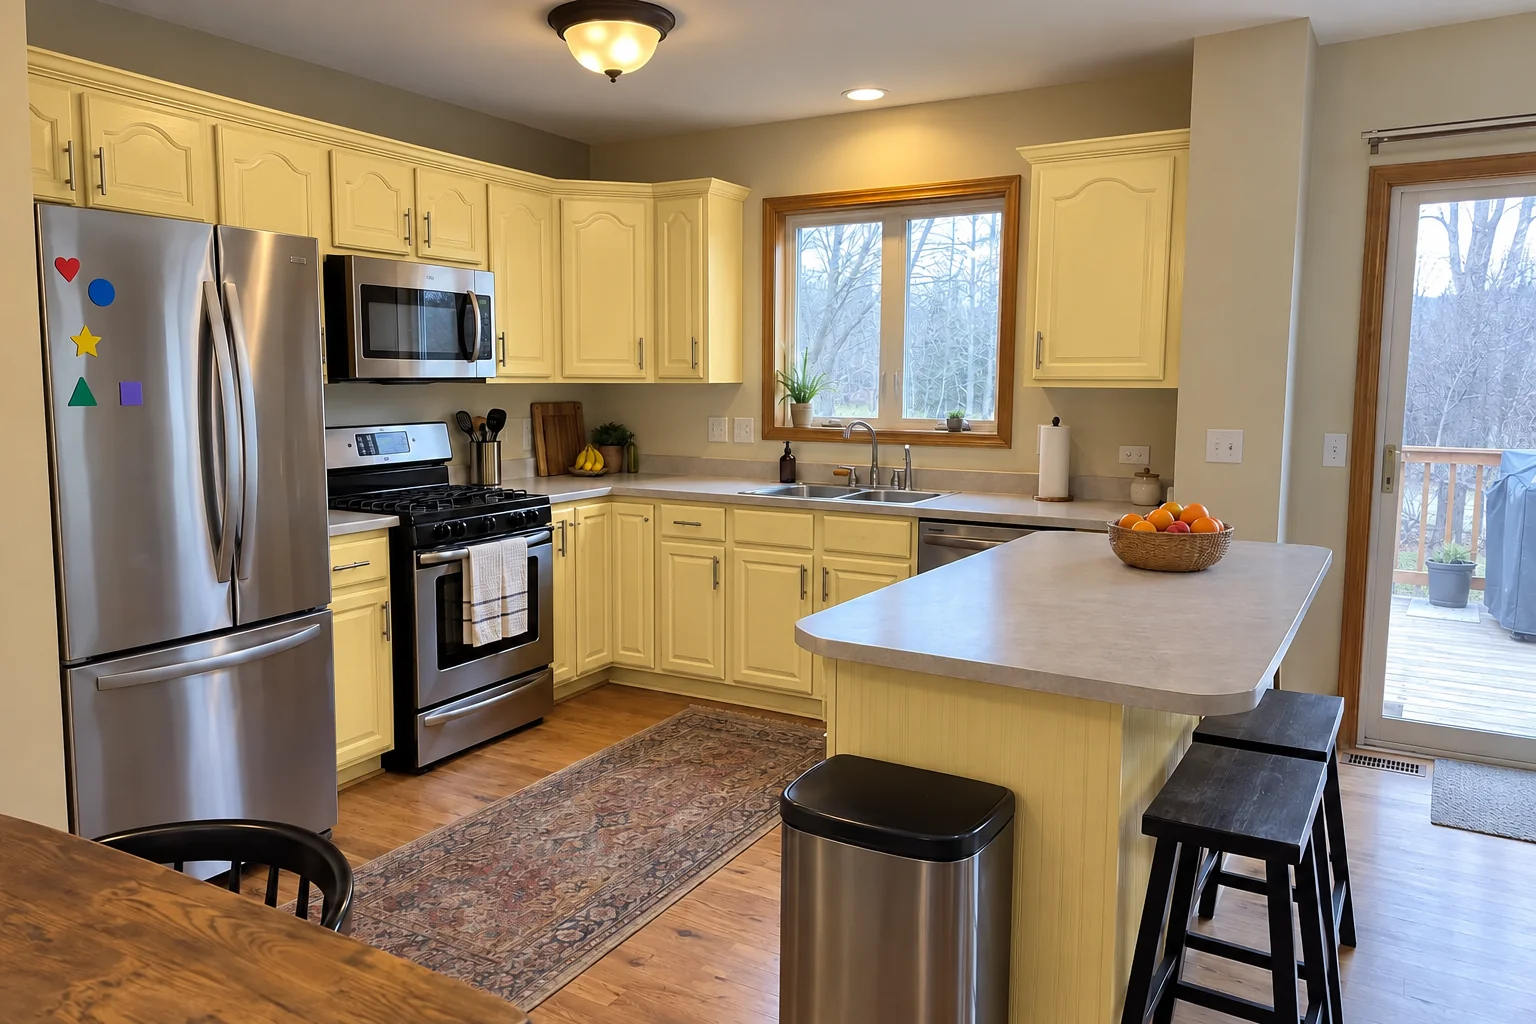 CabinetsCabinet Paint Cracking, Chipping and Peeling: Causes and FixesCabinet paint cracking at door joints is usually wood moving with seasonal humidity, not a failed finish. Cabinet paint chipping and peeling almost…3 min read
-
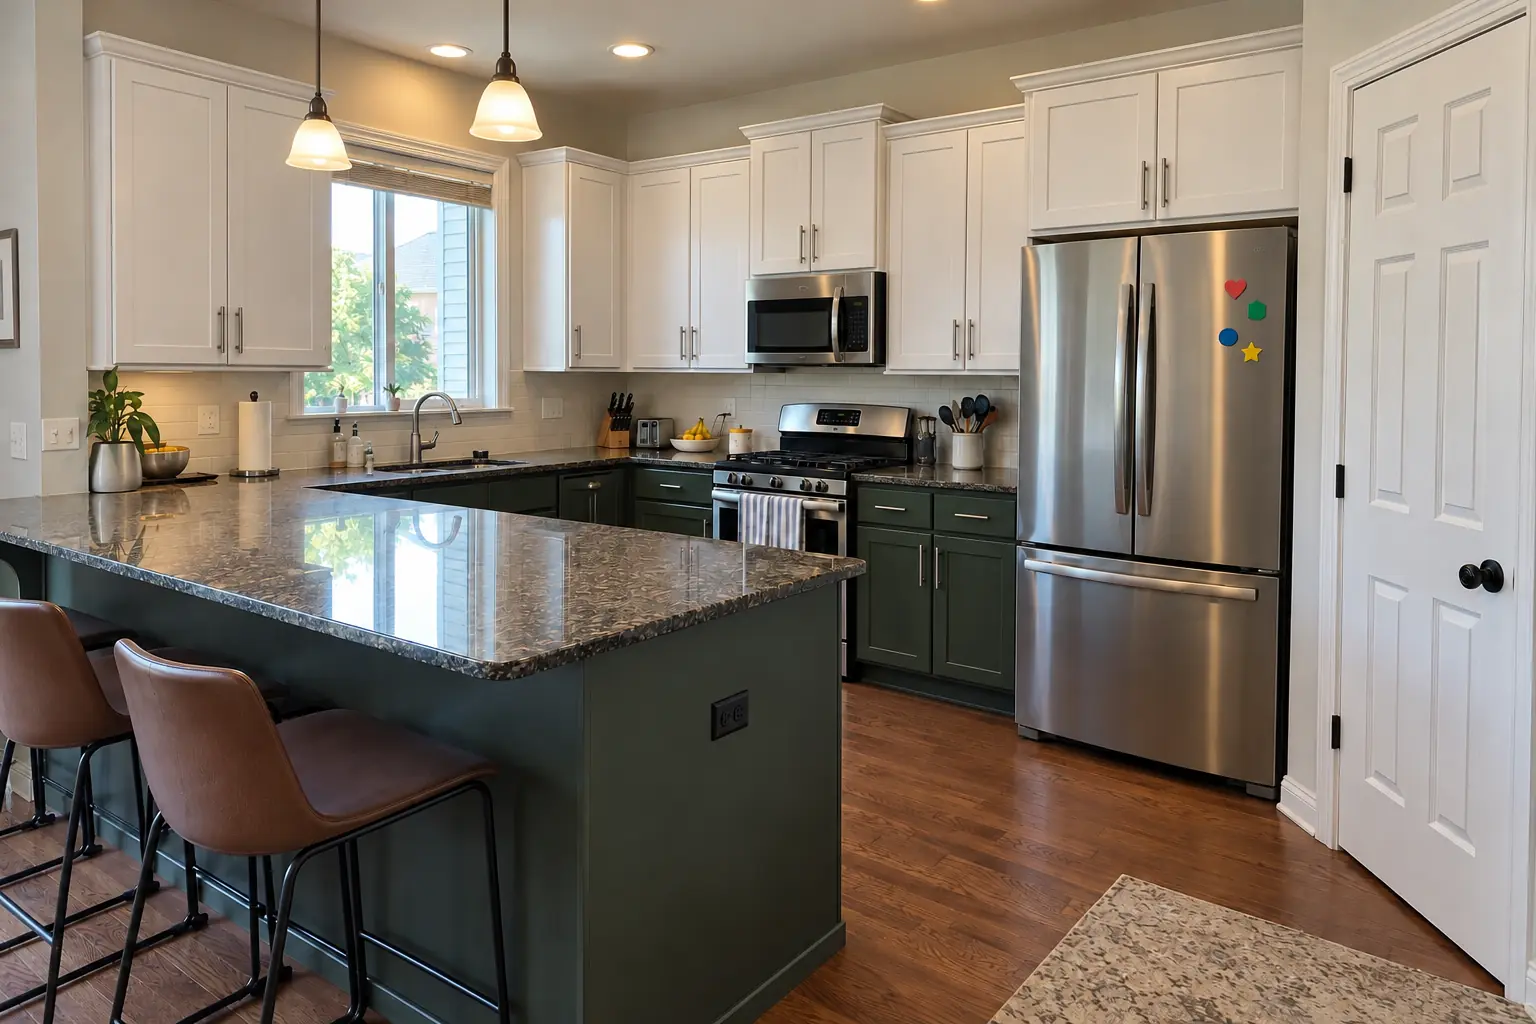 Planning and designKitchen Paint Ideas: Cabinet Colors, Paint Types, Sheens and FinishesGood kitchen paint ideas pair a color that suits your light and fixed finishes with a paint made for cabinets. For most kitchens that means a…3 min read