Cabinet Paint Cracking, Chipping and Peeling: Causes and Fixes
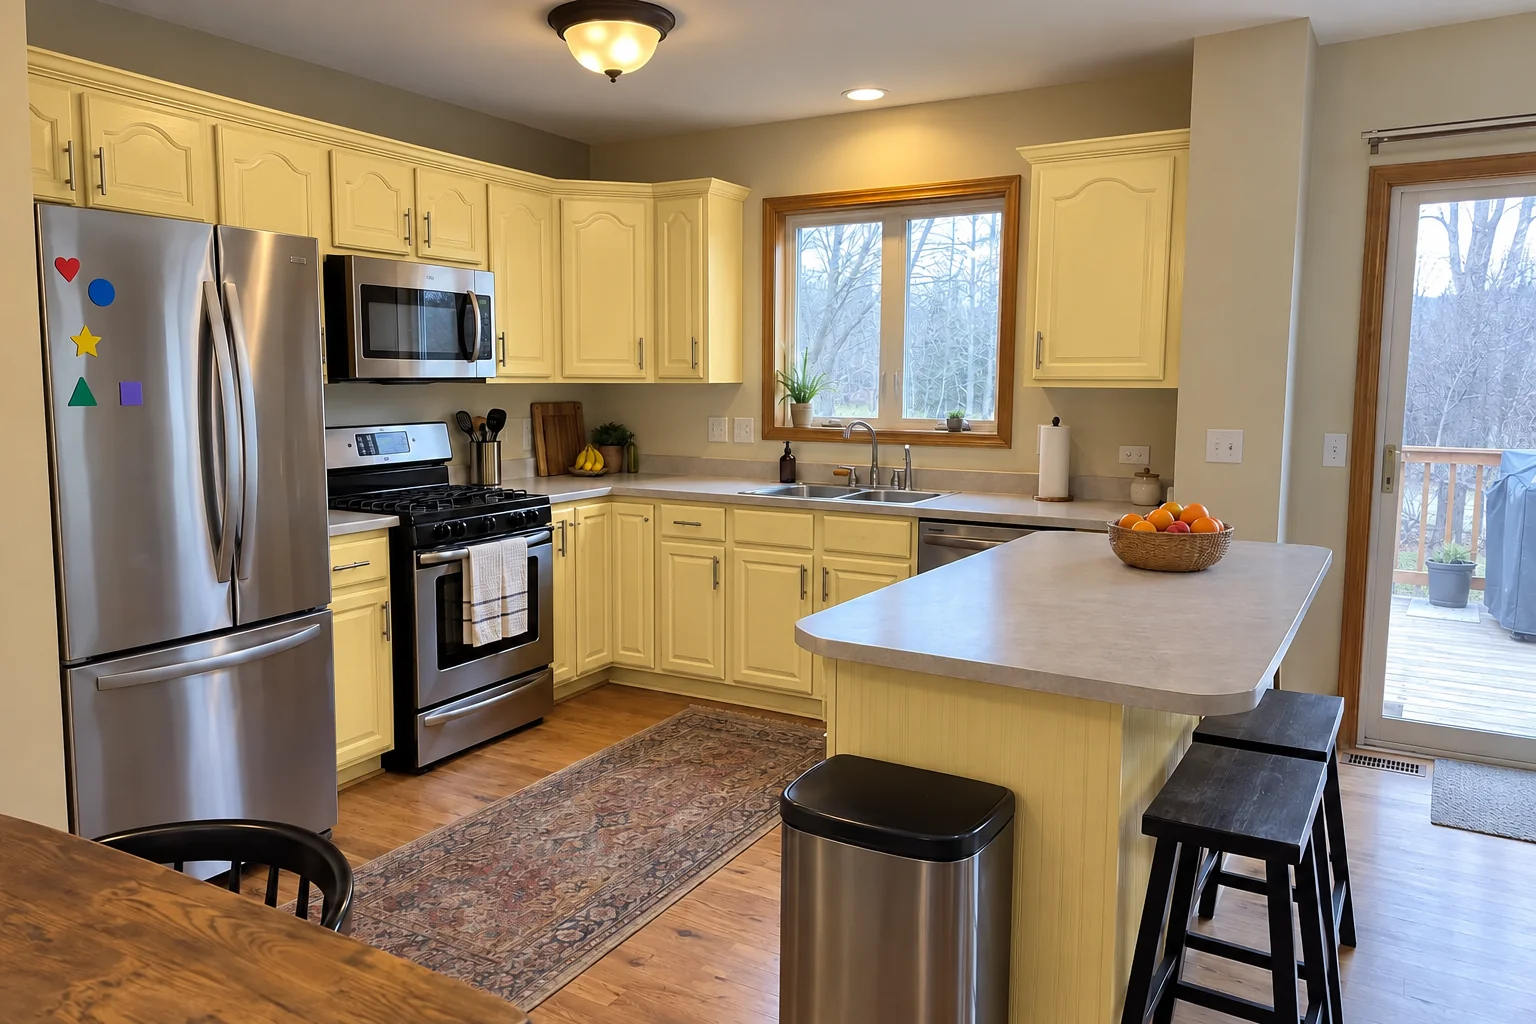
Cabinet paint cracking, chipping and peeling look alike from across the room, but they come from different causes and need different fixes. A thin line at the joint of a Shaker door is a natural result of wood moving through a Chicago year. Paint that flakes off the edges in chips, or lifts in sheets beside the dishwasher, is a bonding failure that no amount of touch-up will cure.
This guide shows how to read the damage pattern on your doors, explains what causes each one, and lays out how it is repaired, from a quick touch-up to stripping and refinishing. In our experience, most failing paint jobs we are asked to fix in Chicago-area kitchens were not the wrong color or brand, just the wrong preparation.
Read the damage: what each pattern means
Start by looking closely at where the paint is failing and what shape the damage takes. The pattern tells you most of what you need to know about the cause and how much work the repair will be.
| What you see | Likely cause | Usual fix |
|---|---|---|
| Straight hairline at a door joint | Wood movement with humidity | Touch-up; may recur |
| Web or alligator cracks on flat areas | Thick coats or incompatible layers | Sand back, prime, repaint |
| Chips at edges and around pulls | Poor adhesion or soft paint | Spot repair or full refinish |
| Peeling in strips near sink or range | Moisture, heat or contamination | Fix cause, strip, refinish |
| Bubbles or blisters | Damp surface, heat or trapped solvent | Cut out, sand, spot-prime |
| Tacky doors that stick to frames | Heavy coats or poor drying conditions | Longer cure; sometimes strip |
| Yellow or brown spots under white | Tannin or stain bleed-through | Stain-blocking primer, recoat |
White painted cabinets cracking at the joints
The most common complaint we hear is white painted cabinets cracking in a thin, straight line where the center panel meets the frame, or where the rails meet the stiles on a five-piece Shaker door. That is usually not a paint failure at all. Wood expands and shrinks with humidity, and the parts of a frame-and-panel door move independently. Paint is one continuous film, so it splits at the joint.
Chicago-area homes swing between humid summers and dry, heated winters, so these lines often appear the first winter after painting. They show most on white and light colors, where the shadow line stands out against the finish.
Can joint cracks be prevented?
Not entirely on a frame-and-panel door. Some painters run a fine bead of flexible caulk in the panel joint before painting, but that bead can crack too when the panel moves. Keeping indoor humidity steadier through the year helps. One-piece MDF doors have no joints to open, which is one reason they are popular for painted kitchens.
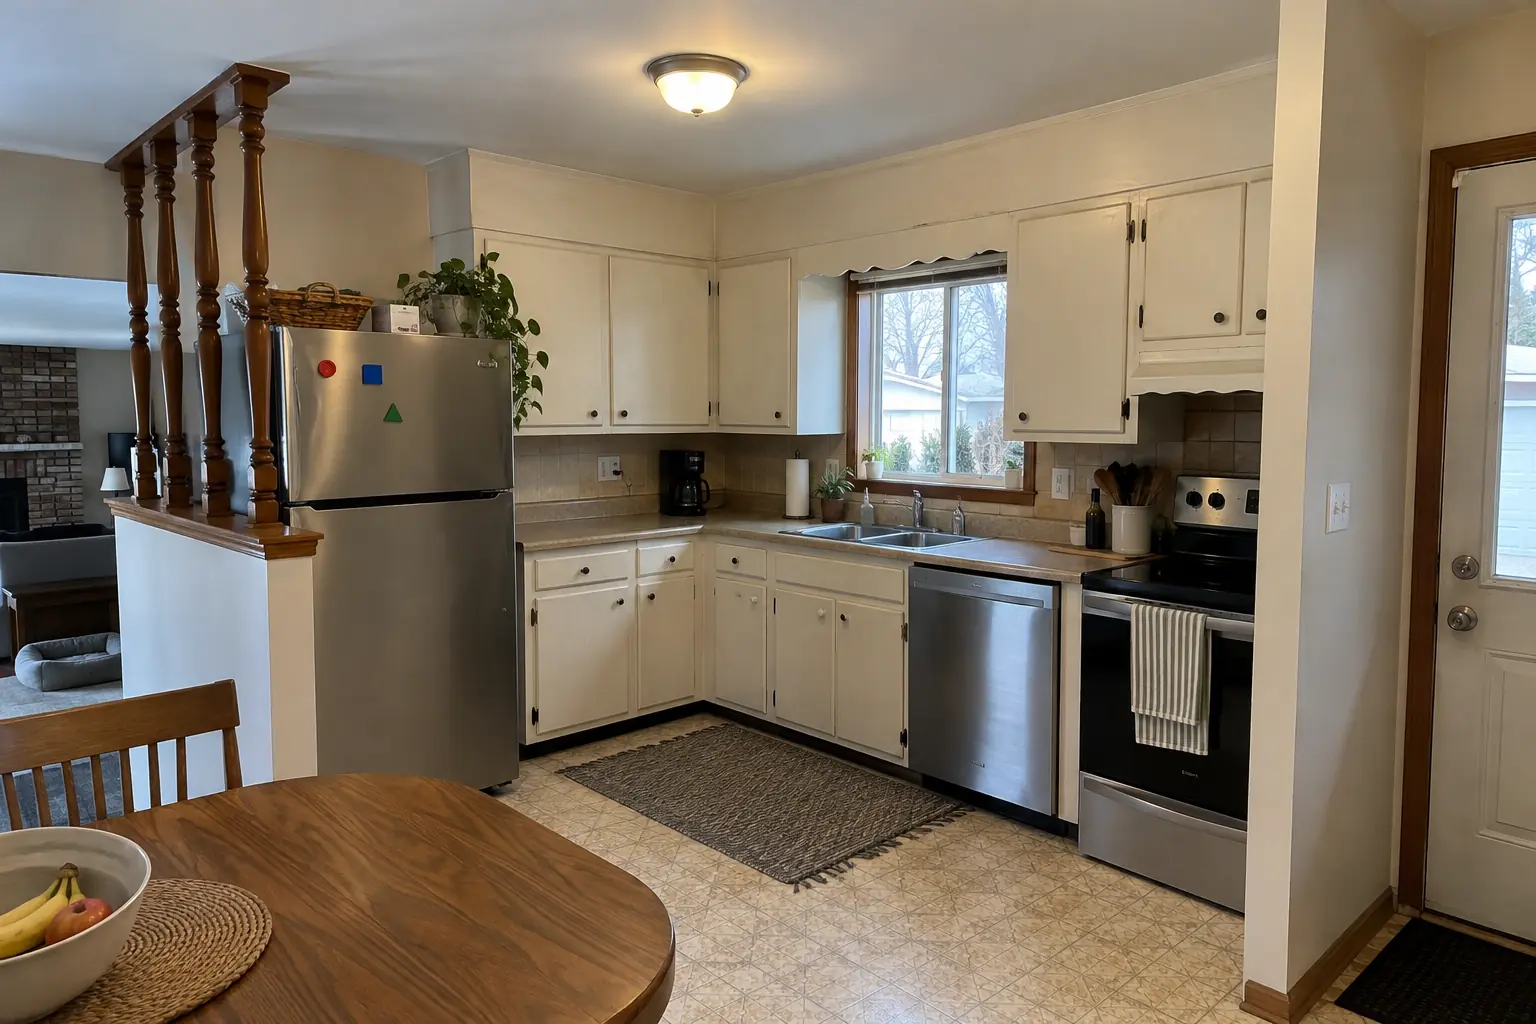 Before
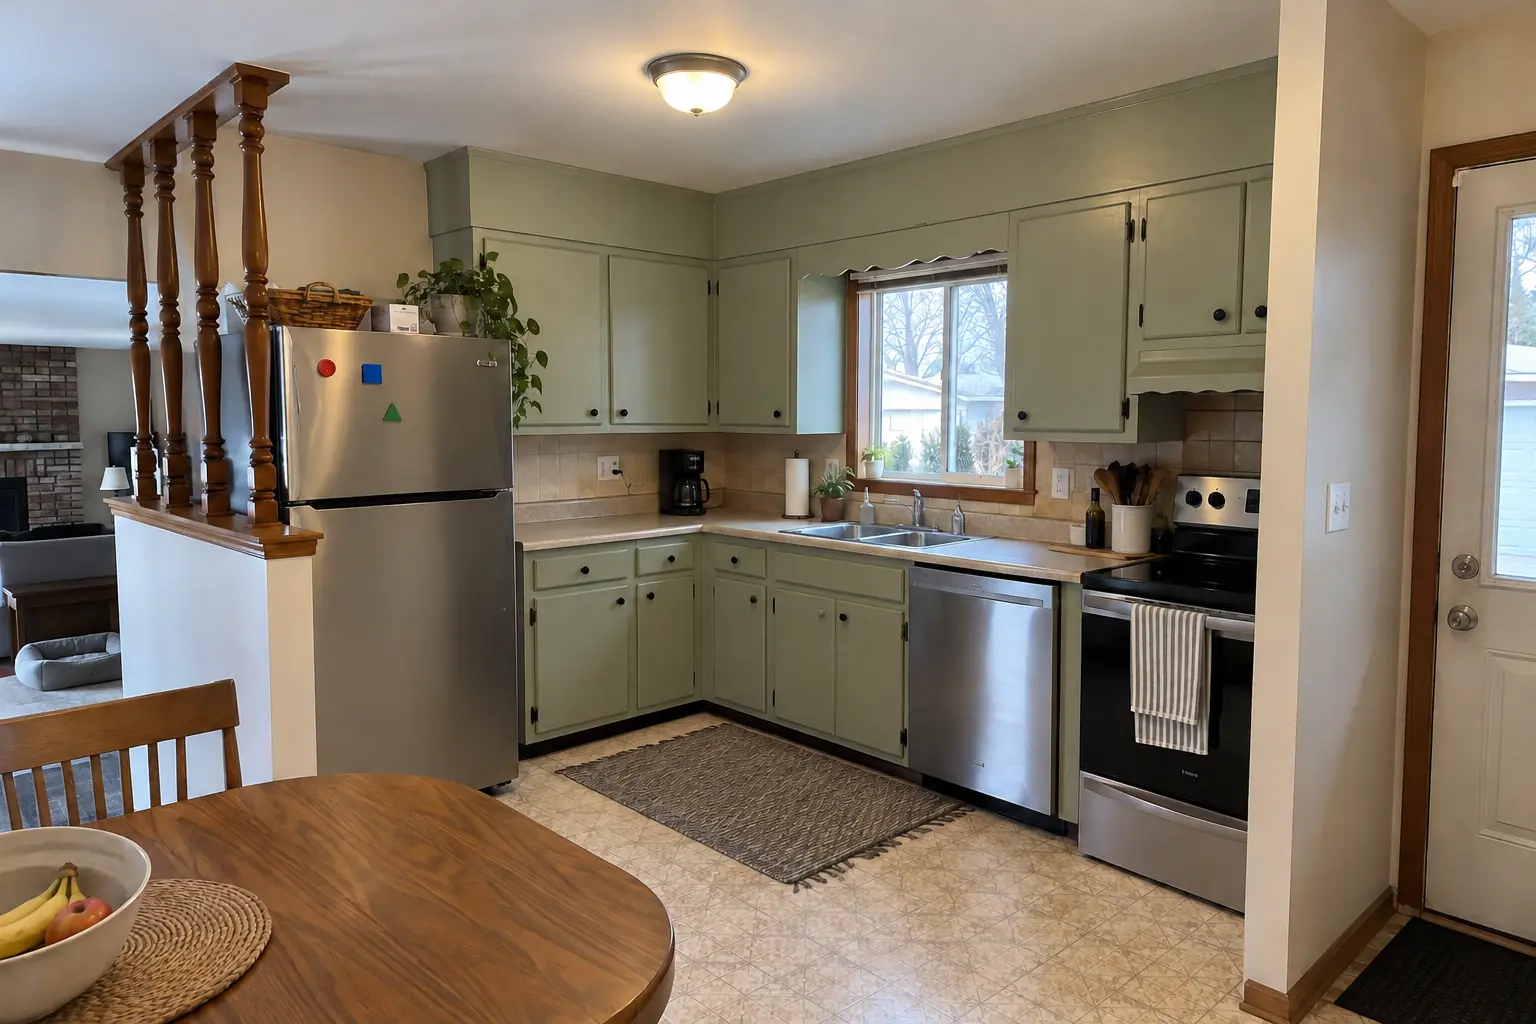 After
Cabinet paint cracking across the surface
Cabinet paint cracking in a web or alligator pattern across a flat surface is a different problem. It usually means the paint went on too thick, a coat was applied before the one below had dried, or a rigid paint was put over a softer, still-flexible layer. Oil-based paint applied over latex, or latex over an oil finish without a bonding primer, can also crack as the layers expand and contract at different rates.
This kind of cracking does not touch up well. New paint over a crazed film simply inherits the cracks. The failed layers usually need to be sanded or stripped back to a sound surface, primed and repainted in thin coats with proper drying time between them.
Cabinet paint chipping at edges and around handles
Painted cabinets chipping along door edges, at the corners and around the pulls signal weak adhesion or a paint that is too soft for cabinet use. Edges take every bump from pots, rings, belt buckles and vacuum cleaners, so they reveal a bonding problem first. If a fingernail can lift the paint at the edge of a chip, the bond is poor across the whole door, not just at that spot.
Why painted cabinets chip
- Paint applied over grease: kitchen grease prevents bonding even when the surface looks clean.
- No scuff sanding: paint over glossy lacquer or old enamel has nothing to grip.
- No bonding primer, or a primer that does not suit the existing finish.
- Wall paint or a soft latex instead of a cabinet-grade enamel.
- Heavy use before cure: the paint was dry to the touch but not yet hard.
- Sharp edges: paint pulls thin over a crisp edge; lightly easing edges before priming helps.
Peeling near the sink, dishwasher and range
Paint peeling in strips or sheets, especially on the sink base, the cabinet beside the dishwasher or the doors next to the range, points to moisture, heat or a contaminated surface. Steam from the dishwasher and hot air from the oven soften paint and attack the bond. Peeling that lifts cleanly off the old finish, showing the original surface underneath, means the primer never bonded in the first place.
Find the cause before refinishing. A slow leak under the sink can swell the cabinet and push paint off from behind; that needs a plumbing and cabinet repair first. Dishwasher steam can often be reduced by confirming the machine is installed and secured correctly and adding a moisture barrier on the underside of the counter.
Painted thermofoil and laminate doors
If someone painted thermofoil (vinyl-wrapped) or laminate doors, peeling and chipping are expected over time. These surfaces resist bonding, and thermofoil itself can lift from the door core near heat. Paint over a lifting film keeps failing however carefully it is applied. New doors or refacing is usually the lasting fix for those kitchens.
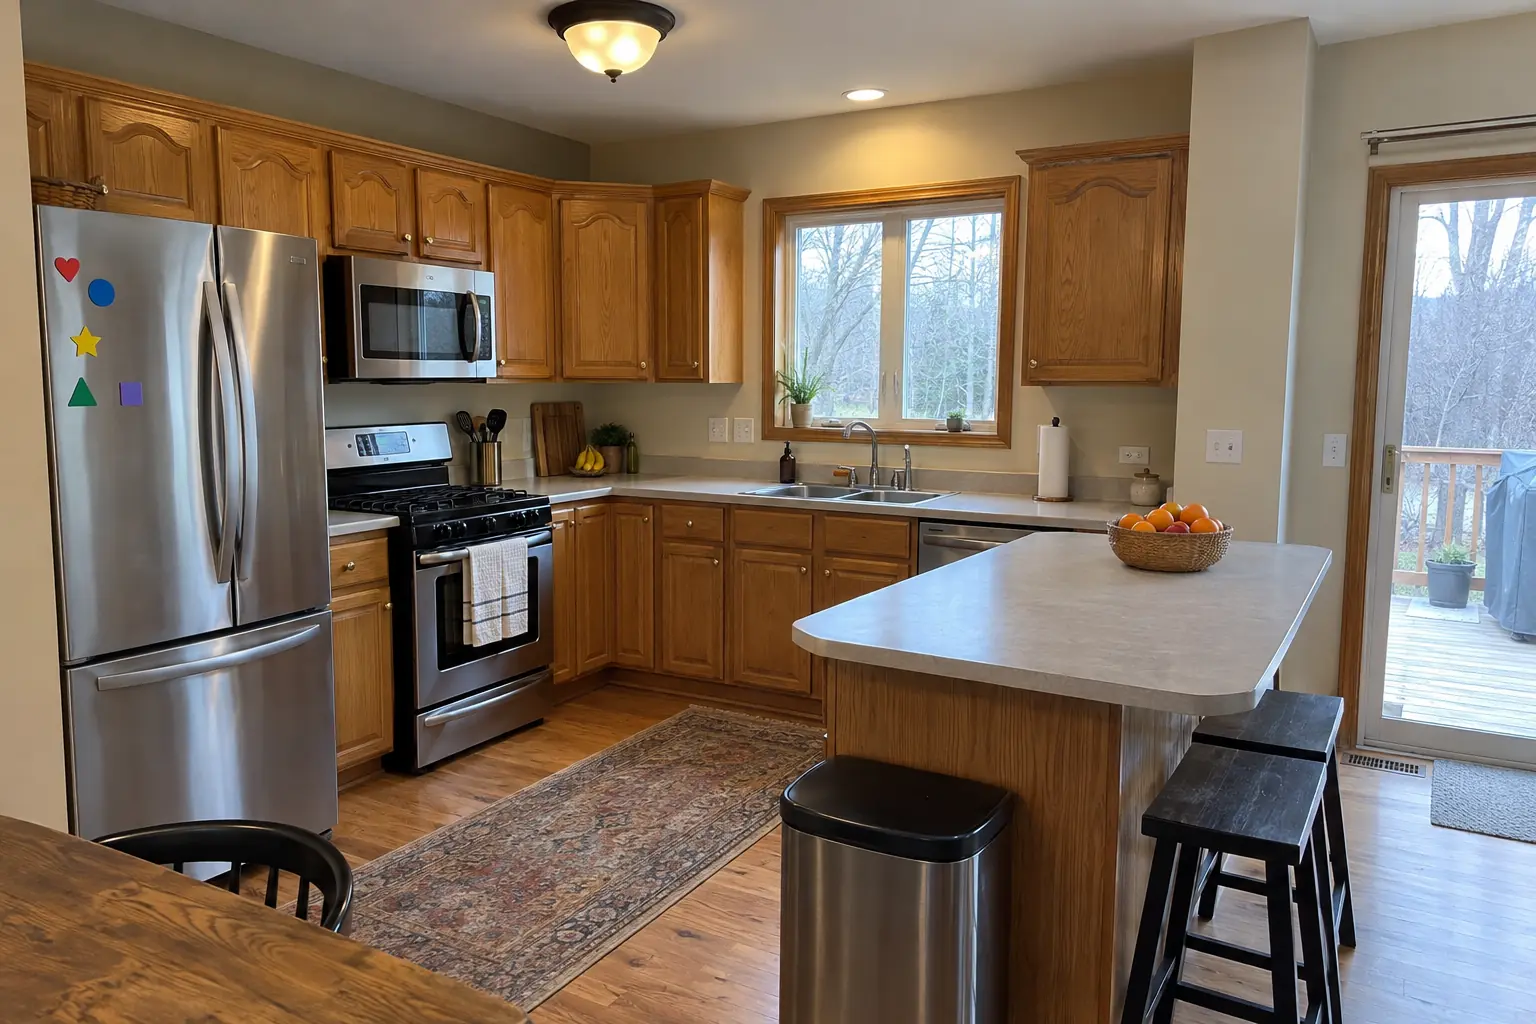 Before
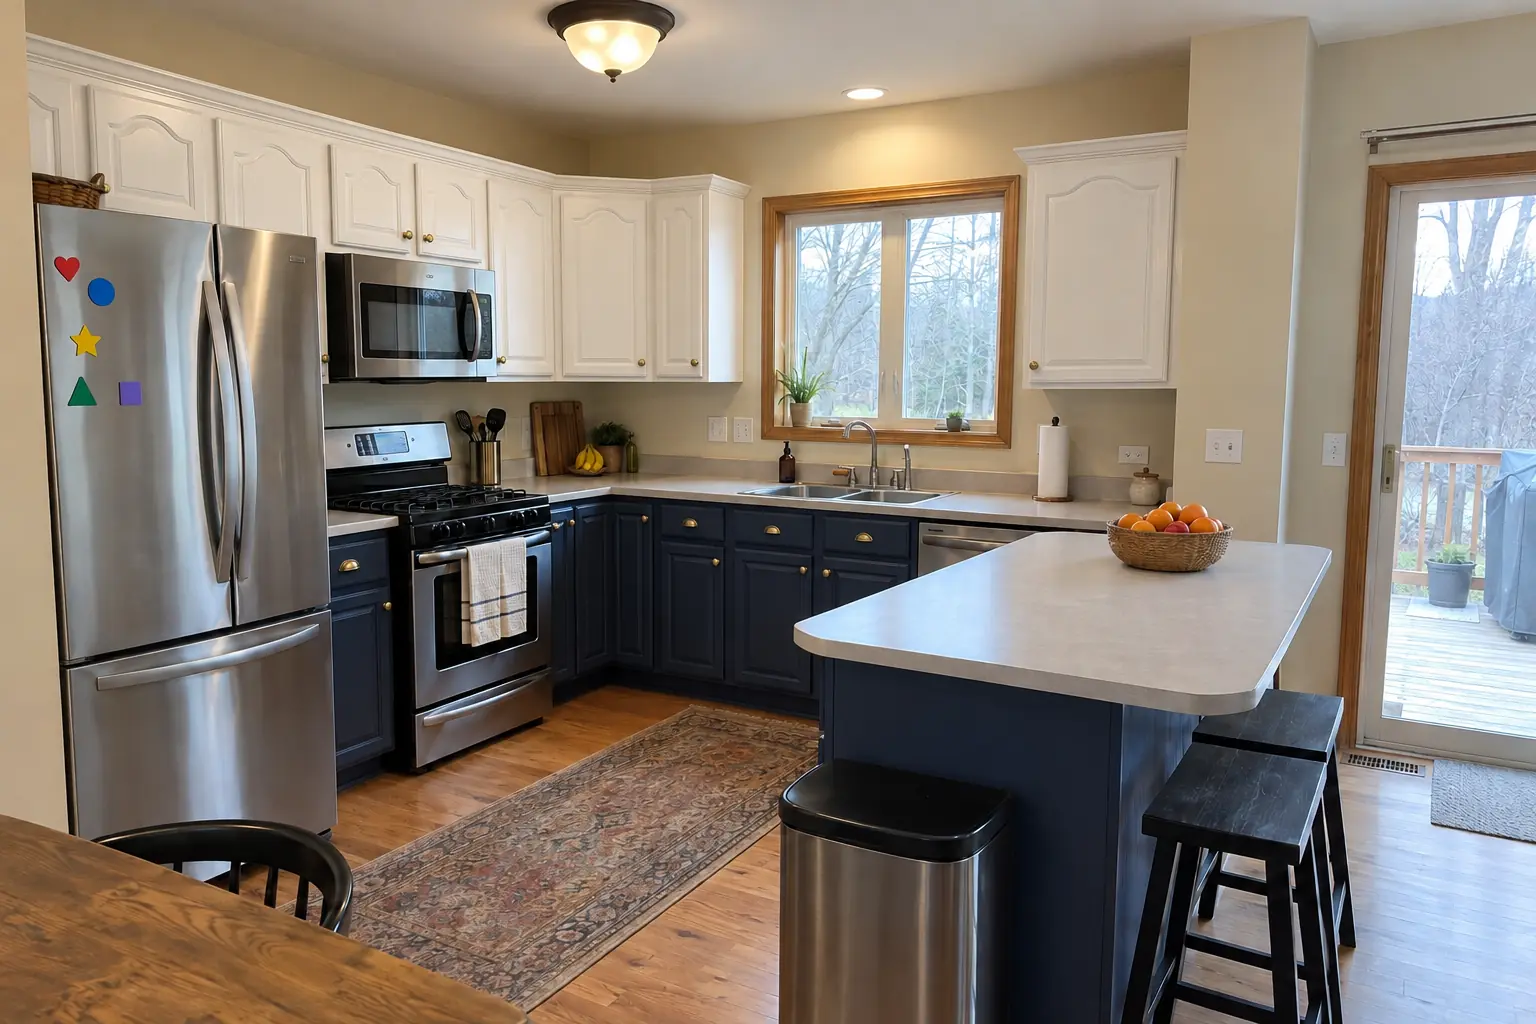 After
Bubbles, tackiness and bleed-through
Some problems show up within days of painting, and each is easier to fix early.
Bubbles and blisters
Blisters usually mean the paint went over a surface that was damp, too warm or still holding cleaner residue; they also form when a thick coat traps solvent. They are cut out, sanded flush and spot-primed before recoating.
Paint that stays tacky
Doors that stick to the frames when closed usually point to heavy coats, cold or humid drying conditions, or a soft paint that blocks. Give tacky paint more cure time in a warm, dry room before deciding to strip it.
Bleed-through on white paint
Yellow or brown spots appearing under white paint mean tannins or old stains came through because no stain-blocking primer was used. Oak and knotty woods are the usual culprits. The fix is a stain-blocking primer over the affected area before the color coats go back on.
How chipped or peeling cabinet paint is repaired
The repair depends on whether the finish around the damage is sound. Small chips on a well-bonded finish can be spot repaired. Widespread chipping or peeling means the bond has failed and the doors need a full refinish.
- Test the bondClean a door and run a tape test. If paint lifts, plan a full refinish rather than a touch-up.
- Remove what is looseScrape or strip all loose and cracked paint. In pre-1978 homes, test for lead first and use lead-safe methods before any sanding or scraping.
- Degrease and sandDegrease, rinse and dry, then sand to a sound layer and feather the edges so no ridge shows through the new paint.
- Prime with the right productUse a bonding primer suited to the existing finish, and a stain-blocking primer on oak or anywhere bleed-through appeared.
- Paint thin and flatApply a cabinet-grade enamel in thin coats, ideally sprayed with doors laid flat, and respect the recoat time on the label.
- Let it cure before rehangingDry is not cured. Handle doors gently and avoid scrubbing for the first few weeks.
How to keep new cabinet paint from failing
Most of the failures above are preventable, and the steps are the same whether you paint the cabinets yourself or hire a crew. Product choice matters, but preparation and patience matter more.
- Degrease thoroughly, rinse and let the surfaces dry before sanding.
- Scuff-sand every surface and remove the dust completely.
- Use a bonding primer suited to the existing finish; use a stain blocker on oak and knotty woods.
- Choose a cabinet and trim enamel, such as a waterborne alkyd or urethane-modified acrylic.
- Apply thin coats and follow the recoat times on the label.
- Let the paint cure; avoid scrubbing and heavy use for the first few weeks.
- Add bumper pads to door frames and use hardware so hands touch metal, not paint.
Frequently asked questions
Why is my cabinet paint cracking?
Why are my painted cabinets chipping?
Why are my white painted cabinets cracking at the joints?
Can I touch up chipped cabinet paint myself?
Do I need to strip all the paint to fix peeling cabinets?
Is cracked cabinet paint a sign of lead?
Kitchen Cabinet Painting in your town
- Carol Stream
- Naperville
- Schaumburg
- Wheaton
- Glen Ellyn
- Bloomingdale
- Bartlett
- Roselle
- Hanover Park
- Glendale Heights
- West Chicago
- Winfield
- Warrenville
- Lisle
- Downers Grove
- Lombard
- Villa Park
- Elmhurst
- Oak Brook
- Addison
- Itasca
- Wood Dale
- Elk Grove Village
- Hoffman Estates
- Arlington Heights
- Palatine
- Mount Prospect
- Des Plaines
- Park Ridge
- Skokie
- Evanston
- Northbrook
- Glenview
- Highland Park
- Buffalo Grove
- Lake Zurich
- Oak Park
- Berwyn
- Tinley Park
- Orland Park
- Bolingbrook
- Aurora
- Elgin
- St. Charles
- Geneva
- Batavia
- Crystal Lake
- Plainfield
- Woodridge
Sources
Keep reading
-
 CabinetsPainting Kitchen Cabinets: Options, Preparation and When to Hire a ProThe best way to paint kitchen cabinets is mostly preparation: remove the doors, degrease every surface, scuff-sand, apply a bonding primer, then two…3 min read
-
 Planning and designKitchen Paint Ideas: Cabinet Colors, Paint Types, Sheens and FinishesGood kitchen paint ideas pair a color that suits your light and fixed finishes with a paint made for cabinets. For most kitchens that means a…3 min read
-
 Costs and budgetingCabinet Painting Cost: What It Costs to Have Kitchen Cabinets PaintedCabinet painting cost for an average kitchen usually runs about $2,000 to $6,500, or about $30 to $70 per linear foot and $70 to $125 per door…3 min read