Serving Oak Brook & nearby Villa Park, Lombard

Kitchen Backsplash Installation in Oak Brook, IL

Tile backsplashes set straight, grouted clean and finished around every outlet in Oak Brook kitchens.

  • Serving Oak Brook ZIP 60523
  • A new look without tearing the kitchen out
  • Clean, protected work area every day

Prefer a callback?

Leave your number and a Oak Brook tile setter will call you.

Backsplash problems we solve in Oak Brook

Most of the work in a good backsplash happens before the first tile goes up. Our Oak Brook tile setters flatten the wall, extend the outlet boxes and lay out the pattern, then set and grout subway, mosaic, stone or porcelain tile.

Painted walls in a home built before 1978

In older Oak Brook homes, tearing out a backsplash can disturb lead paint. We work lead-safe: plastic sheeting, controlled dust and a careful final cleanup.

Tile that ends in the wrong place

Thin slivers of tile at the corners and edges come from no layout. We plan the pattern so cuts are even and hidden where possible.

Outlets sunk behind the tile

When tile adds thickness, the outlet box needs an extender ring. Our outlets end up flush, not buried.

Old 4-inch splash with nothing above

That strip of 4-inch splash dates the kitchen. Tile above it, or in its place, finishes the wall to the cabinets.

Uneven wall surface

Bumps and dips in the drywall show through as lipped tile. Flattening the wall first is part of our prep.

Bare wall behind the counters

Painted drywall behind the sink and range picks up splashes and grease. A tile backsplash wipes clean and protects the wall.

Grease-prone spot behind the range

Behind the range we often suggest a full-height feature, a larger tile or a slab panel with fewer grout lines to clean.

Peel-and-stick that didn't last

If the stick-on backsplash is curling at the edges, it's time for set tile. We take it off and prep the wall properly.
What's included

  • Layout and tile selectionWe pick the pattern and the starting point with you before ordering material.
  • Protection and removalCounters and cabinets covered, outlets shut off, old tile or splash removed.
  • Wall repair and prepDrywall or plaster patched and flattened, cement board where the wall needs it.
  • Outlet box extendersExtender rings so outlets and switches sit flush with the tile face.
  • GroutingJoints filled, tooled and cleaned so the tile face is free of haze.
  • Caulk at the counterThe counter joint and inside corners sealed with caulk, not grout.
  • Sealing and cleanupNatural stone and cement-based grout sealed when needed; the kitchen cleaned.

Materials and finishes

Slab backsplashA full-height sheet of quartz, stone or porcelain matching the counters, with no grout lines.
Grout typesUnsanded for narrow joints, sanded for wider ones, epoxy where stain resistance matters most.
Ceramic and porcelain tileGlazed ceramic and porcelain hold up to heat and grease and come in endless colors.
Subway tileClassic 3x6 or longer rectangles in a running bond, stacked or herringbone layout.
Mosaic and glassMosaics add texture; glass tile reflects light and shows thin-set through if set poorly.

Kitchen Backsplash Installation before and after — Oak Brook homes

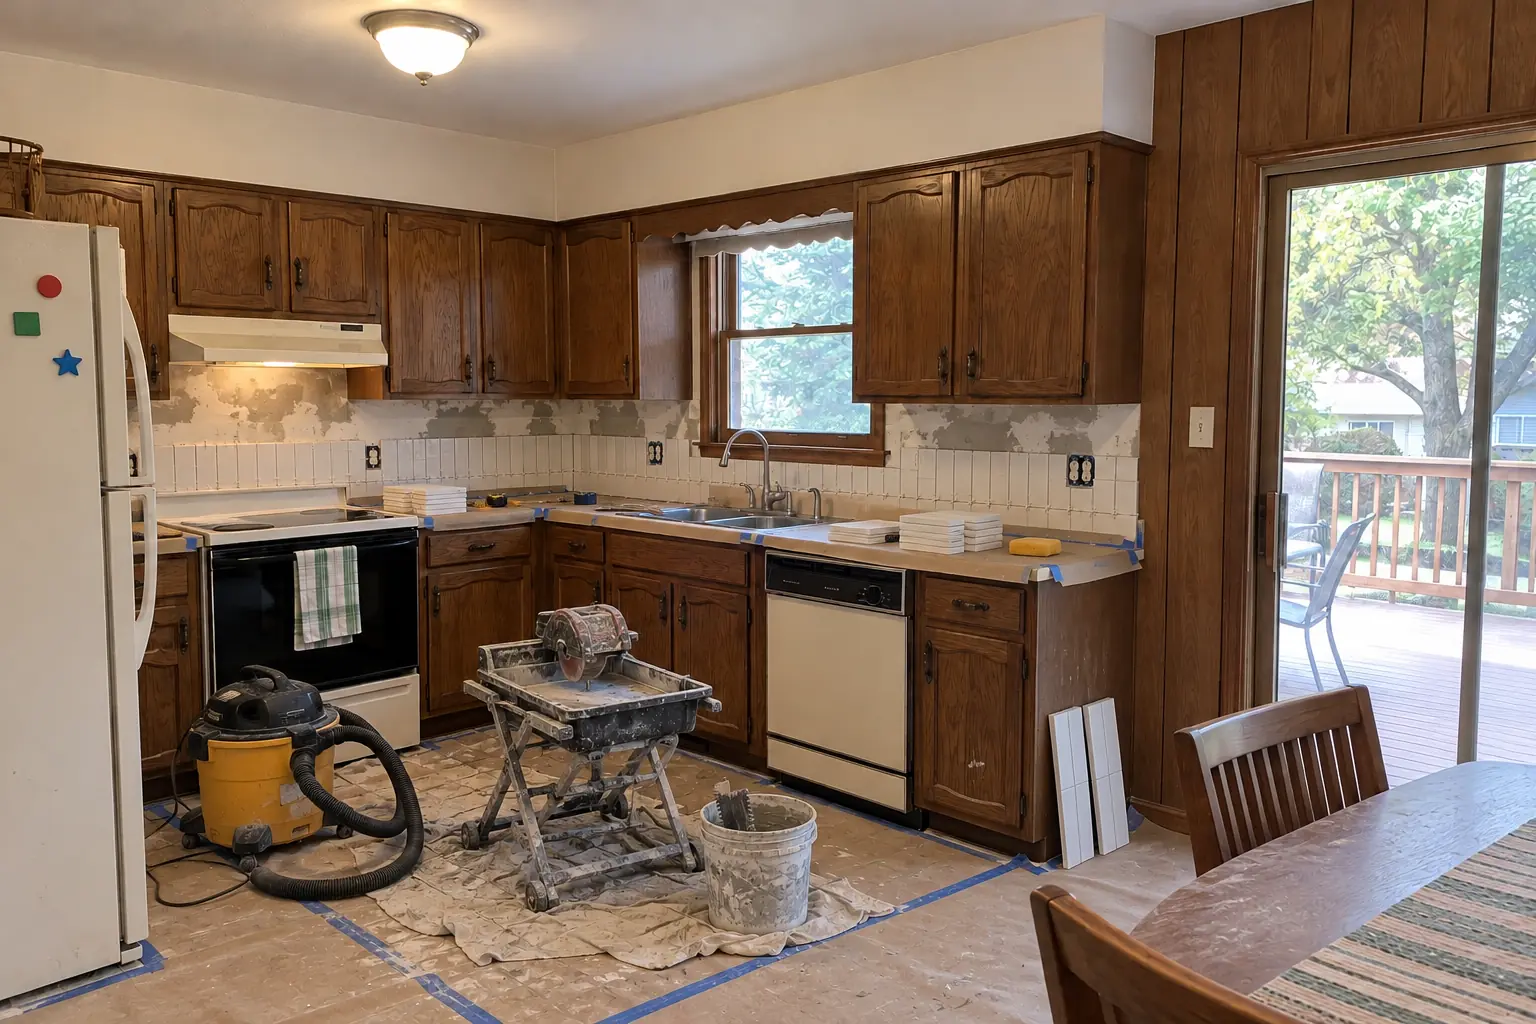
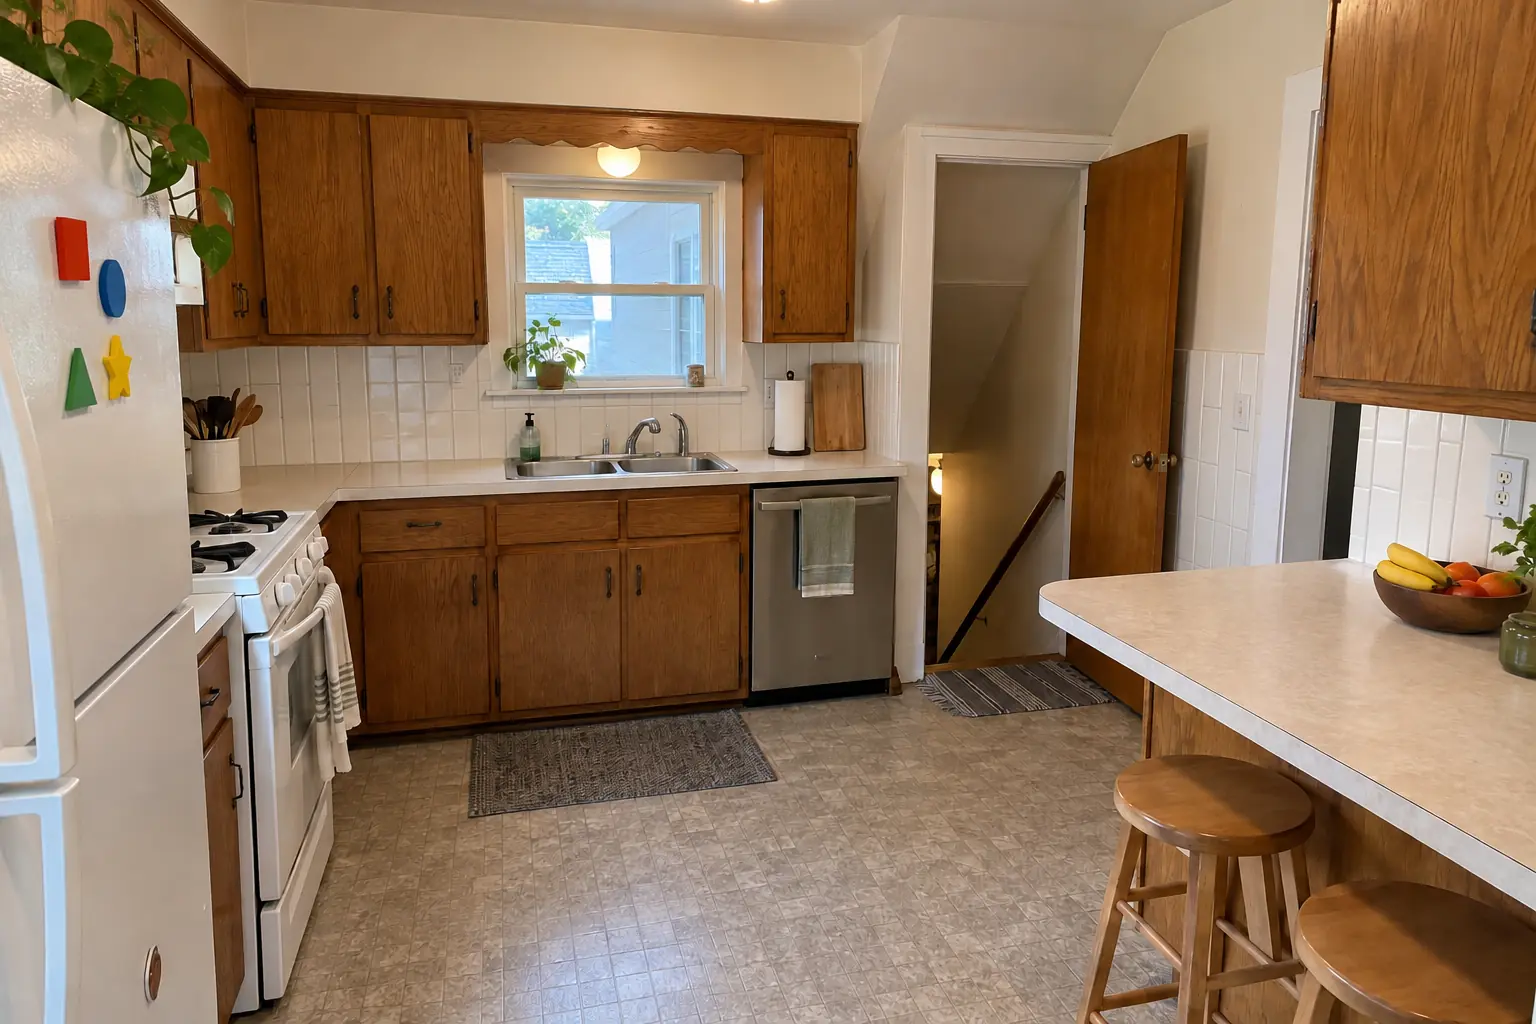
Kitchen Backsplash Installation in a 1970s split-level / raised ranch / tract — beforeBefore
Kitchen Backsplash Installation in a 1970s split-level / raised ranch / tract — in progressIn progress
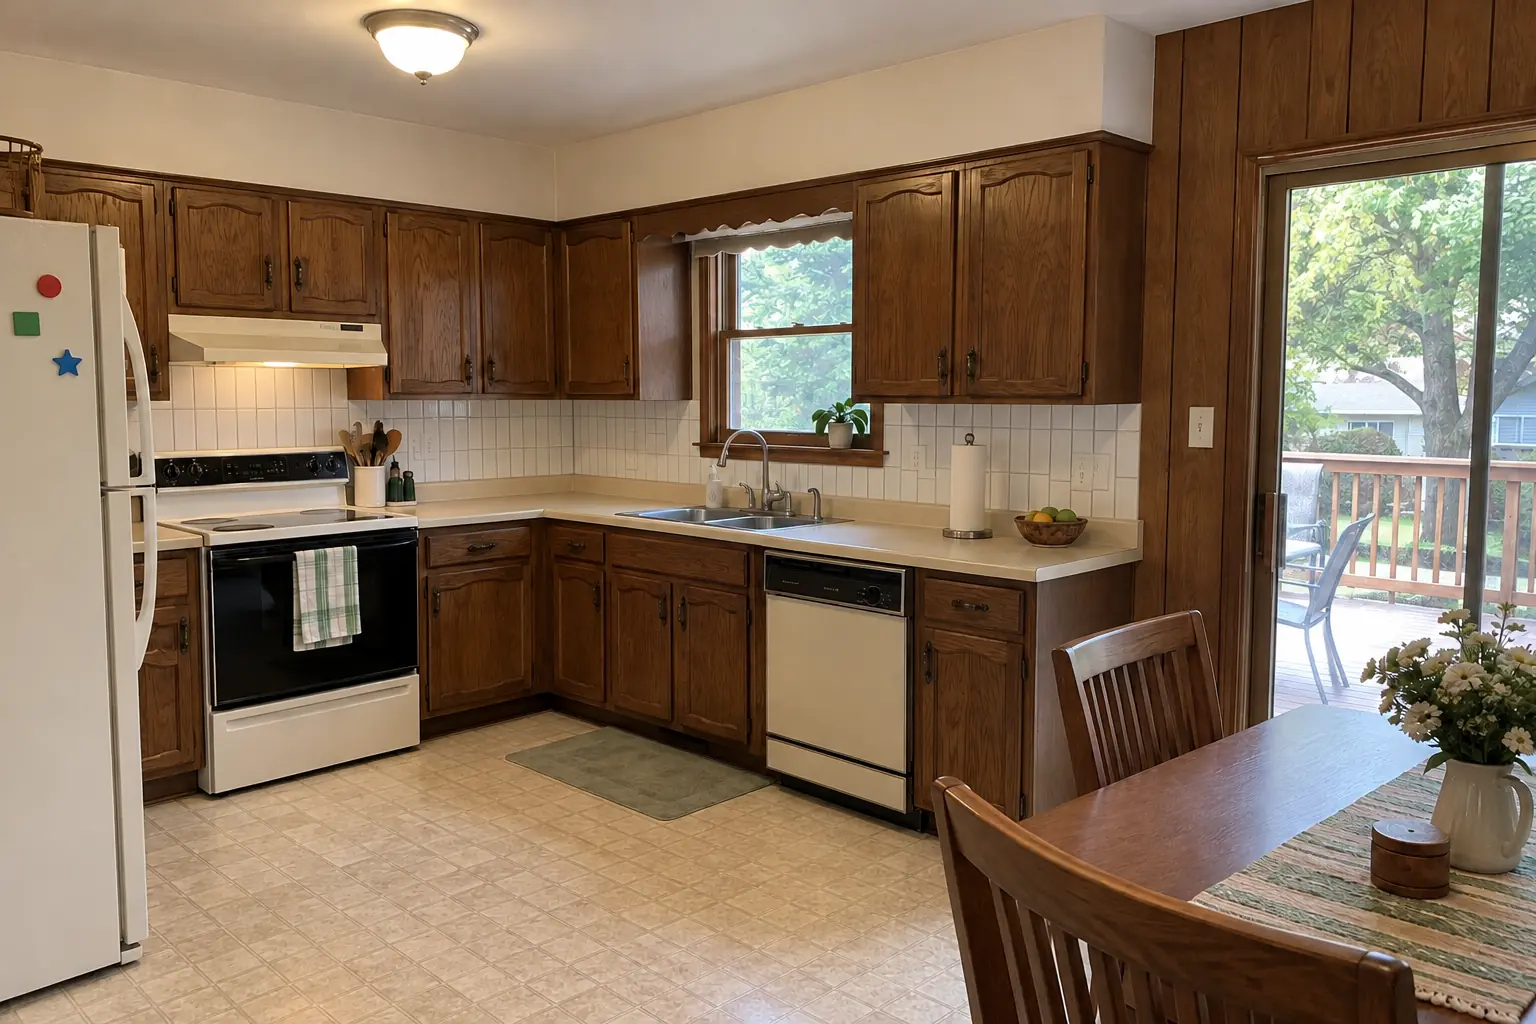
Kitchen Backsplash Installation in a 1970s split-level / raised ranch / tract — afterAfter
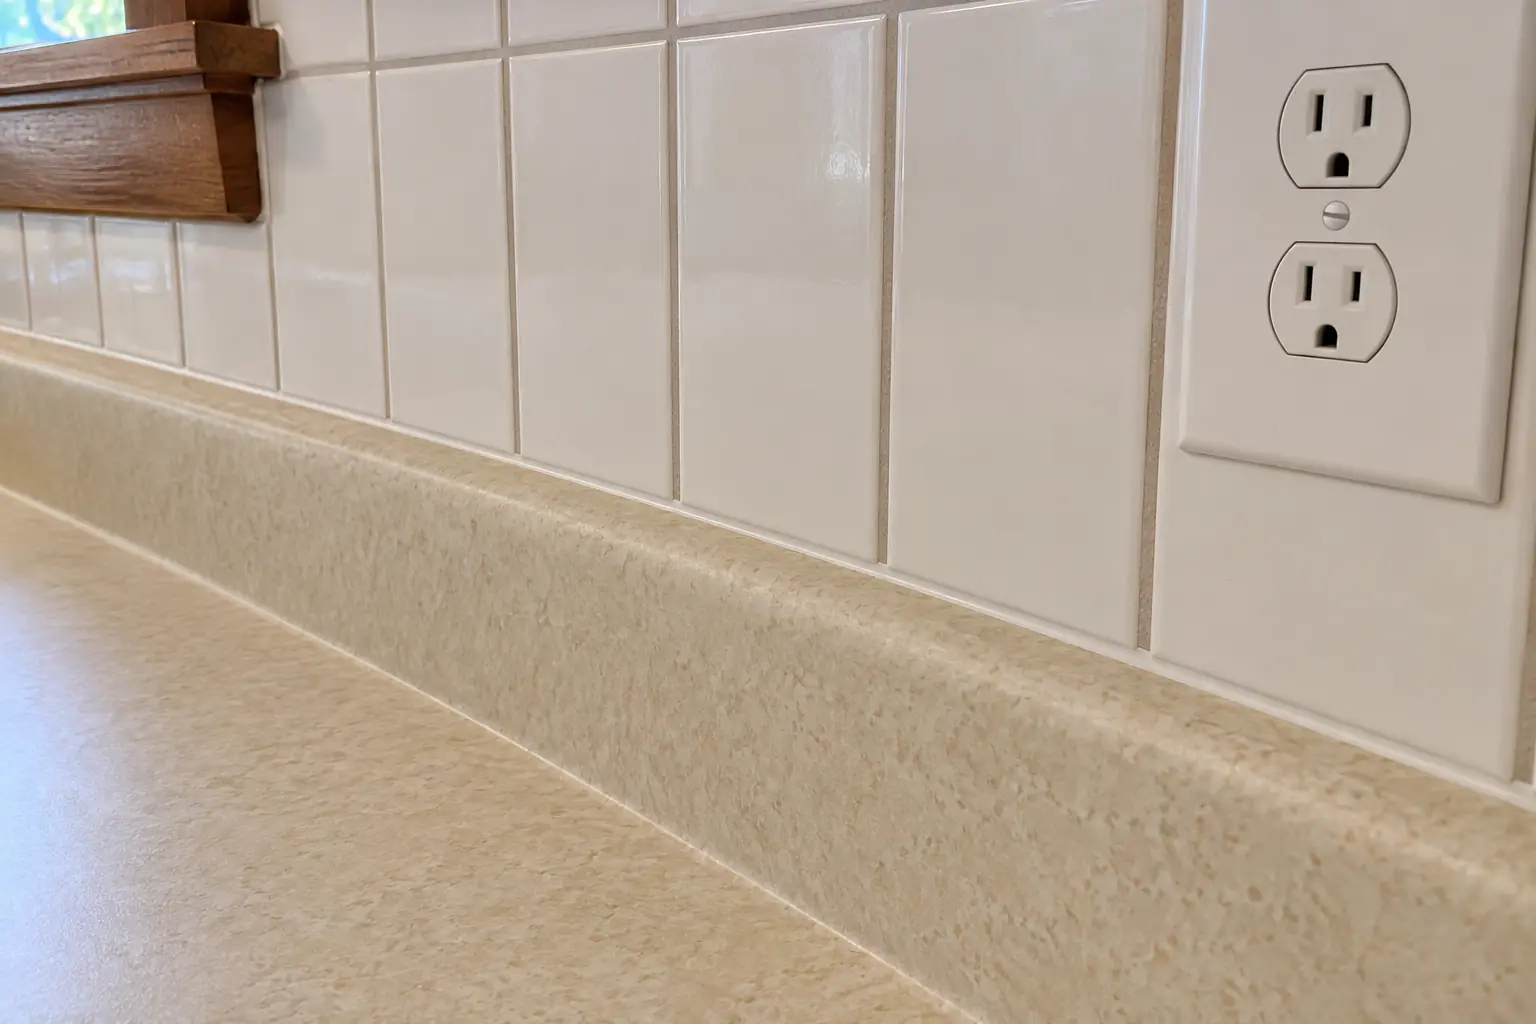
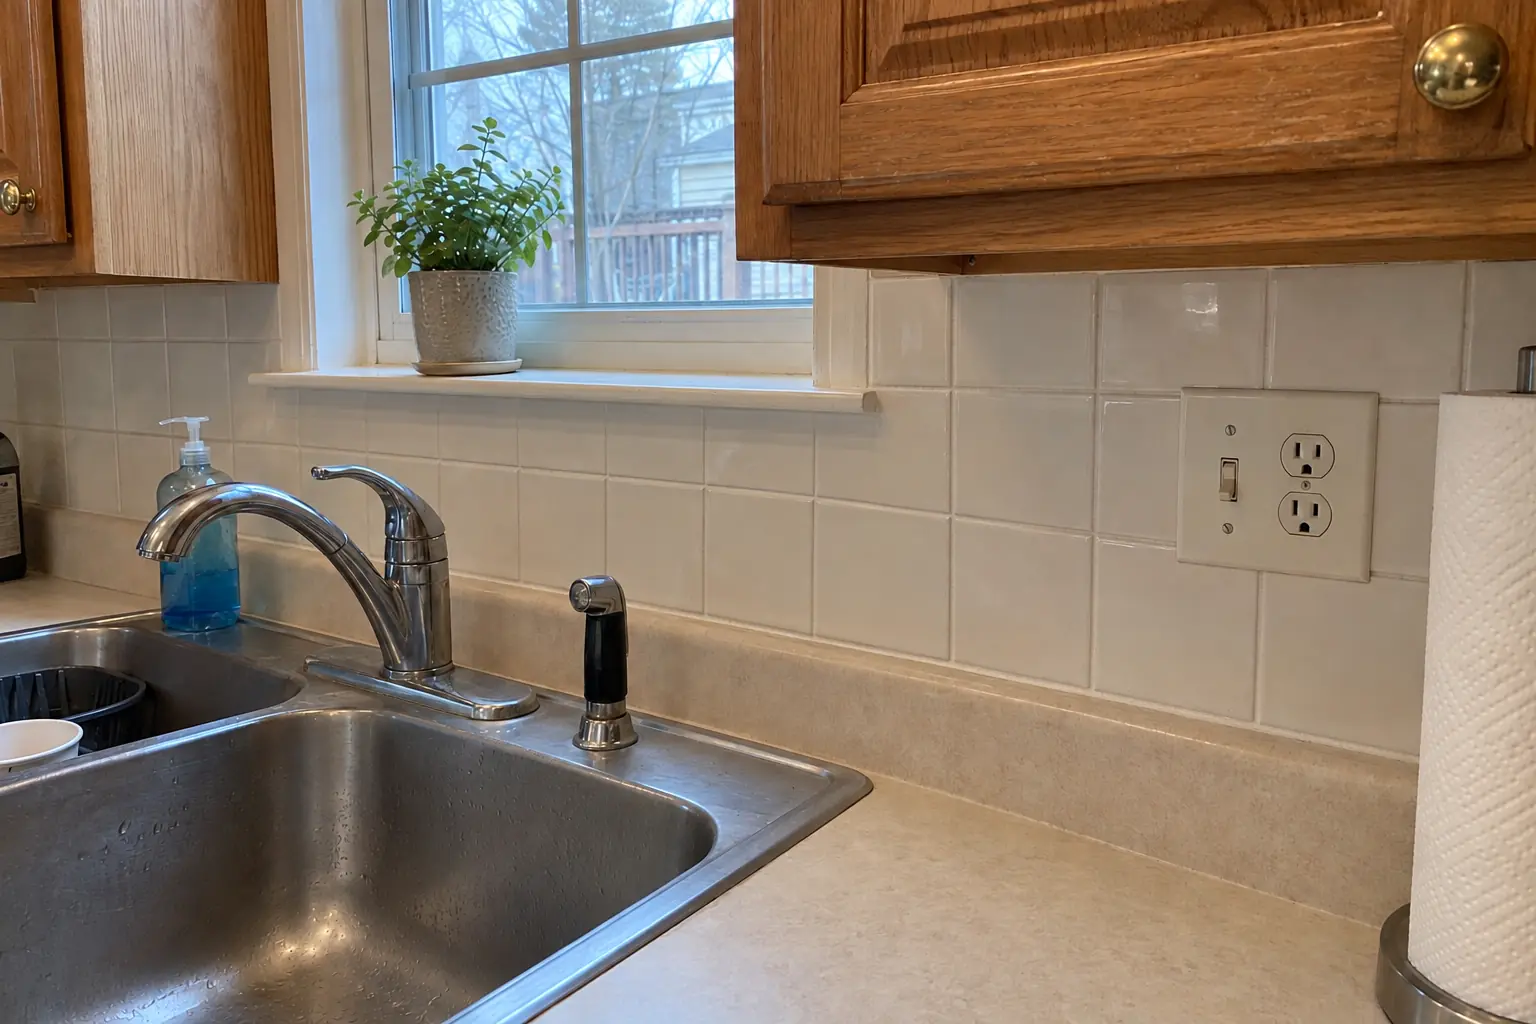
Kitchen Backsplash Installation in a 1970s split-level / raised ranch / tract — detailDetail

Kitchen Backsplash Installation in a 1970s split-level, Oak Brook

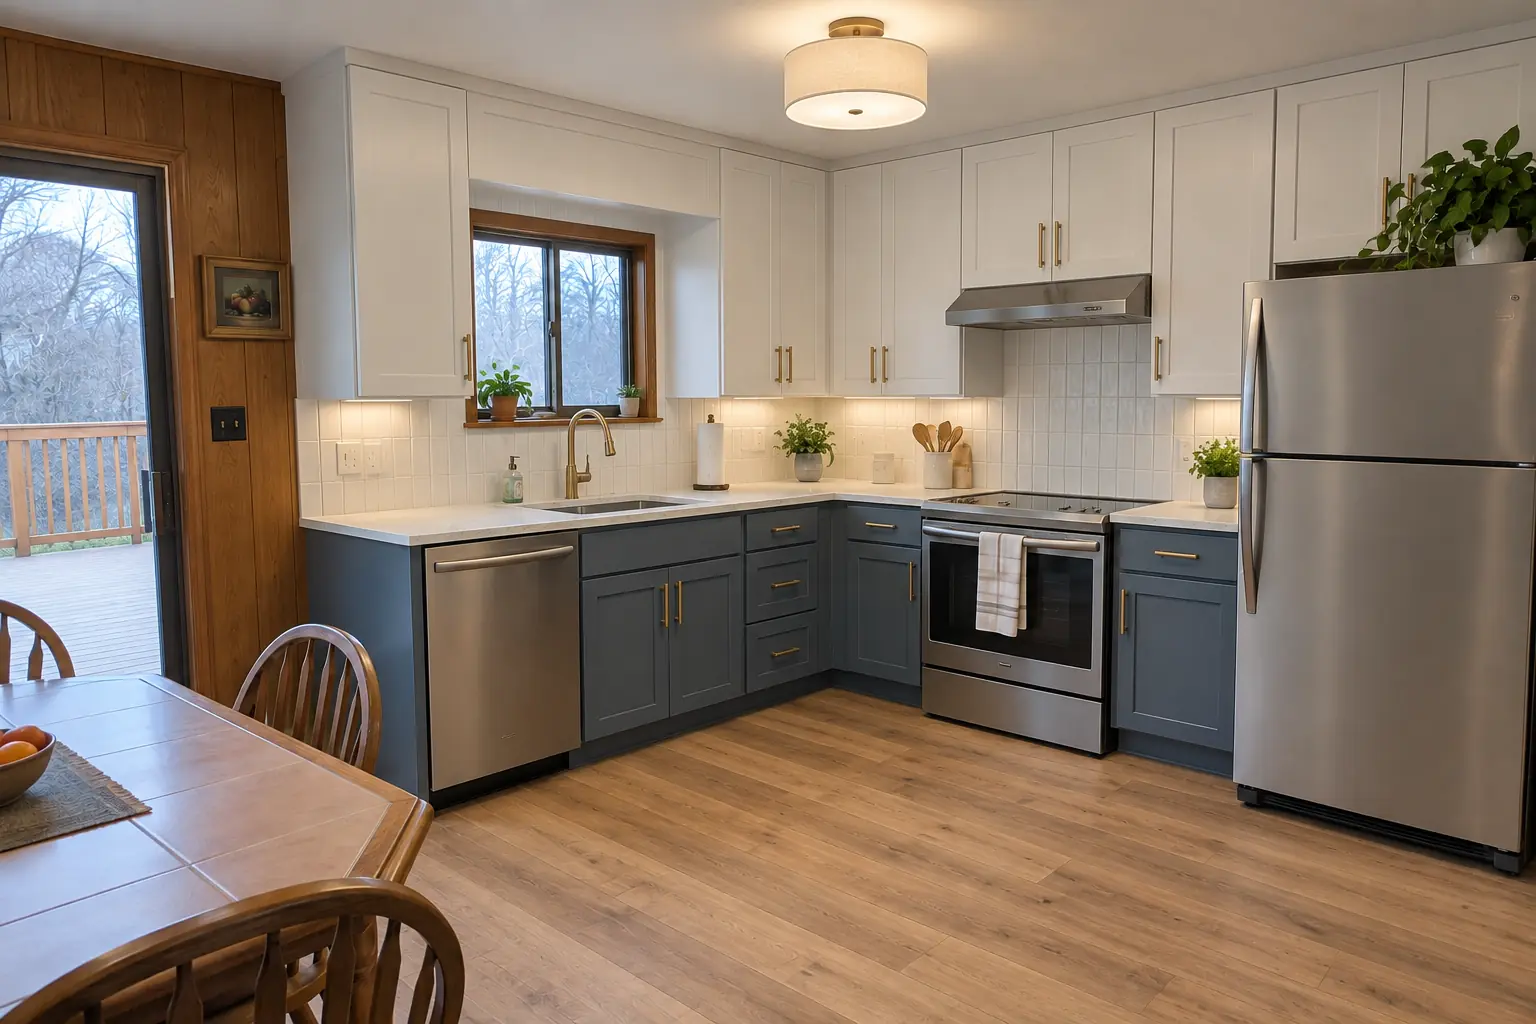
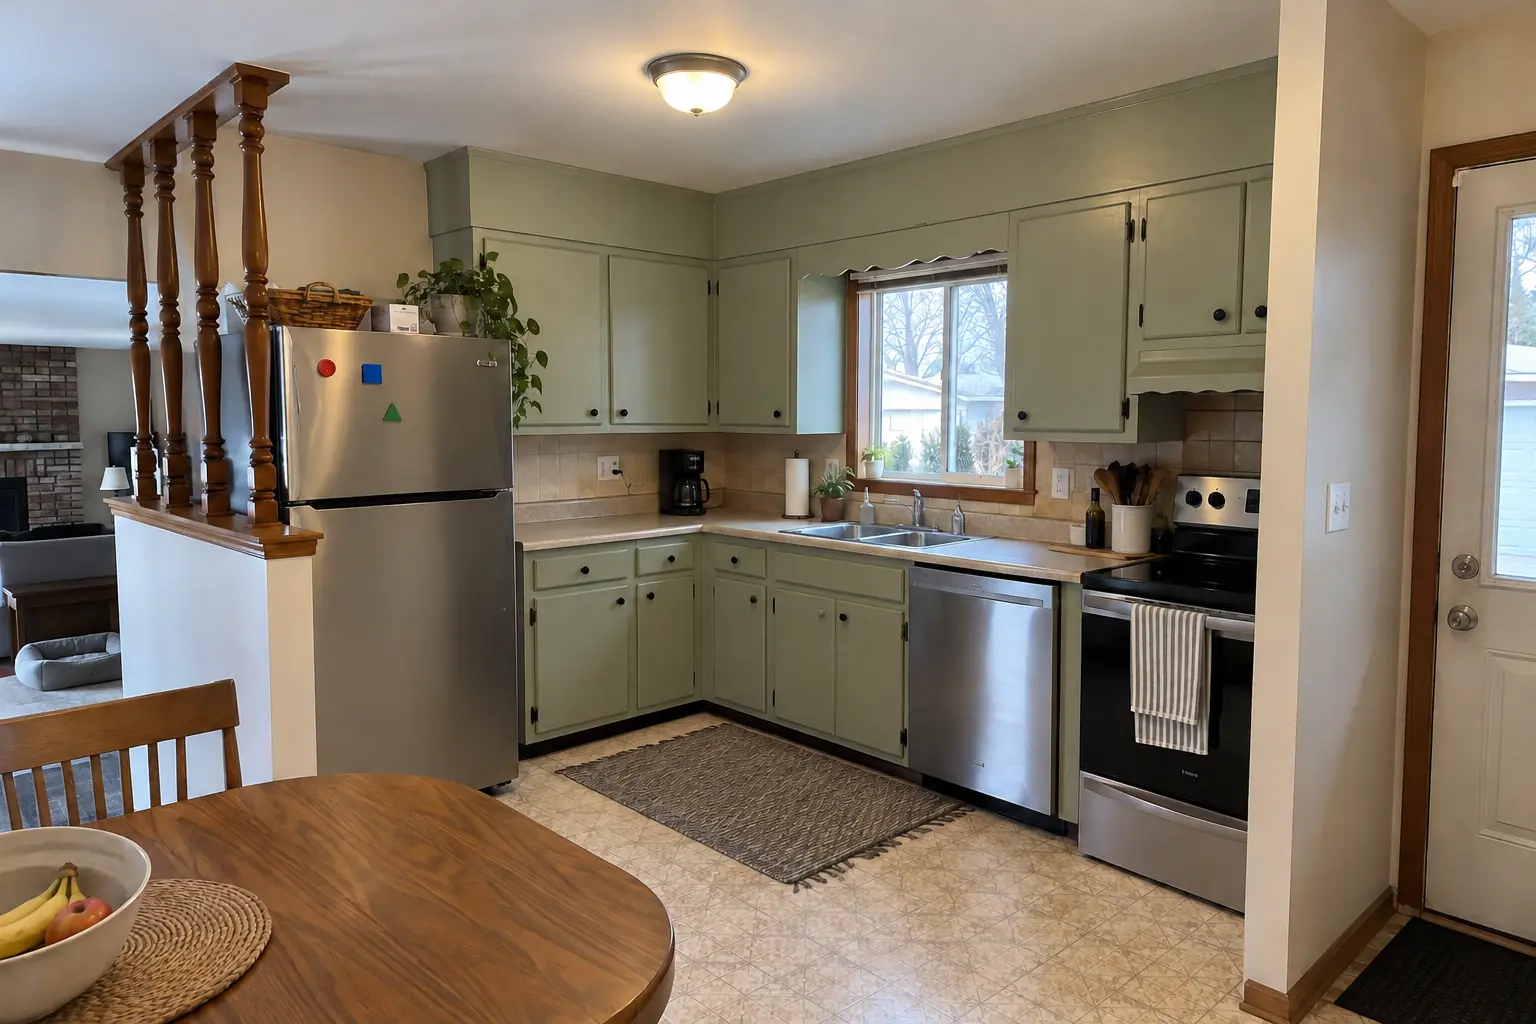
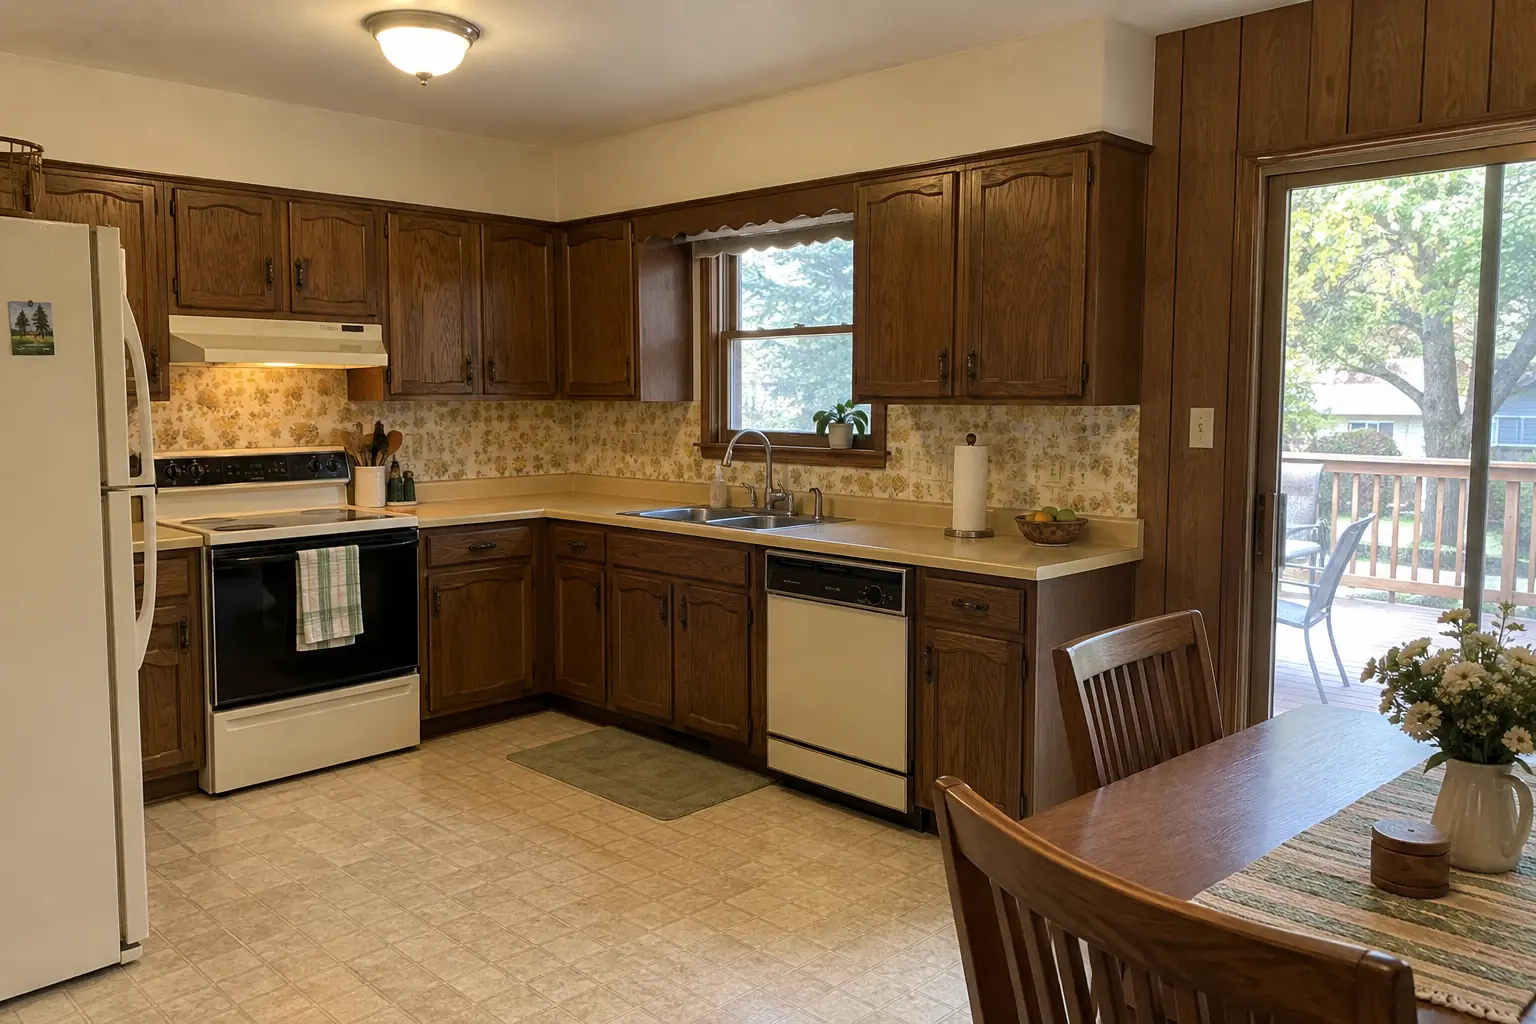
The site: a 1970s split-level in Oak Brook. Before: patterned wallpaper and harvest-gold laminate. The main complaint was a bare wall that never stayed clean. After: a white 3x12 tile in a stacked pattern backsplash with clean edges and outlets set flush. Work included wall repair and prep, outlet box extenders, plus sealing and cleanup.
Kitchen Backsplash Installation project in Villa Park, beforeBefore
Kitchen Backsplash Installation project in Villa Park, afterAfter

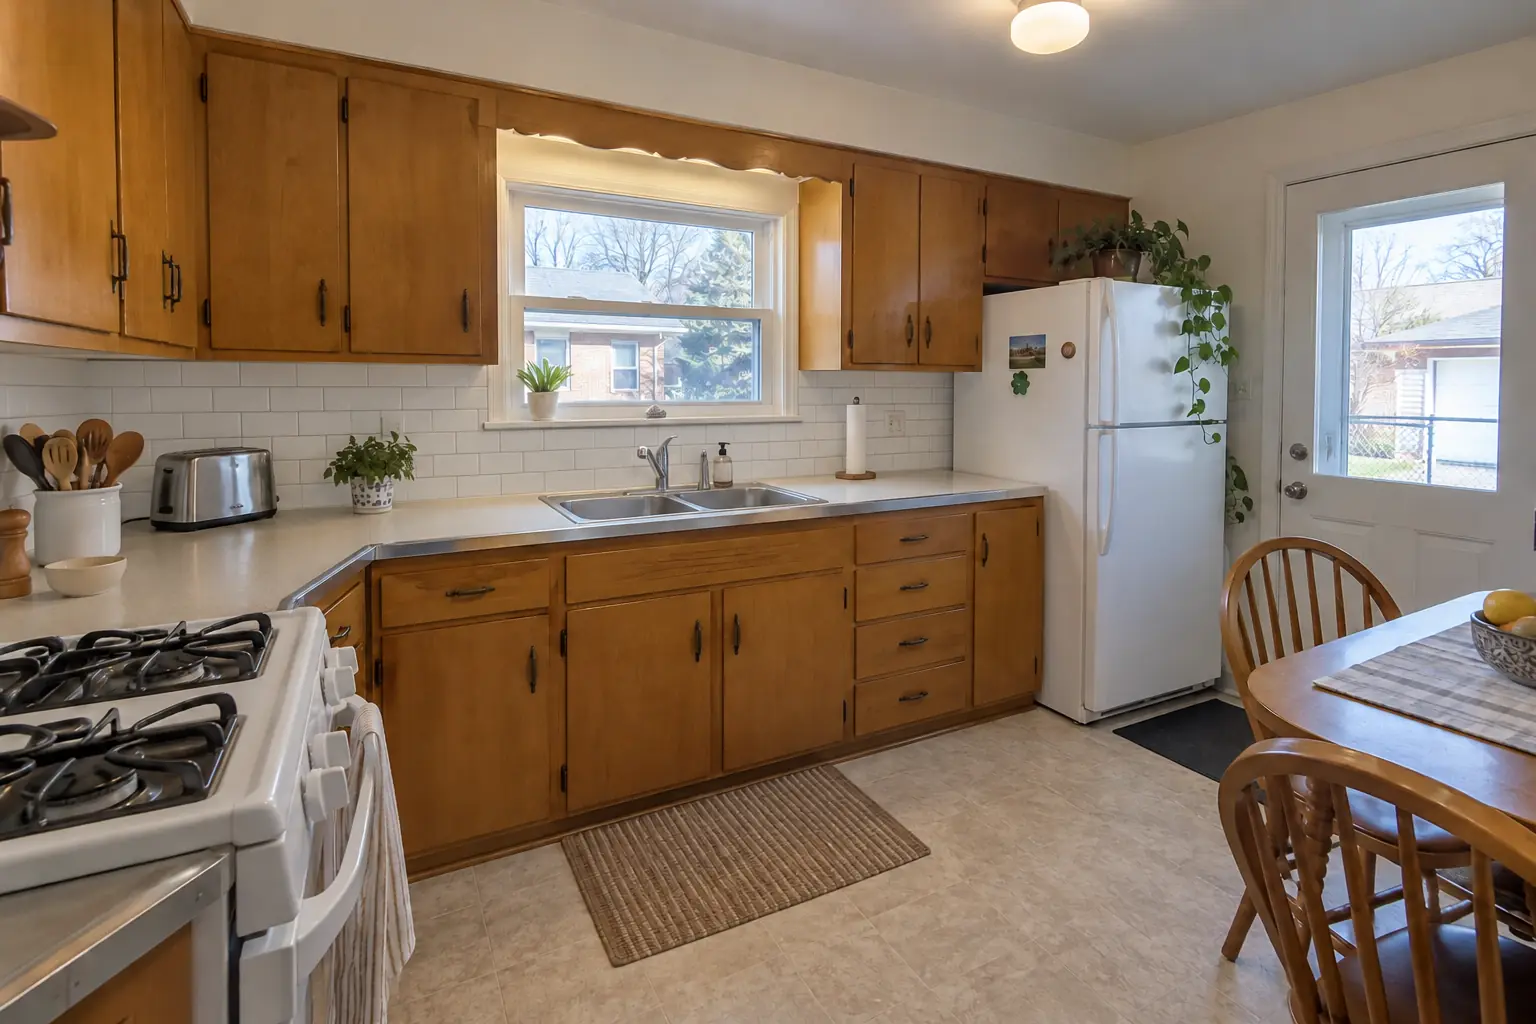
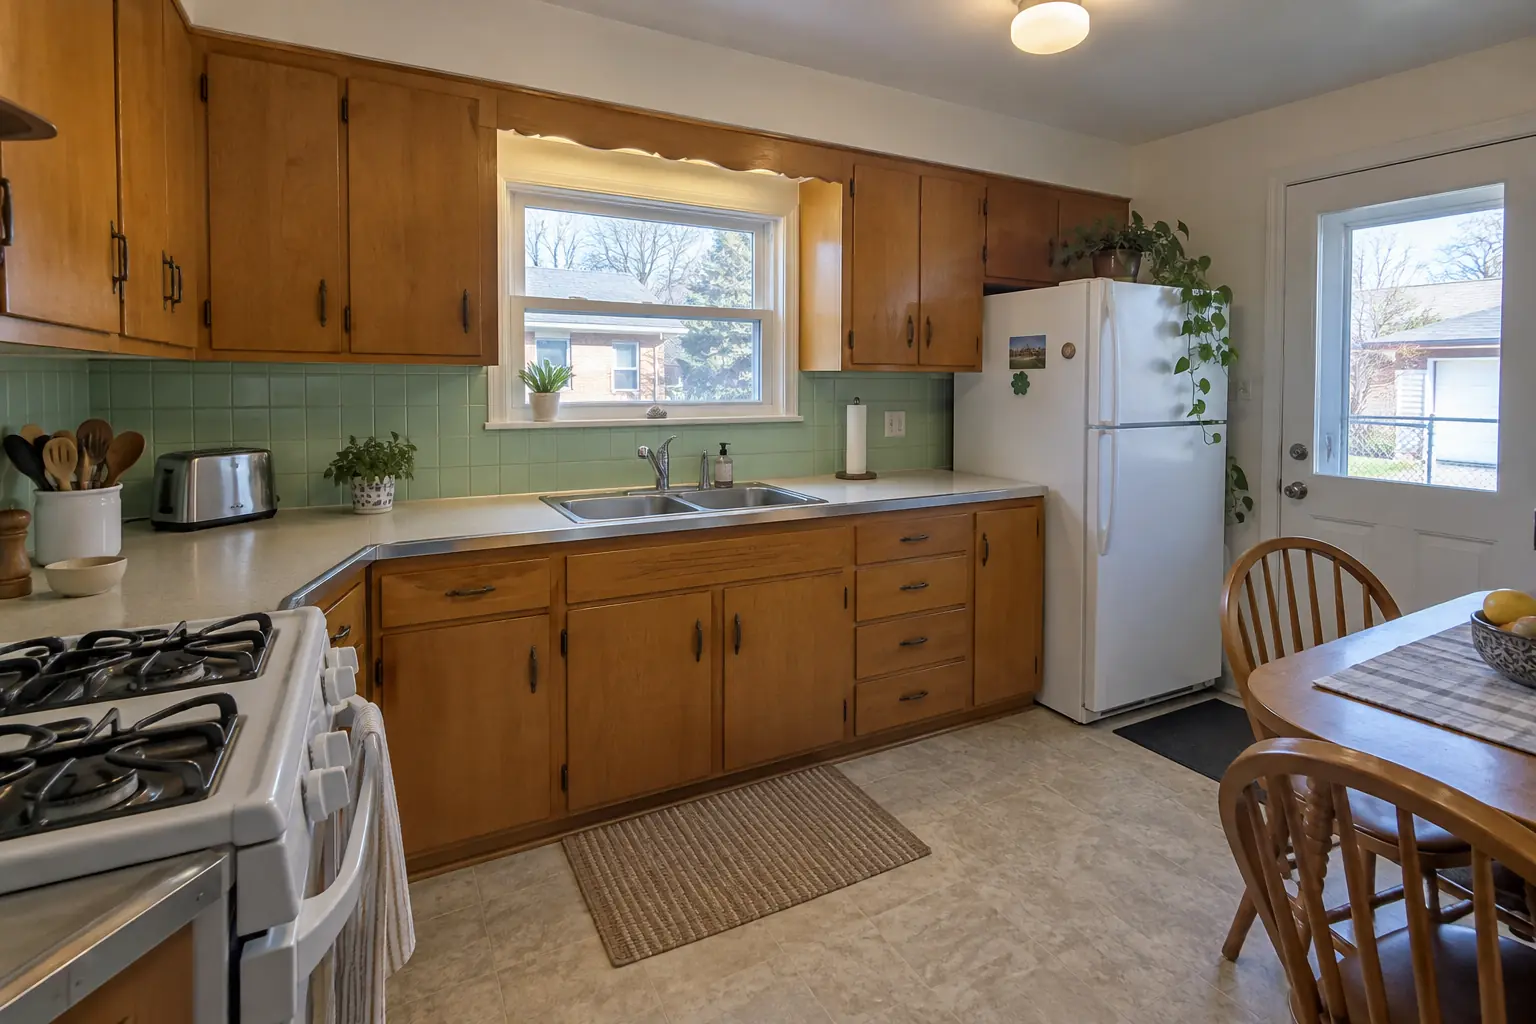
A Villa Park postwar bi-level: before and after

This one is a postwar bi-level in Villa Park. Before: mint-green 4-inch ceramic tile and laminate with an aluminum edge band. The main complaint was a short 4-inch splash that looked unfinished. Finished kitchen: a white subway tile backsplash with clean edges and outlets set flush. Work included wall repair and prep, outlet box extenders, plus grouting.

Kitchen Backsplash Installation in Villa Park →
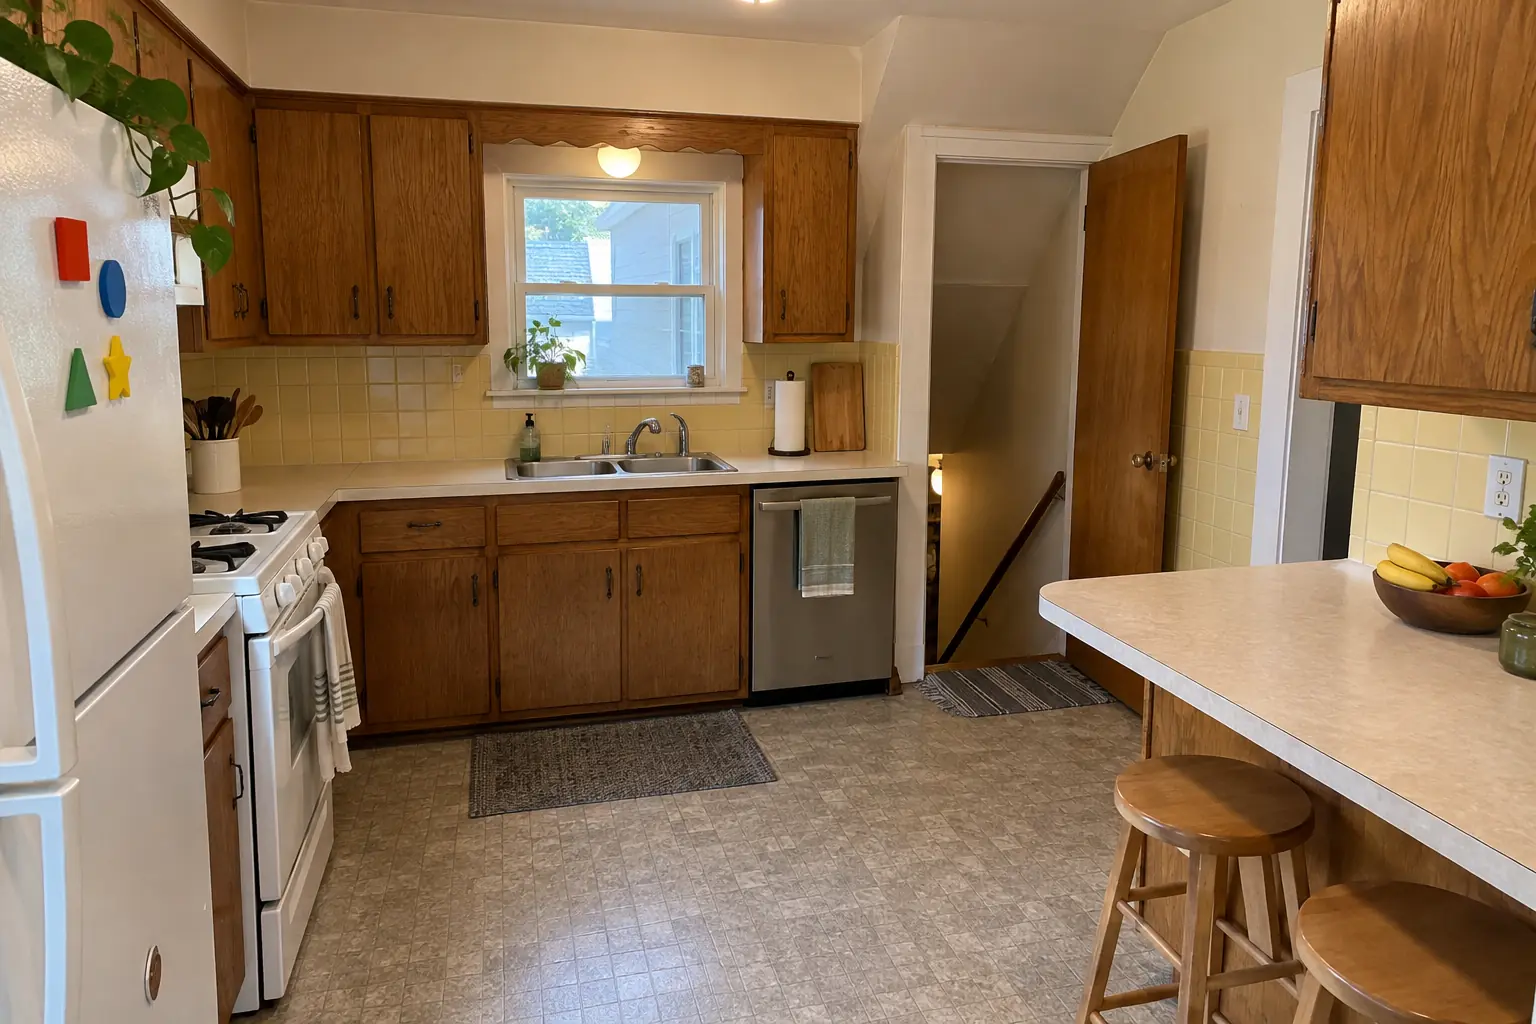
Kitchen Backsplash Installation project in Lombard, beforeBefore
Kitchen Backsplash Installation project in Lombard, afterAfter

Lombard kitchen, postwar Cape Cod: kitchen backsplash installation

A postwar Cape Cod in Lombard, a typical kitchen for Lombard. What we started with: yellow 4-inch tile and light beige laminate. The main complaint was a short 4-inch splash that looked unfinished. Finished kitchen: a white 2x8 tile in a vertical stack backsplash with clean edges and outlets set flush. The job covered layout and tile selection, outlet box extenders, plus grouting.

Kitchen Backsplash Installation in Lombard →
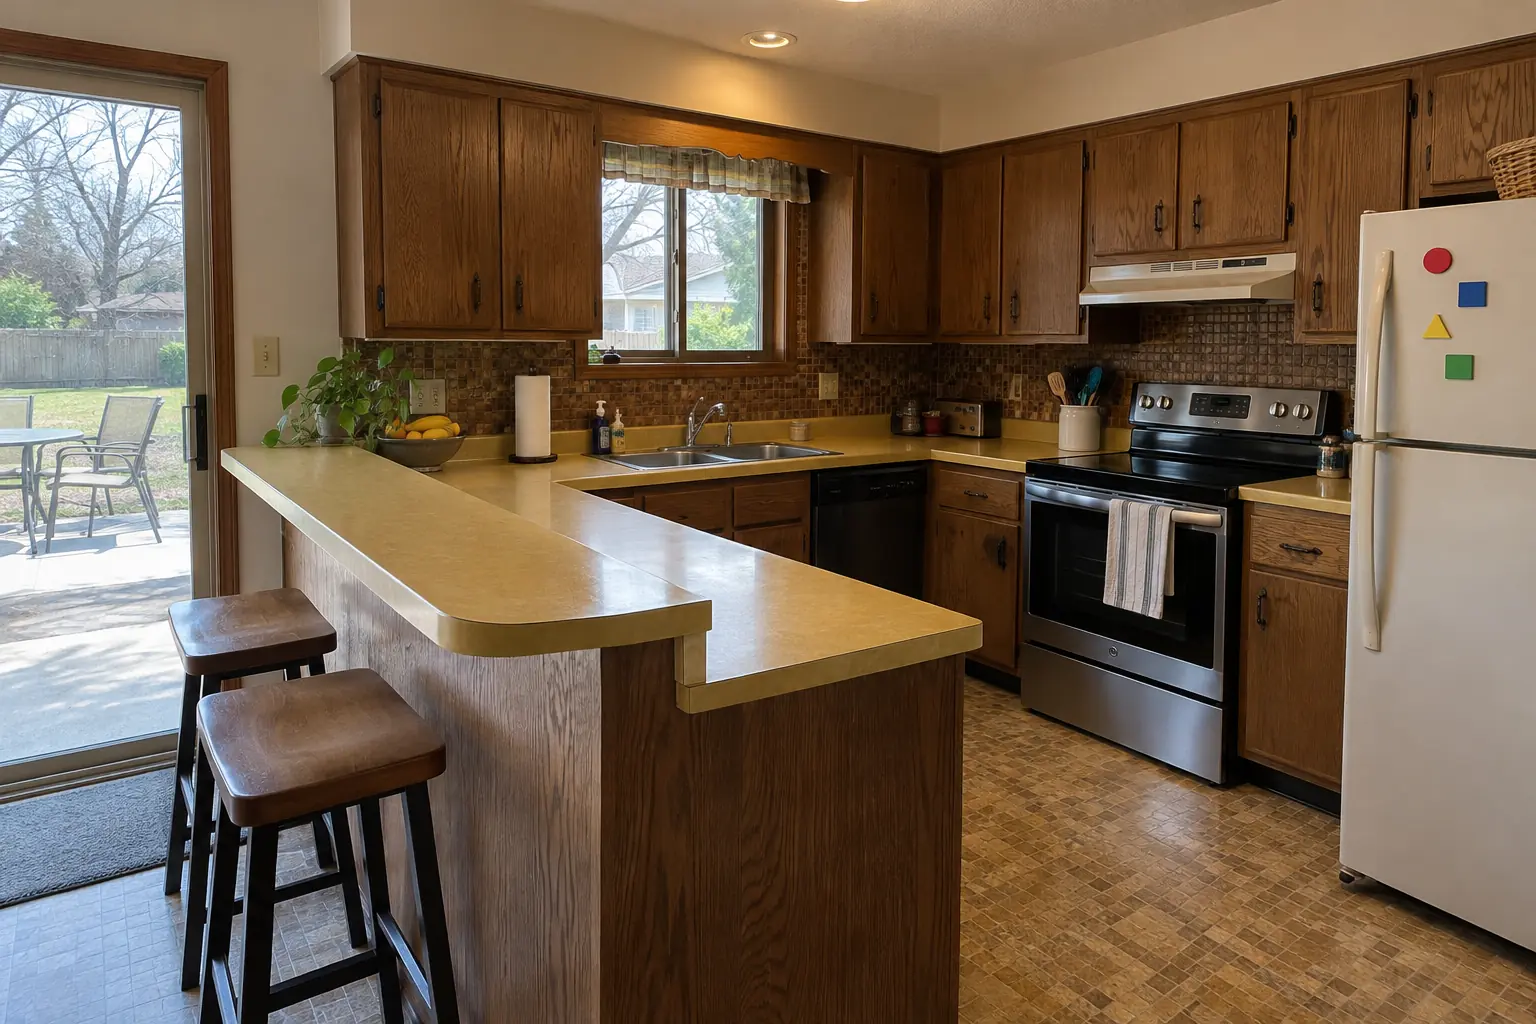
Countertop Fabrication & Installation project near Oak Brook, beforeBefore
Countertop Fabrication & Installation project near Oak Brook, afterAfter

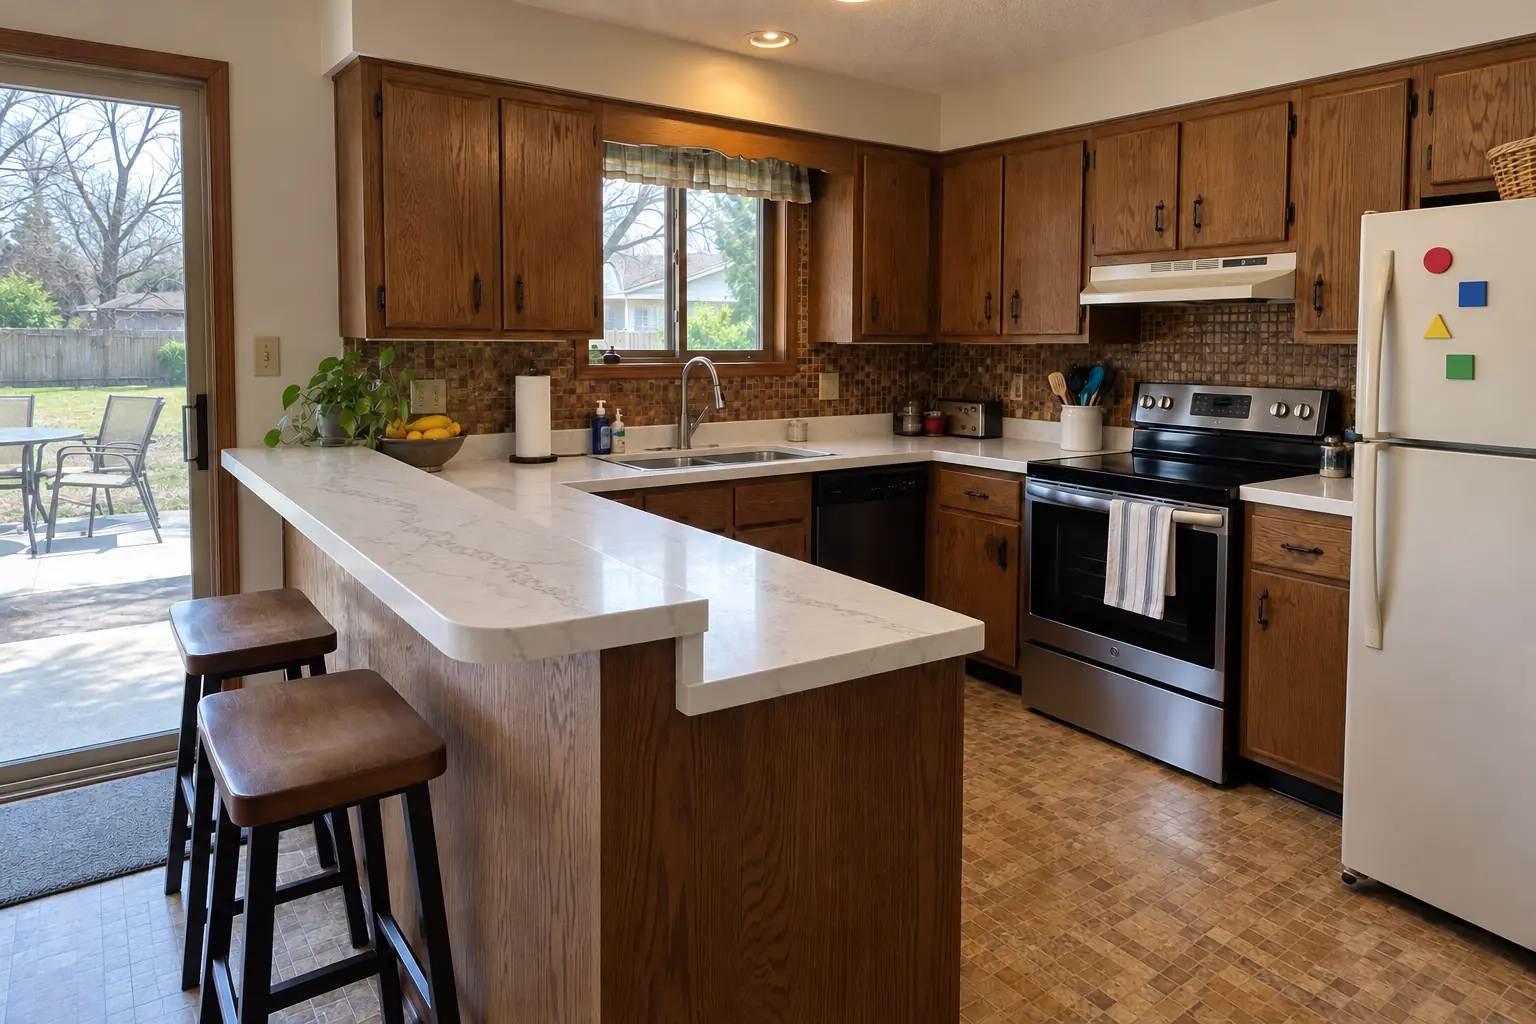
Before and after: a raised ranch in Oak Brook

White quartz with soft gray veining countertops with a tight seam, an undermount sink and a new faucet.

Countertop Fabrication & Installation in Oak Brook →
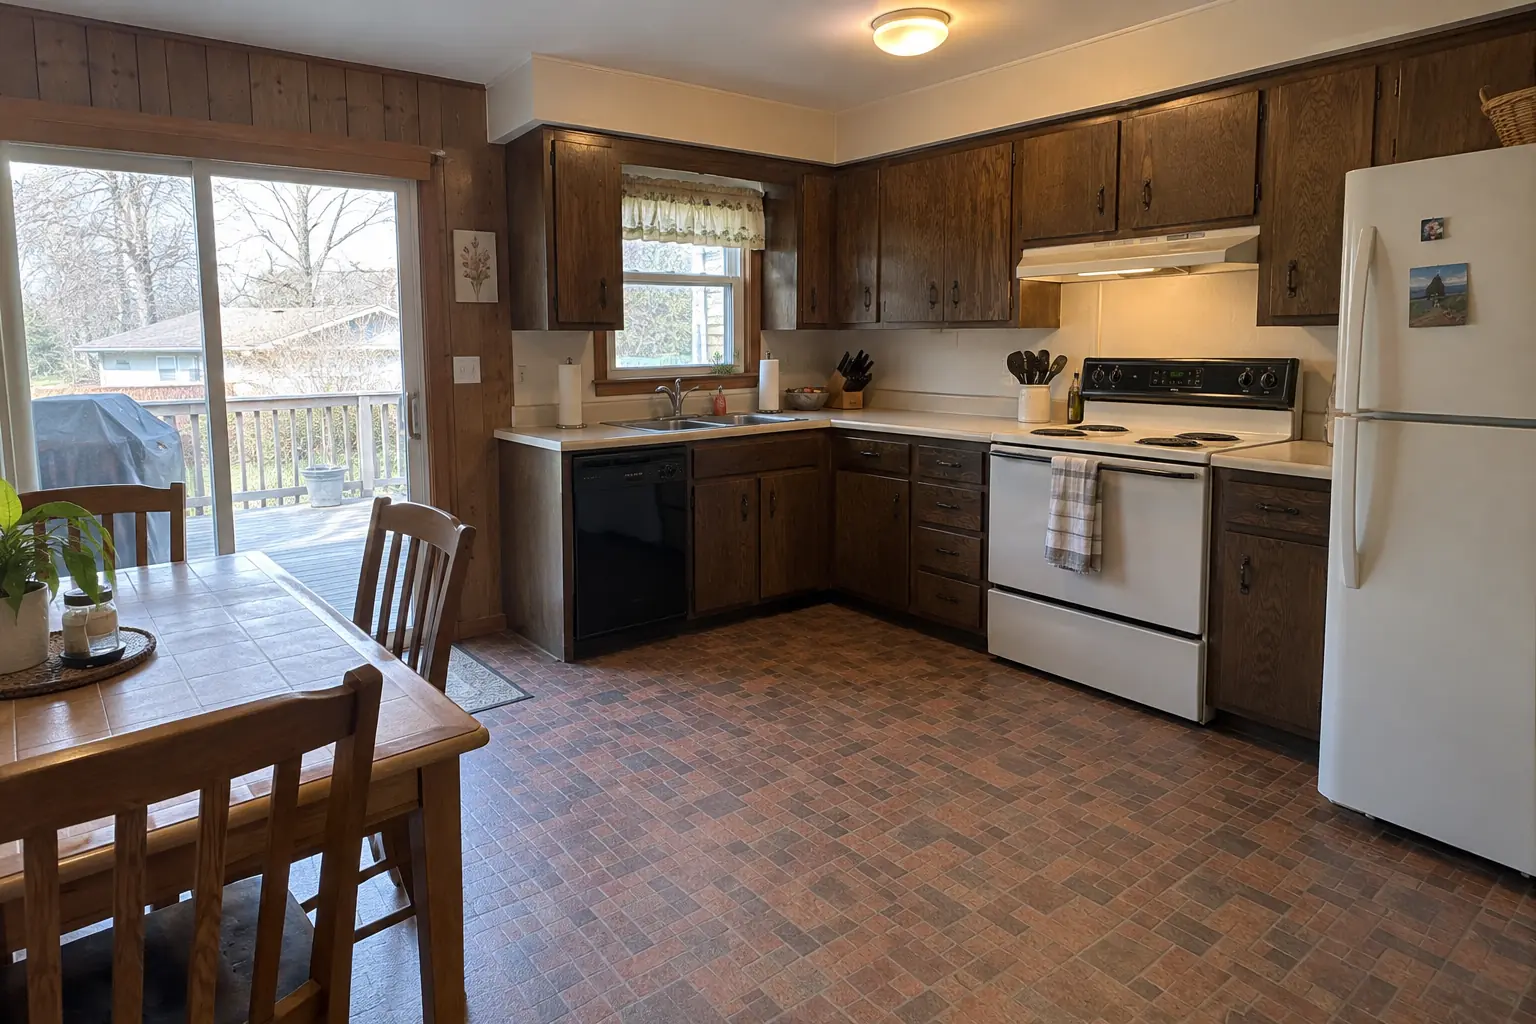
Kitchen Flooring Installation project near Oak Brook, beforeBefore
Kitchen Flooring Installation project near Oak Brook, afterAfter

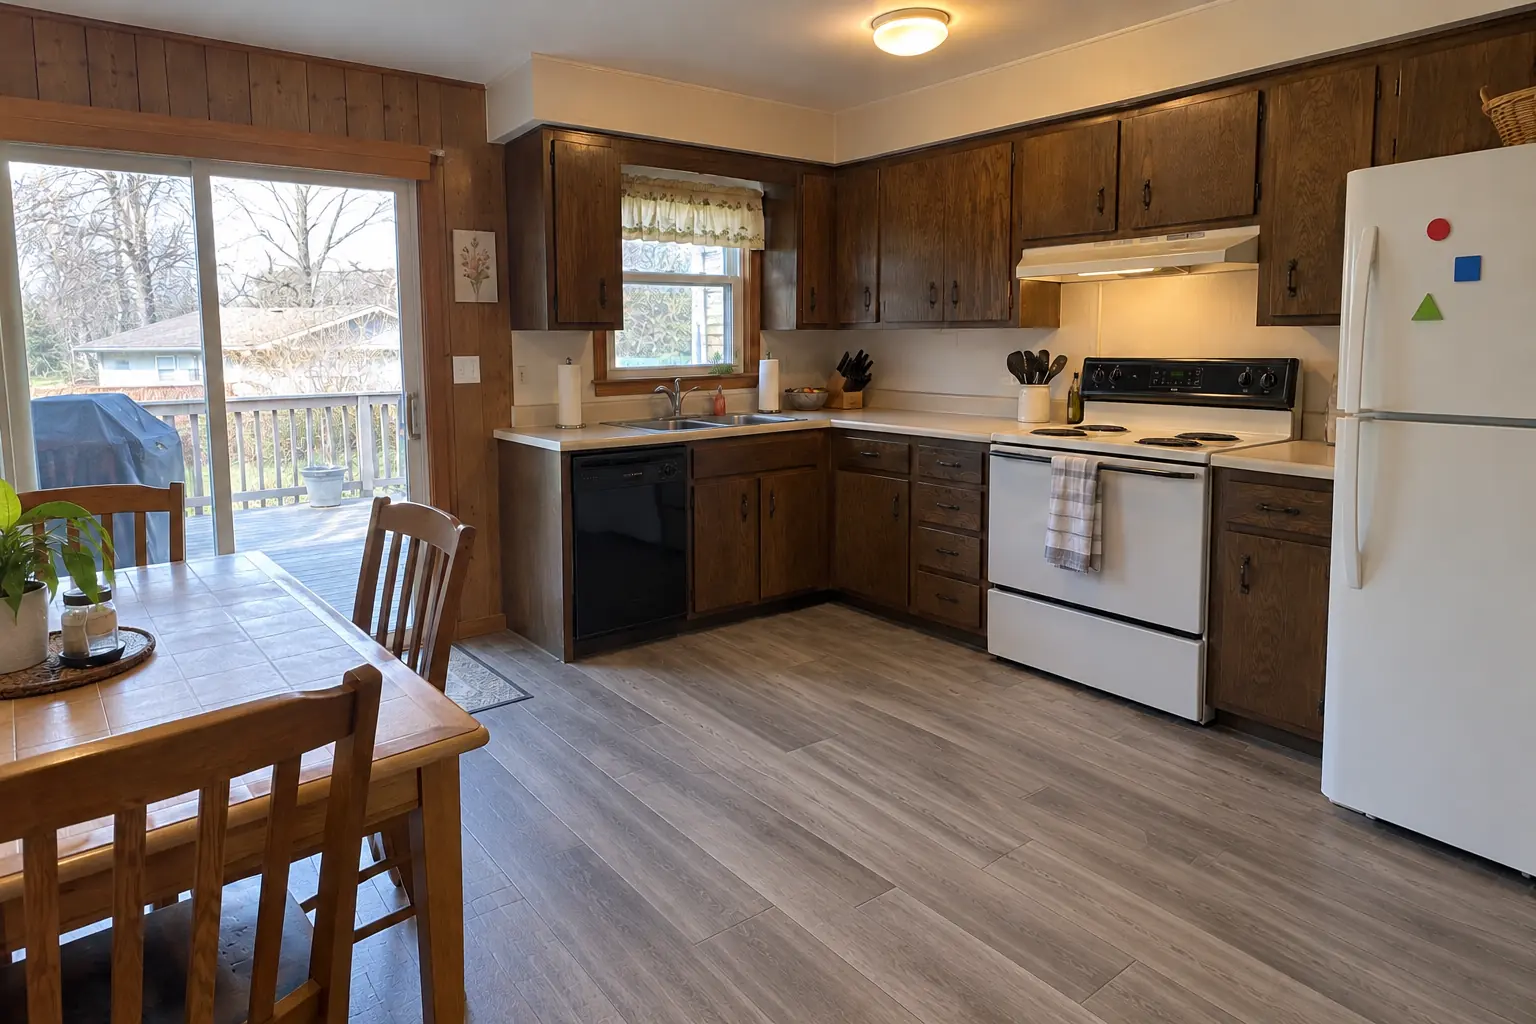
Before and after: a 1970s tract home in Oak Brook

Gray wood-look porcelain plank flooring through the kitchen with clean transitions.

Kitchen Flooring Installation in Oak Brook →

How the job goes

  1. Pick tile and patternChoose the tile and how it's laid; we figure out the quantity.
  2. Measure and planWe measure the wall, mark outlets and windows and plan where the cuts fall.
  3. Prep and setOld splash off, wall flattened, tile on the wall.
  4. Grout and finishGrout, caulk, trim, cover plates and cleanup, usually the next day.

Kitchen Backsplash Installation questions from Oak Brook homeowners

Do you move outlets or add under-cabinet lighting?
Box extenders, yes. Any new or moved electrical is done before tiling, so no tile needs cutting later.
How high should the backsplash go?
Under the cabinets, the full gap. Behind a range hood or on open shelving walls, often all the way up.
Should I install the backsplash before or after the counters?
After. The tile sits on the counter, and stone counters are templated without it.
Can you tile over my existing backsplash?
Occasionally. If the old tile is loose or uneven, it has to come off first.
How long does a backsplash installation take?
Usually a couple of days. Larger walls, mosaics or stone add time.
Do I need a Oak Brook-registered contractor for backsplash installation?
Oak Brook does not require contractor registration; no village-specific requirements for residential alterations. We take care of that before work starts.
Do I need a permit for backsplash installation in Oak Brook?
It depends on the scope. Oak Brook's rule in short: Village publishes a Residential Permit Requirement Listing; its Residential Alteration category requires contract/scope of work, architectural plans and plat of survey. We handle the permit when one is needed with Development Services (Building).
Do you work in my part of Oak Brook?
Yes. Our crews work across Oak Brook — ZIP 60523 — and nearby Villa Park, Lombard, Elmhurst.

Working in Oak Brook

  • A lot of Oak Brook kitchens date from the 1970s. We know these layouts well and what is worth keeping.
  • Most Oak Brook homes are single-family. We protect floors and driveways and leave the site clean every day.
  • We know how Development Services (Building) handles kitchen permits and pull them for you.

ZIP 60523

Kitchen Backsplash Installation nearby

Planning a kitchen project in Oak Brook?

Call us — we'll check your ZIP, answer your questions and book an in-home estimate.
Call now (708) 400-7049
Call (708) 400-7049Callback