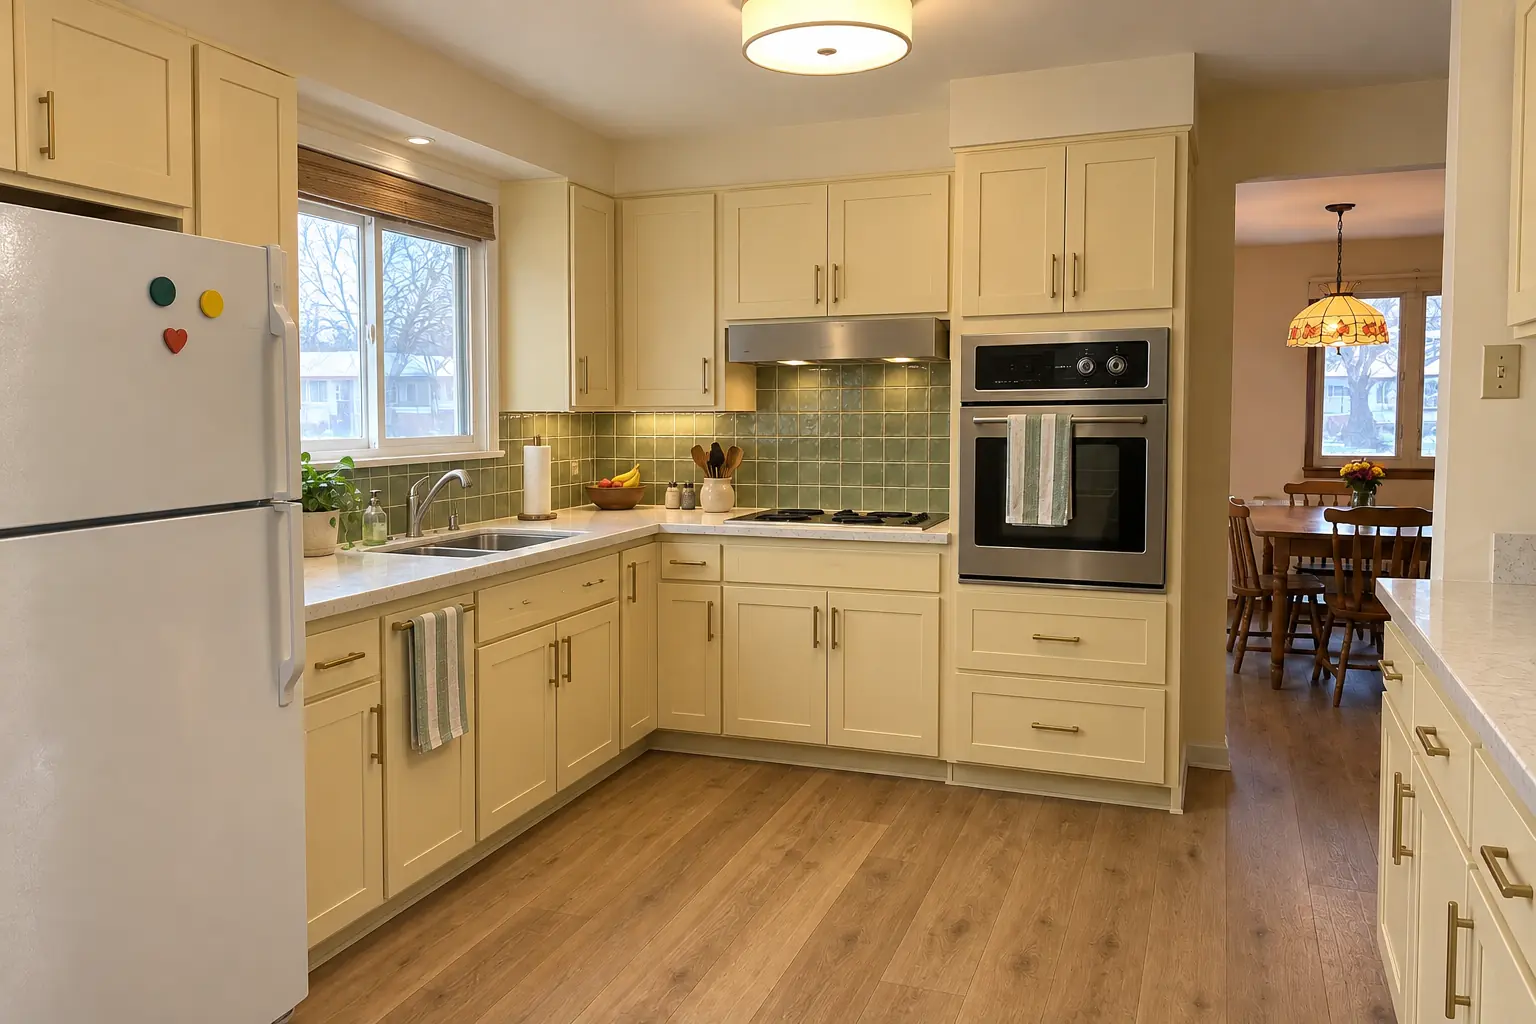
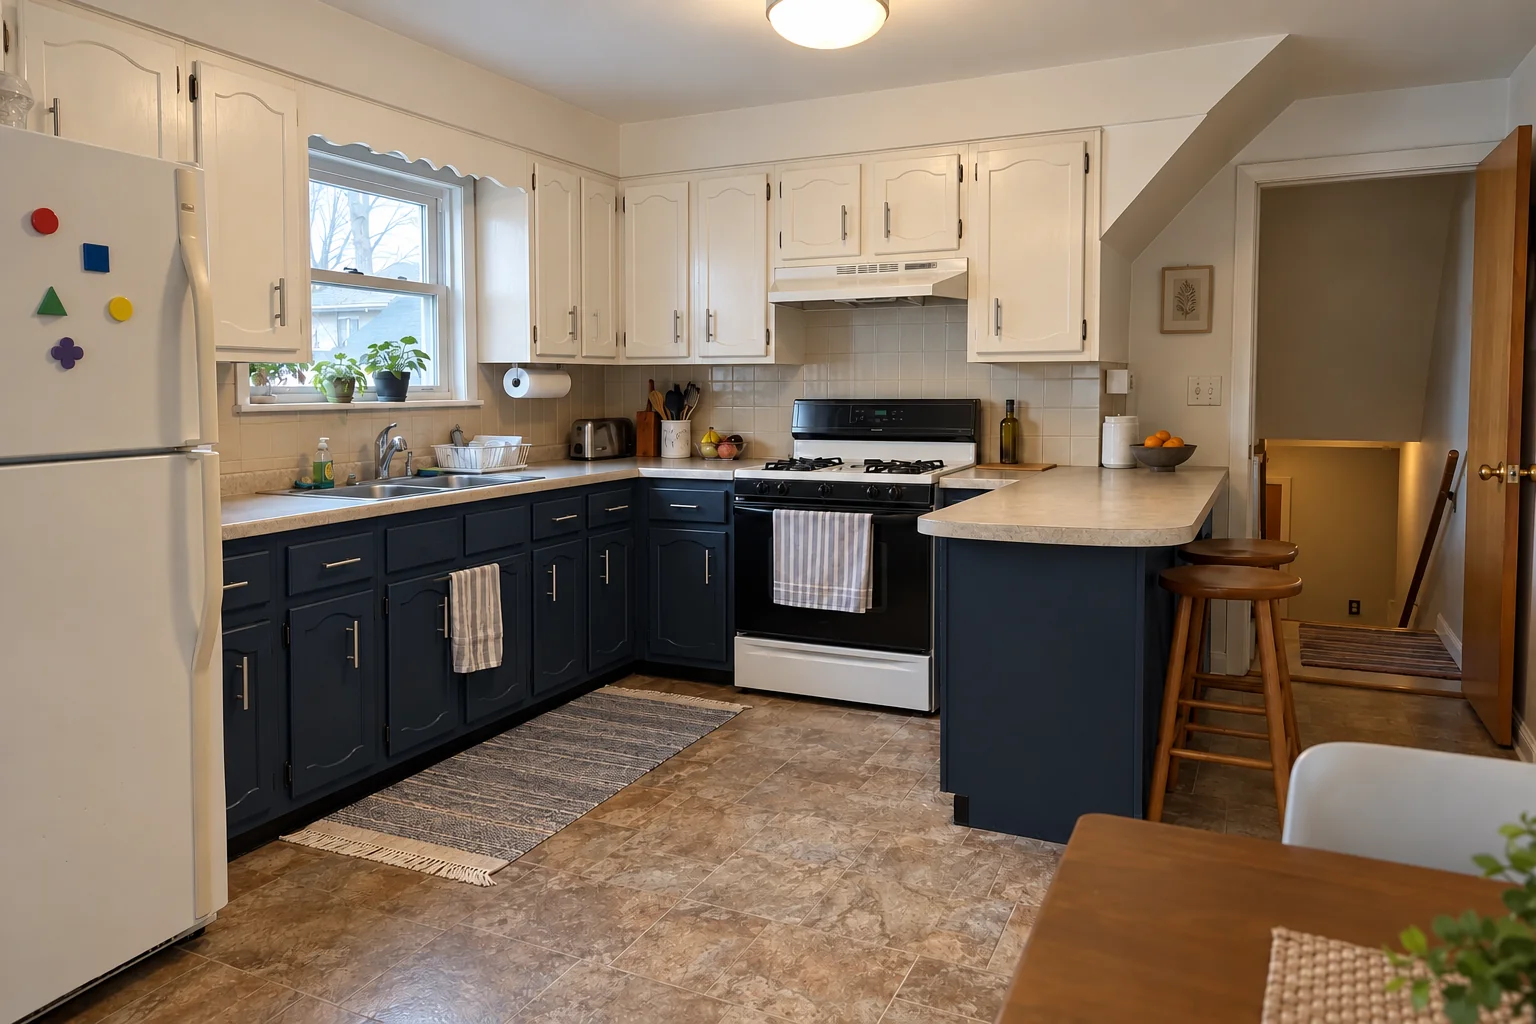
Serving Elmhurst & nearby Villa Park, Lombard

Kitchen Backsplash Installation in Elmhurst, IL

Tile backsplashes set straight, grouted clean and finished around every outlet in Elmhurst kitchens.

  • Crews working in Elmhurst ZIP 60126
  • Most jobs done in days, with your kitchen still usable
  • Samples and a written quote before we start

Prefer a callback?

Leave your number and a Elmhurst tile setter will call you.

Backsplash problems we solve in Elmhurst

We install kitchen backsplashes in Elmhurst from start to finish: old tile or laminate off, wall repaired, layout centered on the range or sink, tile set and grouted, and the joint at the counter sealed with caulk.

Painted walls in a home built before 1978

Older paint can contain lead. Before demo on pre-1978 walls we set up containment and clean up with lead-safe methods.

Bare wall behind the counters

If the wall above the counter is just paint, every spatter shows. Tile gives it a surface you can scrub.

Window or range hood in the middle

Tile around a window needs returns or trim; tile behind a hood often runs to the ceiling. We plan both before starting.

Tile that ends in the wrong place

Thin slivers of tile at the corners and edges come from no layout. We plan the pattern so cuts are even and hidden where possible.

Grease-prone spot behind the range

Fewer grout joints behind the cooktop mean less to scrub. Large porcelain or a stone slab work well there.

Outlets sunk behind the tile

Sunken switches and cover plates that don't sit flat look sloppy. Box extenders bring them out to the face of the tile.

Grout stained or cracking

Cracked grout near the counter usually means the joint wasn't caulked. We use flexible caulk where tile meets the counter and grout everywhere else.

Old 4-inch splash with nothing above

That strip of 4-inch splash dates the kitchen. Tile above it, or in its place, finishes the wall to the cabinets.
What the work covers

  • Layout and tile selectionWe pick the pattern and the starting point with you before ordering material.
  • Protection and removalCounters and cabinets covered, outlets shut off, old tile or splash removed.
  • Wall repair and prepDrywall or plaster patched and flattened, cement board where the wall needs it.
  • Outlet box extendersExtender rings so outlets and switches sit flush with the tile face.
  • Setting the tileTile set level from a straight starting line, with spacers for even joints.
  • GroutingJoints filled, tooled and cleaned so the tile face is free of haze.
  • Caulk at the counterFlexible caulk where tile meets the counter and the cabinets.

Finishes we offer

Subway tileClassic 3x6 or longer rectangles in a running bond, stacked or herringbone layout.
Grout typesGrout is chosen by joint width and location: sanded, unsanded or epoxy.
Natural stoneStone tile looks rich and needs a sealer to resist stains.
Handmade-look and zelligeIrregular tile with depth and shine, set with care for its varying thickness.
Mosaic and glassMosaics add texture; glass tile reflects light and shows thin-set through if set poorly.

Before and after: kitchens near Elmhurst

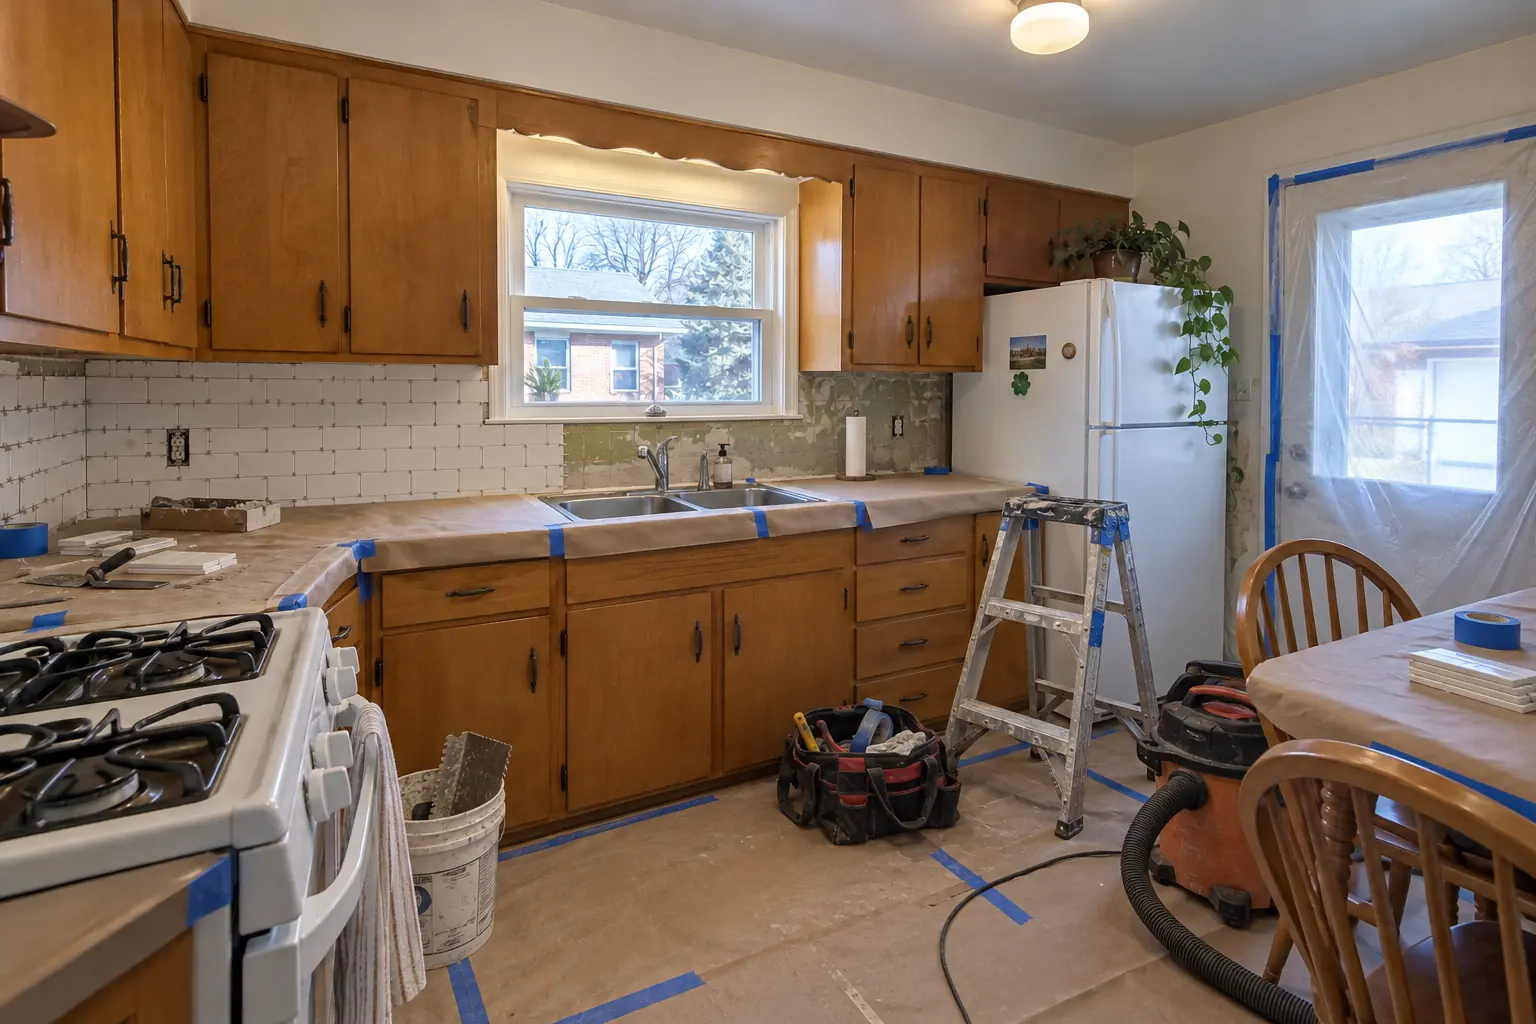
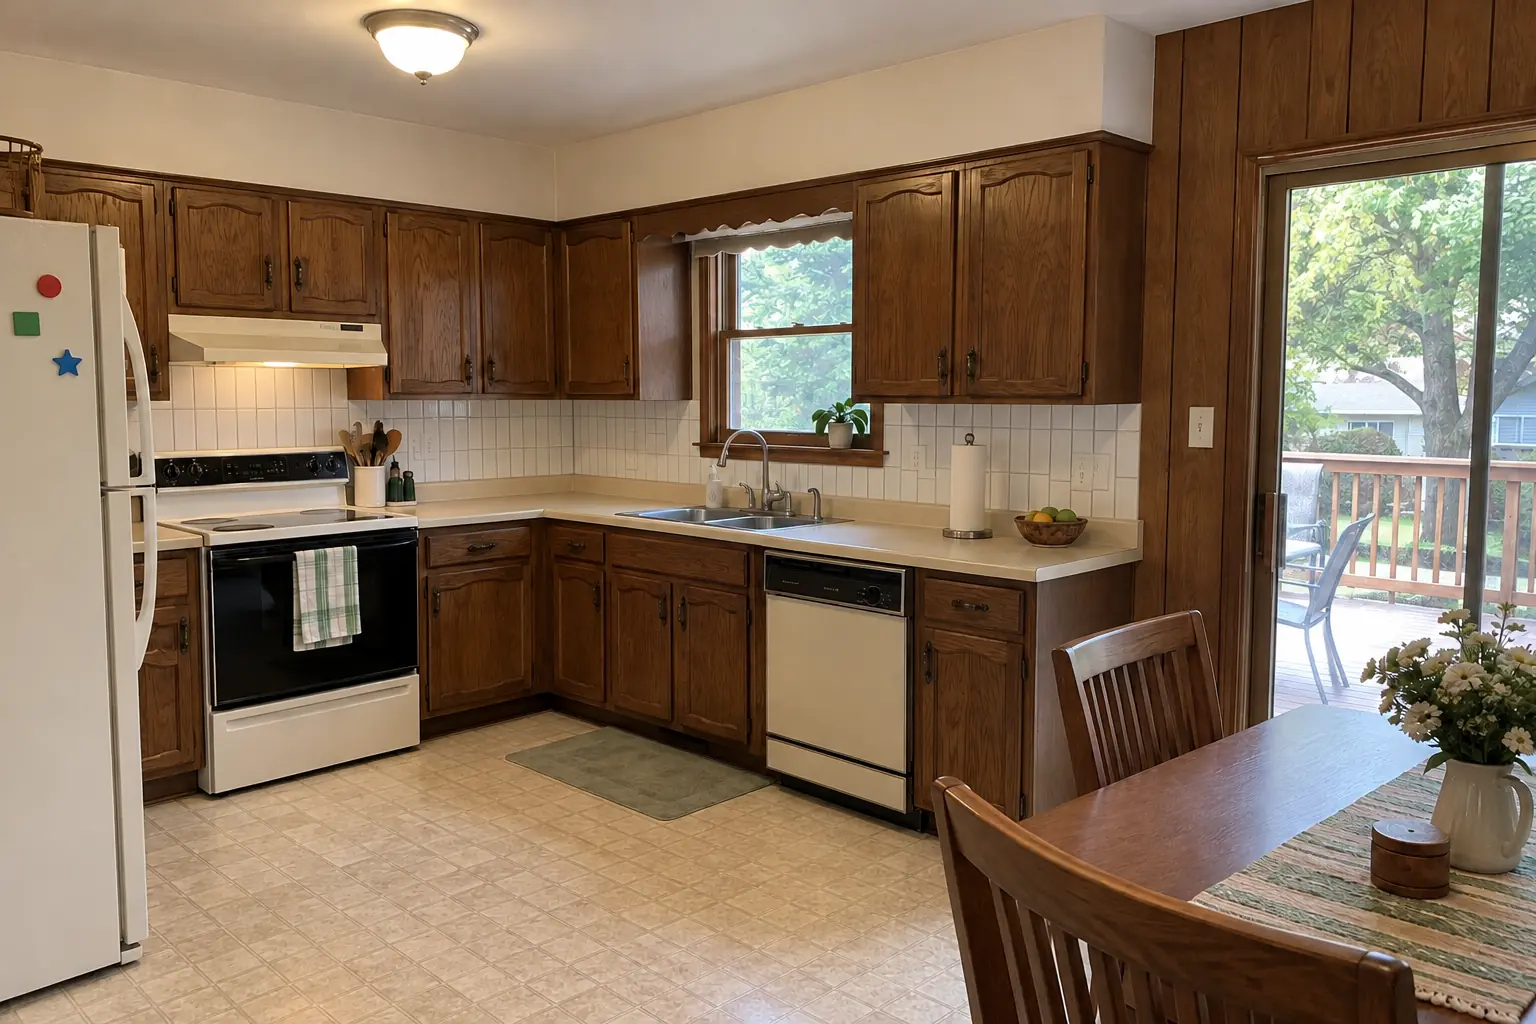
Kitchen Backsplash Installation in a postwar ranch / cape cod / bi-level — beforeBefore
Kitchen Backsplash Installation in a postwar ranch / cape cod / bi-level — in progressIn progress
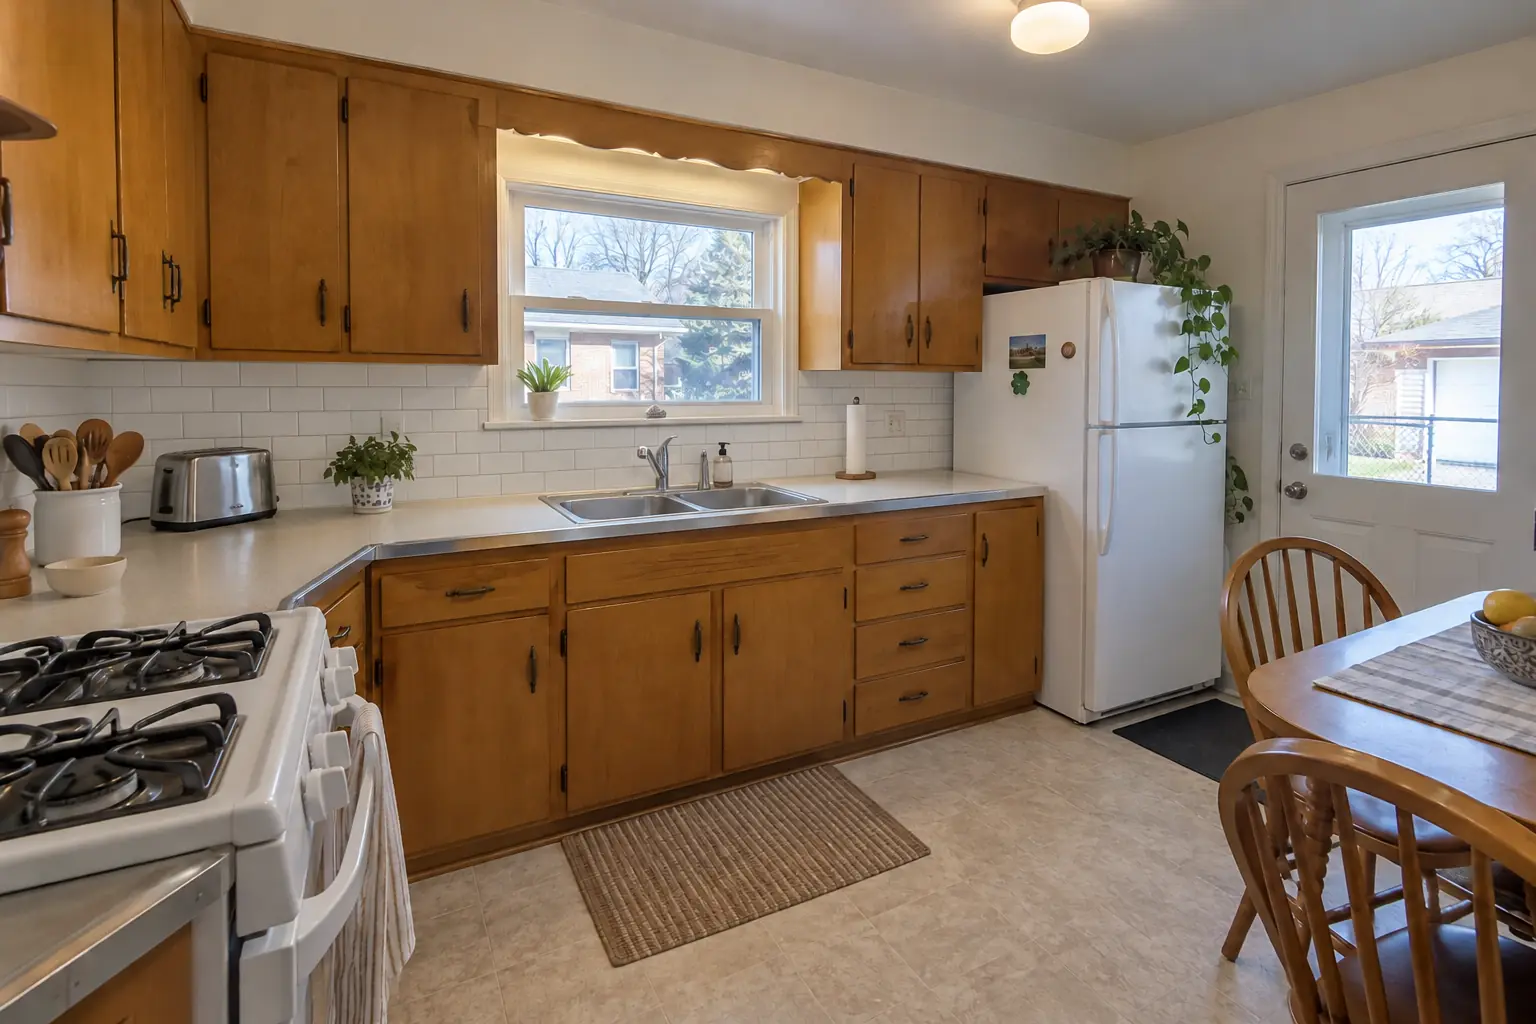
Kitchen Backsplash Installation in a postwar ranch / cape cod / bi-level — afterAfter
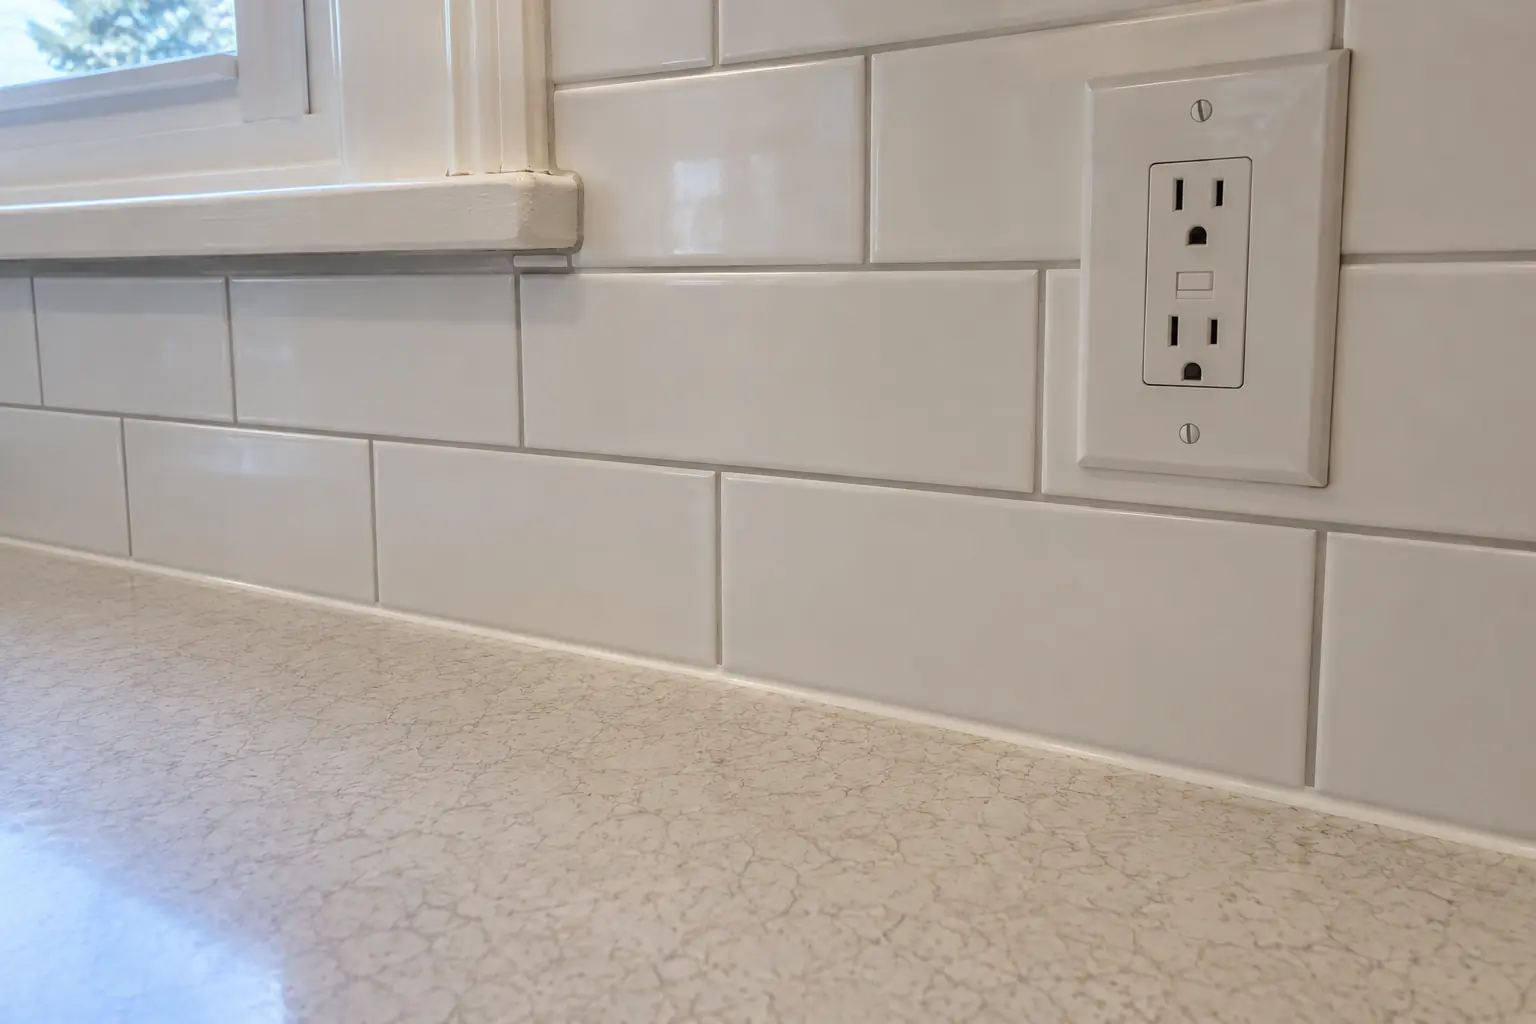
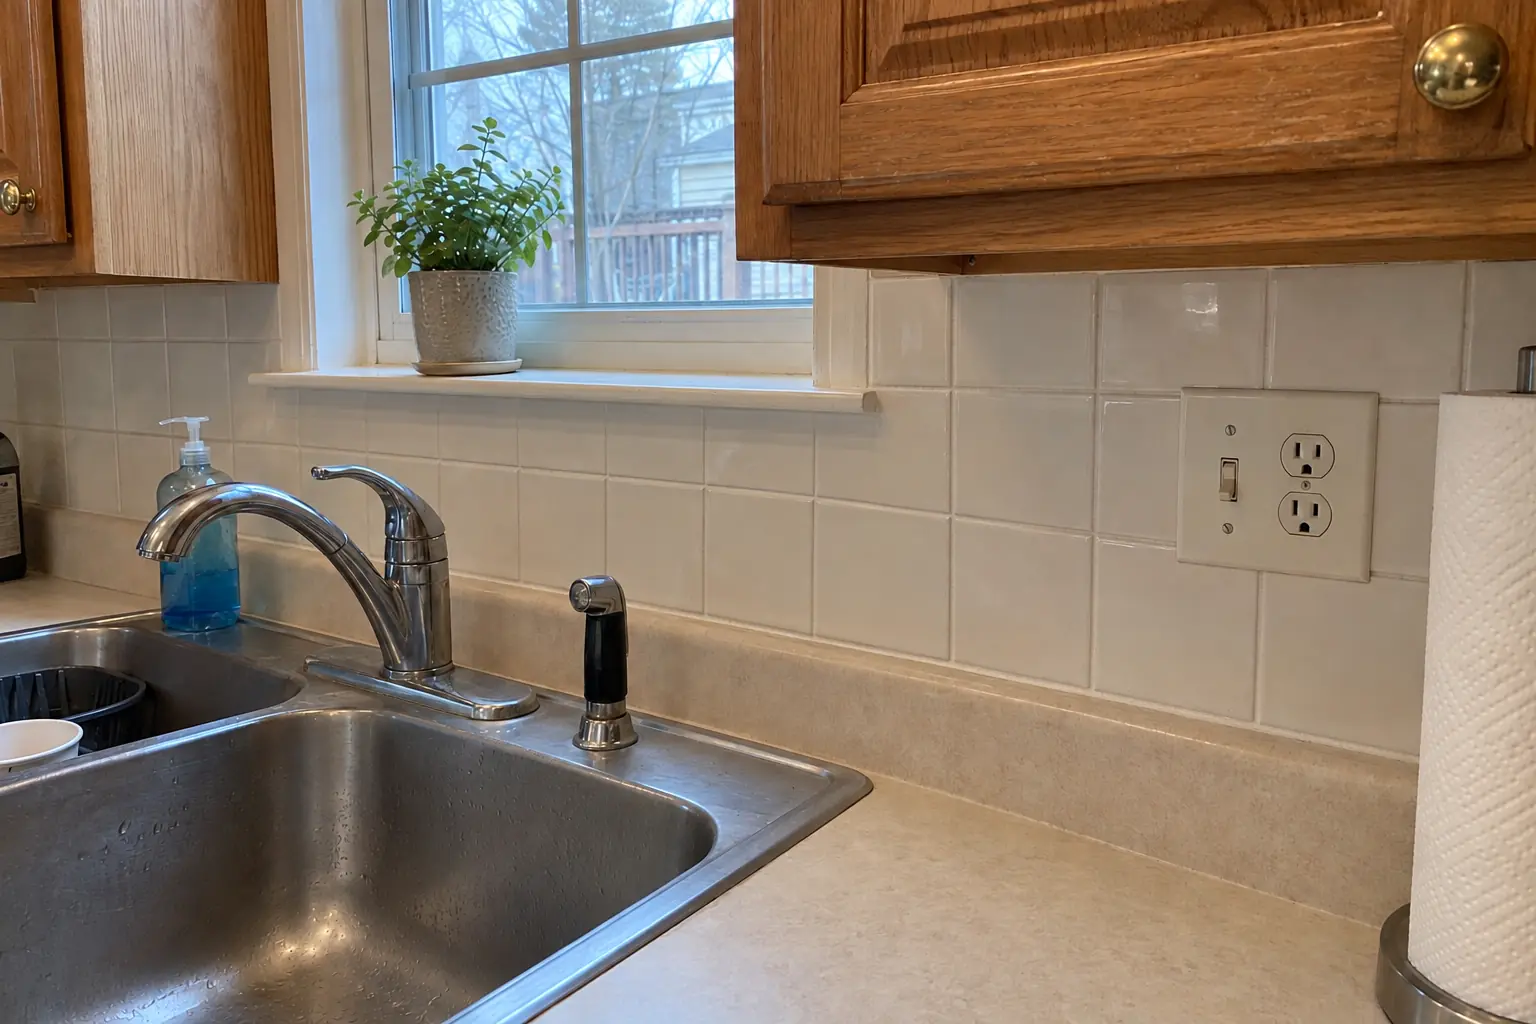
Kitchen Backsplash Installation in a postwar ranch / cape cod / bi-level — detailDetail

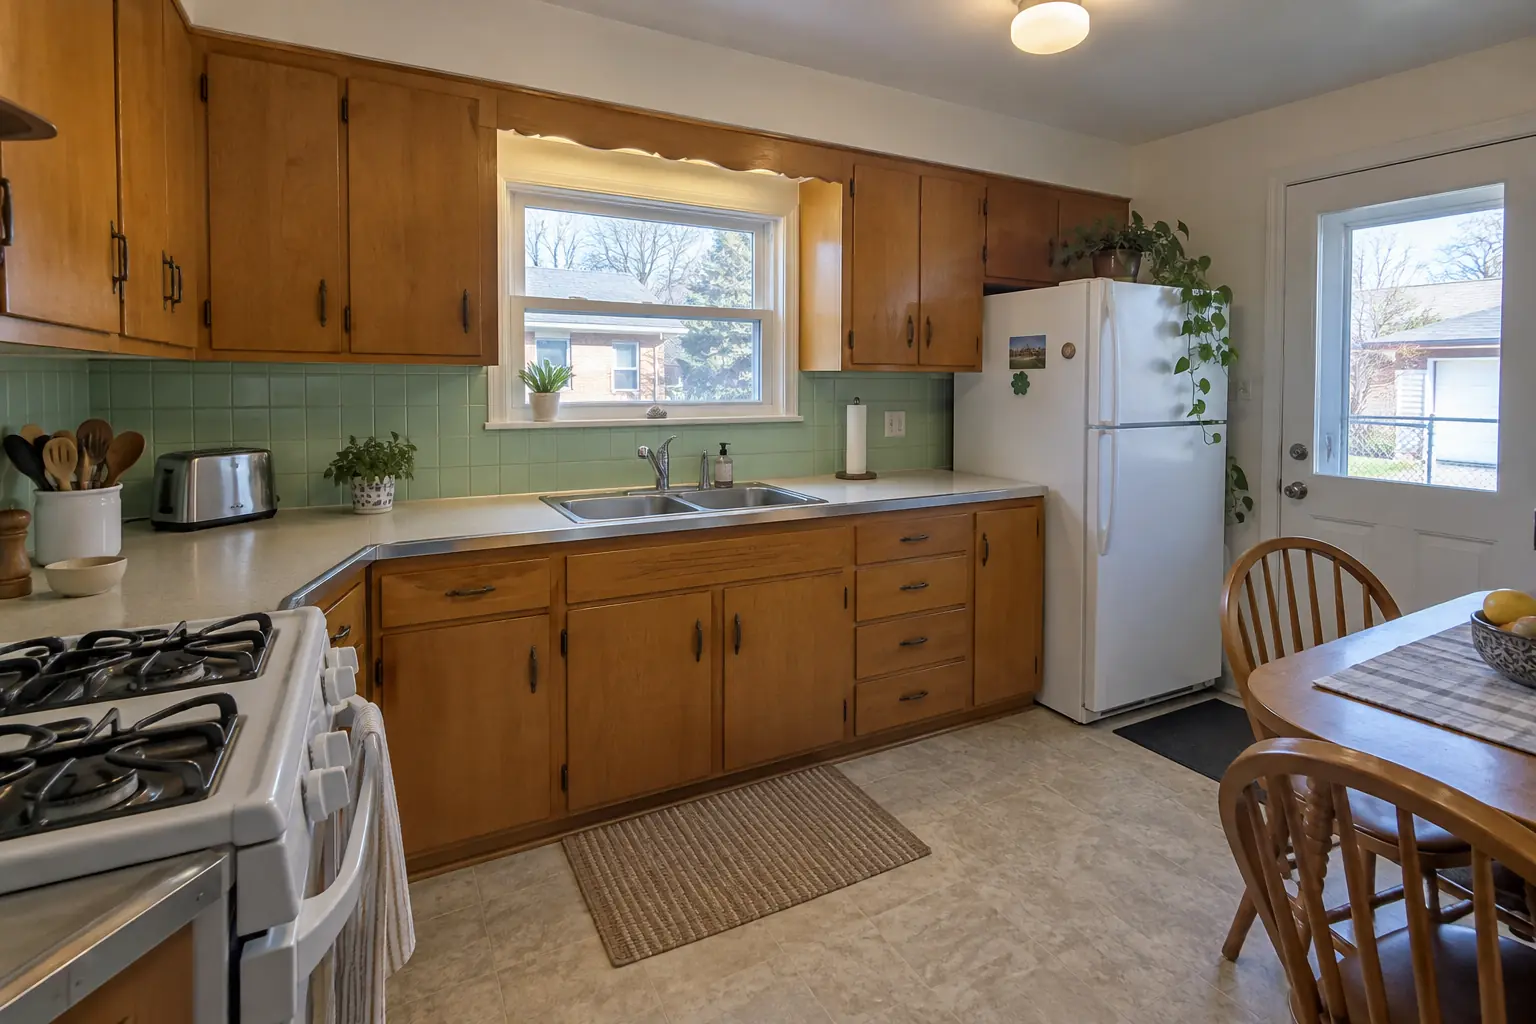
Kitchen Backsplash Installation in a postwar Cape Cod, Elmhurst

A postwar Cape Cod in Elmhurst, a typical kitchen for Elmhurst. What we started with: mint-green 4-inch ceramic tile and laminate with an aluminum edge band. What bothered the owners most: a short 4-inch splash that looked unfinished. After: a white subway tile backsplash with clean edges and outlets set flush. The job covered protection and removal, wall repair and prep, plus setting the tile.
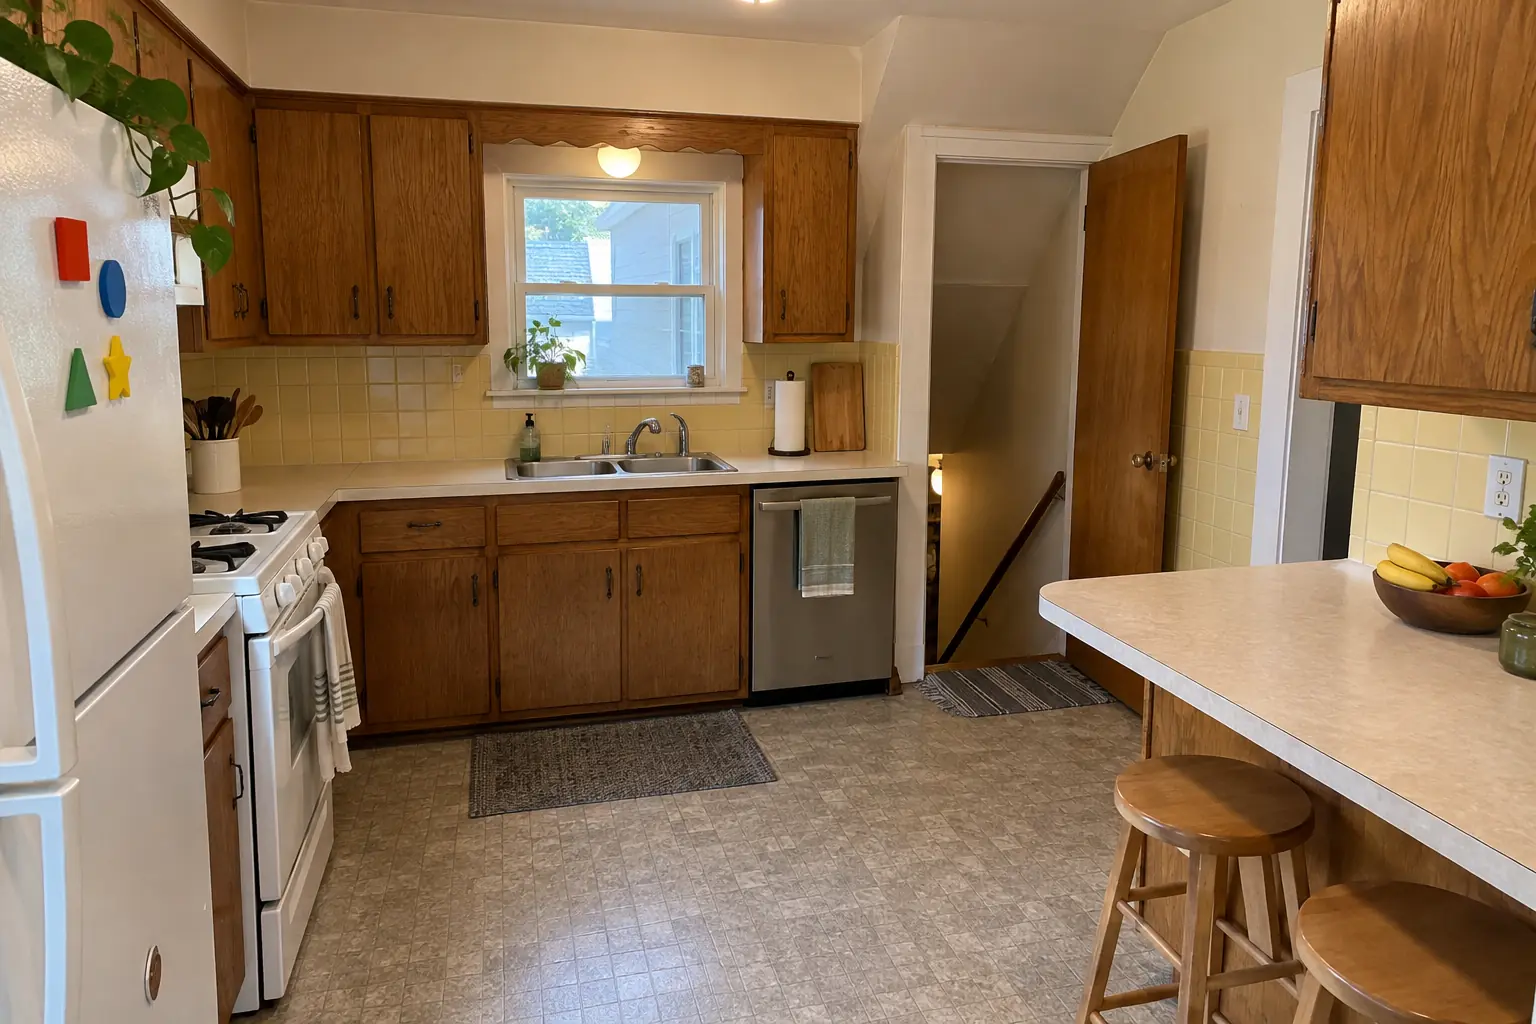
Kitchen Backsplash Installation project in Lombard, beforeBefore
Kitchen Backsplash Installation project in Lombard, afterAfter

Kitchen Backsplash Installation in a postwar Cape Cod, Lombard

The site: a postwar Cape Cod in Lombard. What we started with: yellow 4-inch tile and light beige laminate. What bothered the owners most: an old 4-inch tile strip that dated the room. Finished kitchen: a white 2x8 tile in a vertical stack backsplash with clean edges and outlets set flush. The job covered wall repair and prep, setting the tile, plus caulk at the counter.

Kitchen Backsplash Installation in Lombard →
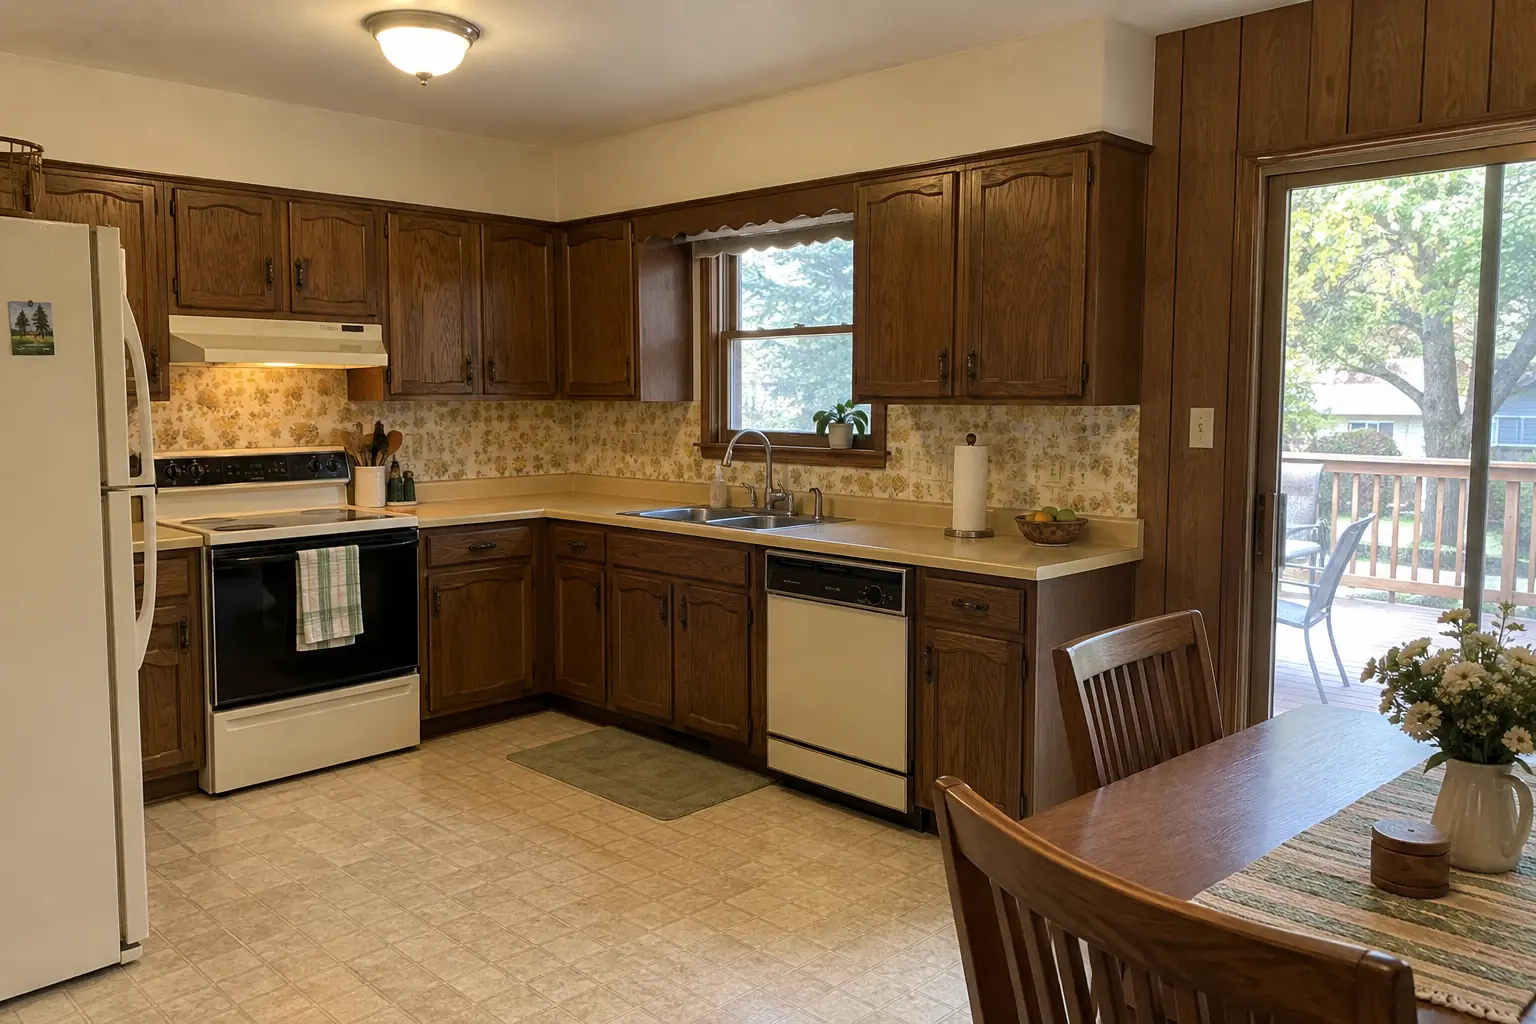
Kitchen Backsplash Installation project in Oak Brook, beforeBefore
Kitchen Backsplash Installation project in Oak Brook, afterAfter

Oak Brook kitchen, 1970s split-level: kitchen backsplash installation

A 1970s split-level in Oak Brook, a typical kitchen for Oak Brook. What we started with: patterned wallpaper and harvest-gold laminate. The main complaint was a bare wall that never stayed clean. After: a white 3x12 tile in a stacked pattern backsplash with clean edges and outlets set flush. The job covered wall repair and prep, outlet box extenders, plus grouting.

Kitchen Backsplash Installation in Oak Brook →
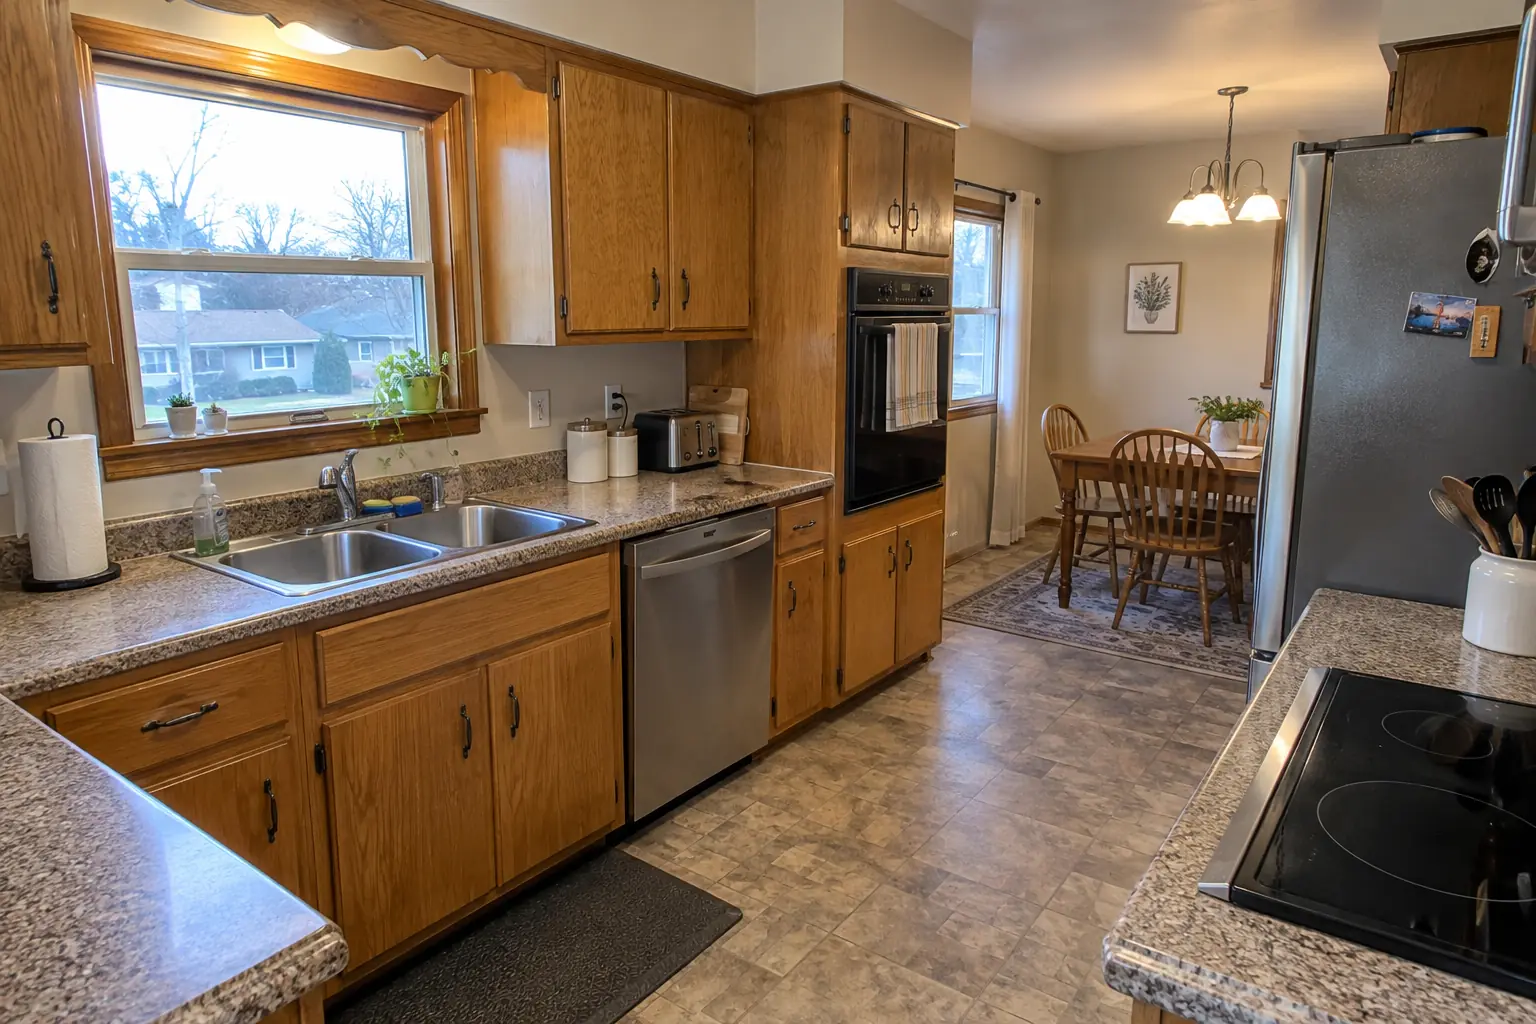
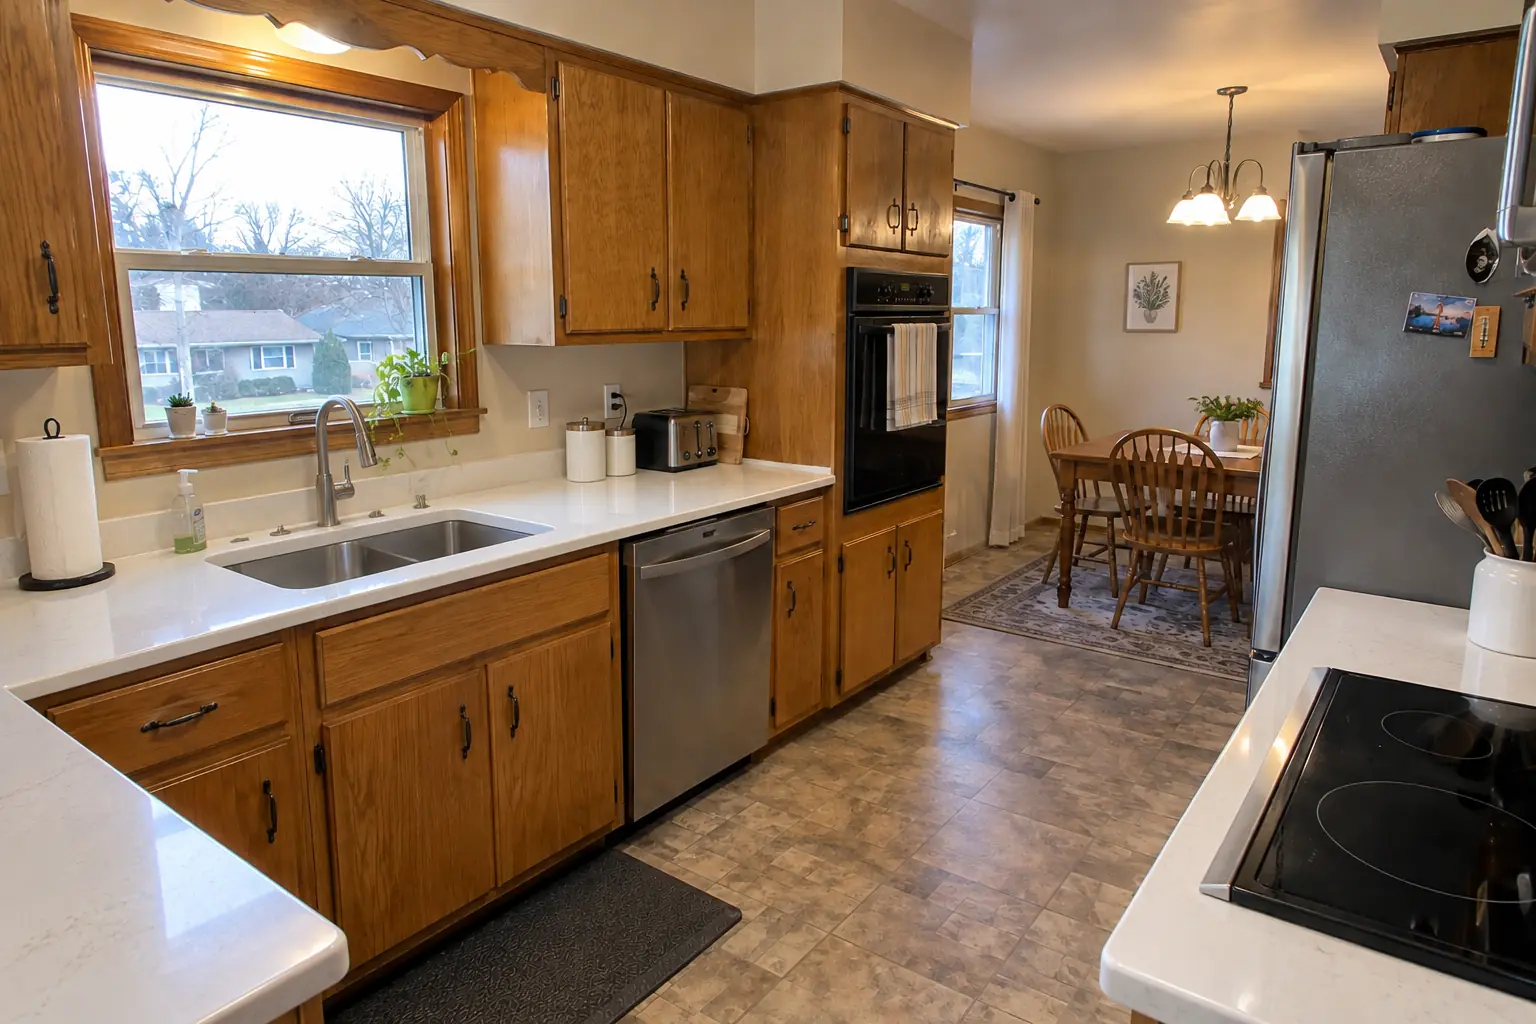
Countertop Fabrication & Installation project near Elmhurst, beforeBefore
Countertop Fabrication & Installation project near Elmhurst, afterAfter

Elmhurst kitchen, postwar Cape Cod: countertop fabrication & installation

What changed: white quartz countertops with a tight seam, an undermount sink and a new faucet.

Countertop Fabrication & Installation in Elmhurst →
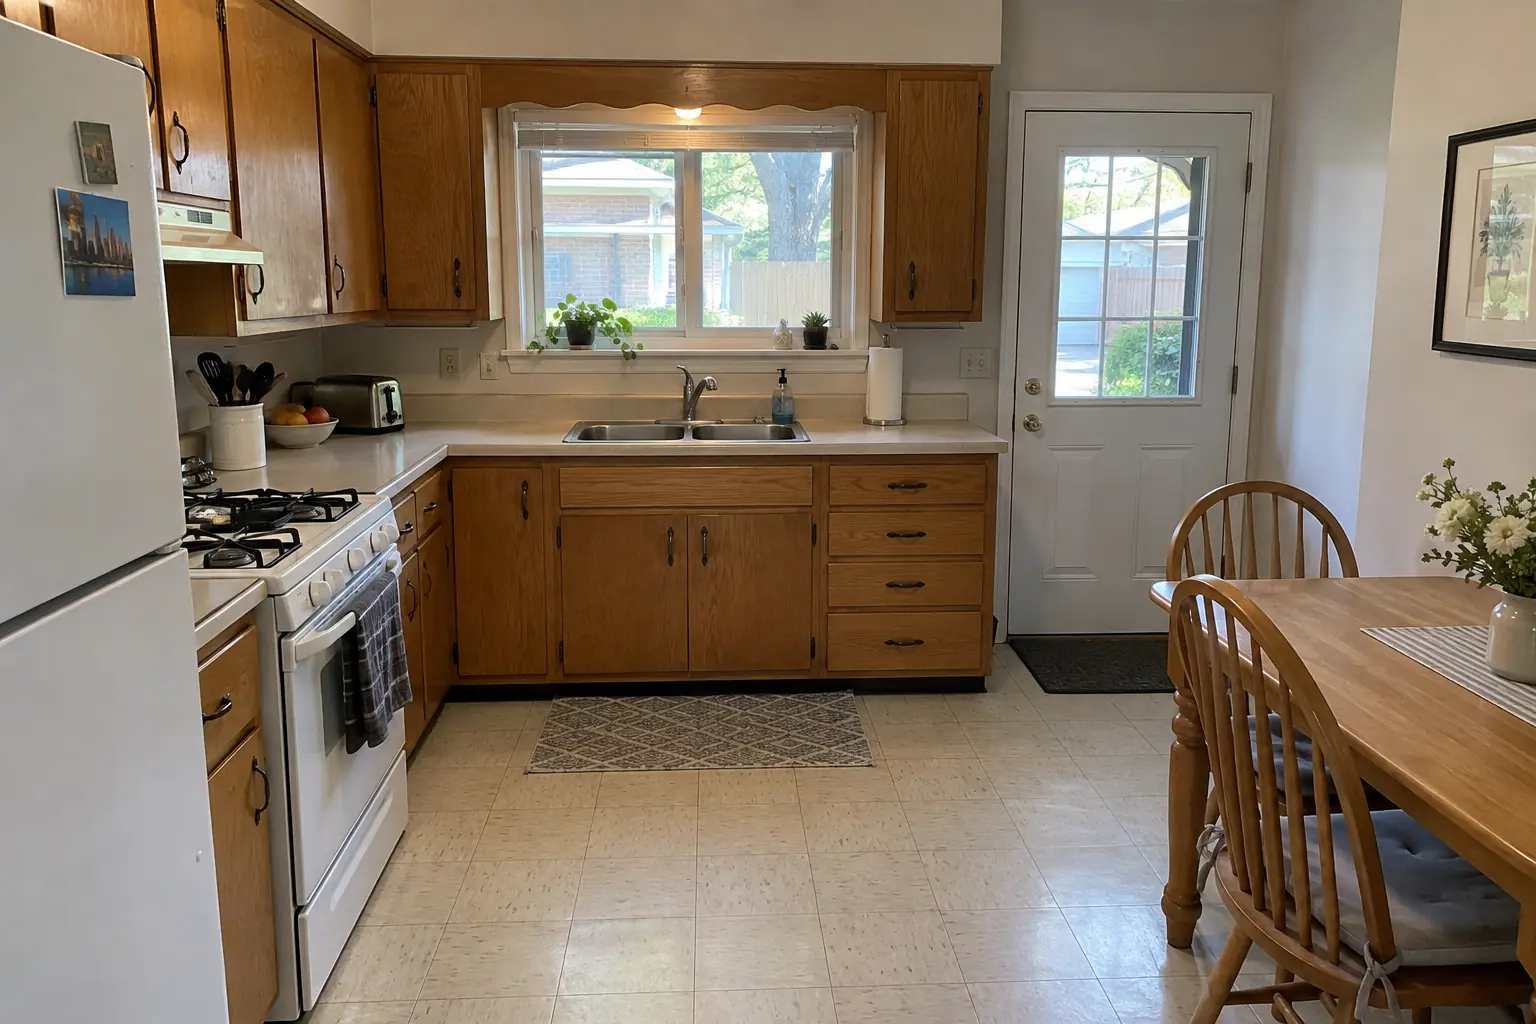
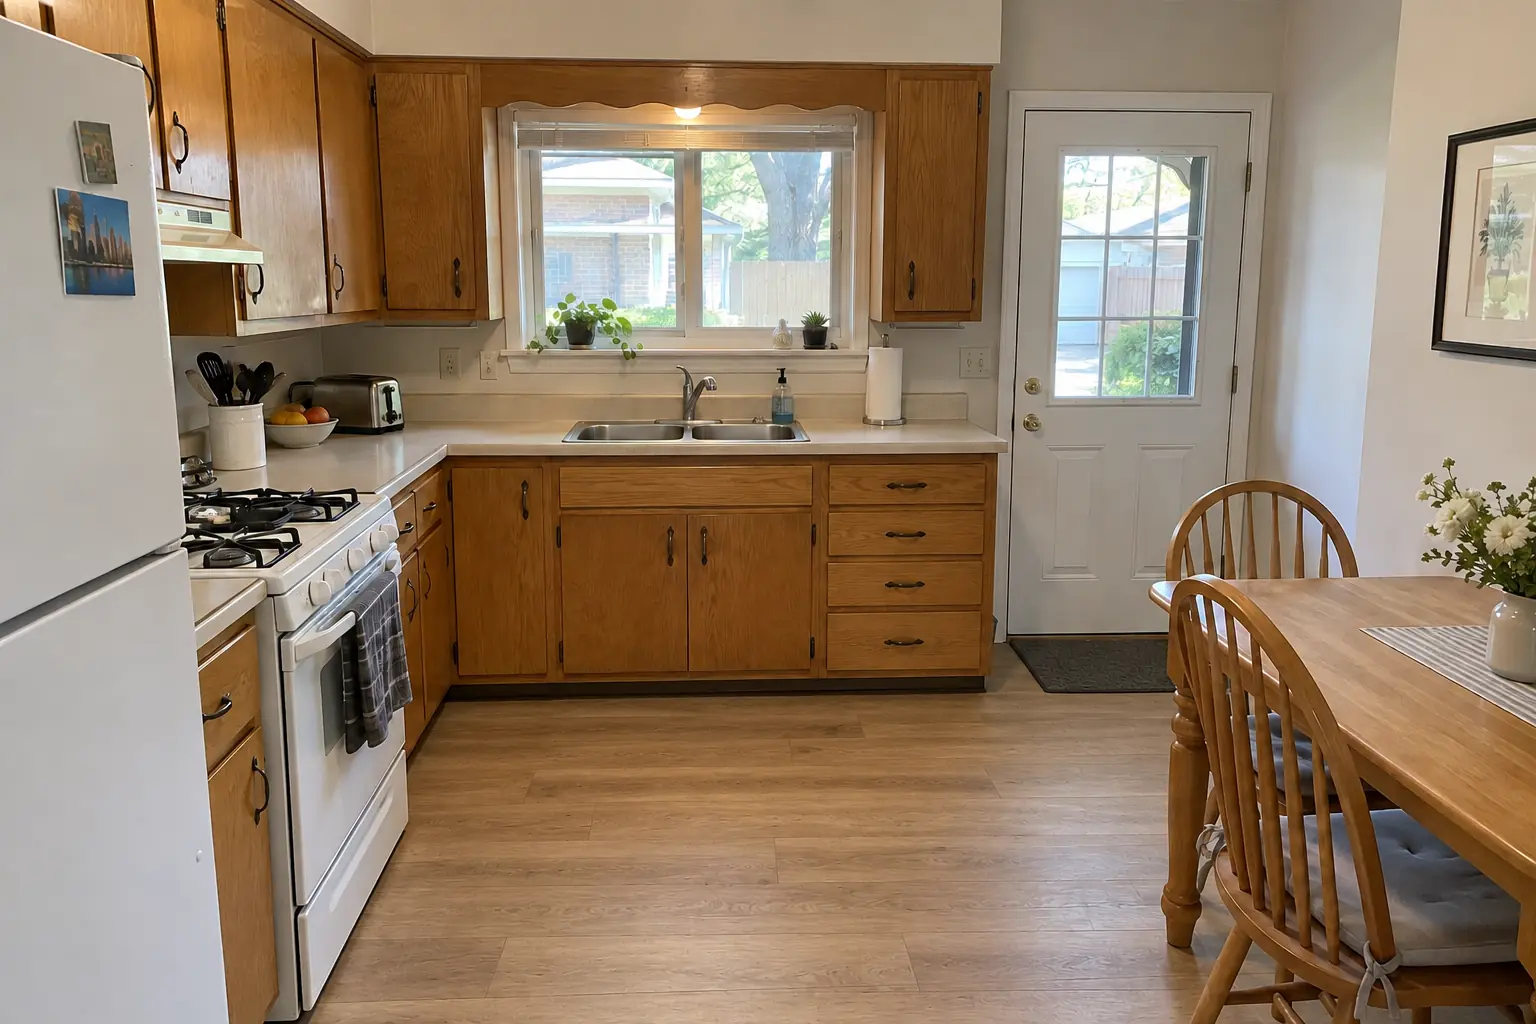
Kitchen Flooring Installation project near Elmhurst, beforeBefore
Kitchen Flooring Installation project near Elmhurst, afterAfter

Elmhurst kitchen, postwar bi-level: kitchen flooring installation

Warm oak luxury vinyl plank flooring through the kitchen with clean transitions.

Kitchen Flooring Installation in Elmhurst →

How your backsplash installation goes

  1. Pick tile and patternBring samples or ideas; we help you choose tile, grout color and layout.
  2. Measure and planWe measure the wall, mark outlets and windows and plan where the cuts fall.
  3. Prep and setWall repaired, outlets extended and tile set — often in a day or two for a typical kitchen.
  4. Grout and finishGrout, caulk, trim, cover plates and cleanup, usually the next day.

Kitchen Backsplash Installation questions from Elmhurst homeowners

Can you tile over my existing backsplash?
Occasionally. If the old tile is loose or uneven, it has to come off first.
Do you move outlets or add under-cabinet lighting?
Box extenders, yes. Any new or moved electrical is done before tiling, so no tile needs cutting later.
How long does a backsplash installation take?
A typical kitchen often takes one to three days: prep and setting first, grout after the thin-set cures.
Which grout should I use?
It depends on the joint width and the tile. Glass and polished stone often call for unsanded or epoxy grout to avoid scratches.
Can tile go over drywall?
For a backsplash, yes. Drywall works well away from direct water; we repair any damaged areas first.
Do I need a permit for backsplash installation in Elmhurst?
It depends on the scope. Elmhurst's rule in short: Elmhurst requires permits for building and construction projects; all permits are applied for through the City's Citizen Self-Service Portal. We handle the permit when one is needed with Community Development Department (Building).
Do you work in my part of Elmhurst?
Yes. Our crews work across Elmhurst — ZIP 60126 — and nearby Villa Park, Lombard, Addison.

Working in Elmhurst

  • A lot of Elmhurst kitchens date from the 1950s. We know these layouts well and what is worth keeping.
  • Most Elmhurst homes are single-family. We protect floors and driveways and leave the site clean every day.
  • We know how Community Development Department (Building) handles kitchen permits and pull them for you.

ZIP 60126

Kitchen Backsplash Installation nearby

Planning a kitchen project in Elmhurst?

Call us — we'll check your ZIP, answer your questions and book an in-home estimate.
Call now (708) 400-7049
Call (708) 400-7049Callback