Serving Lisle & nearby Downers Grove, Woodridge

Kitchen Backsplash Installation in Lisle, IL

Tile backsplashes set straight, grouted clean and finished around every outlet in Lisle kitchens.

  • Serving Lisle ZIP 60532
  • A new look without tearing the kitchen out
  • Clean, protected work area every day

Prefer a callback?

Leave your number and a Lisle tile setter will call you.

Backsplash problems we solve in Lisle

We install kitchen backsplashes in Lisle from start to finish: old tile or laminate off, wall repaired, layout centered on the range or sink, tile set and grouted, and the joint at the counter sealed with caulk.

Dated or cracked tile

Cracked tiles and grout that never comes clean are a sign to replace the backsplash, not patch it.

Peel-and-stick that didn't last

If the stick-on backsplash is curling at the edges, it's time for set tile. We take it off and prep the wall properly.

Awkward edges and ends

We decide early where the tile ends and how — to the cabinet, to the ceiling or to a trim line — so the edges look intentional.

Grease-prone spot behind the range

The wall behind the stove takes the most grease. A tile with low porosity and fewer joints keeps cleaning easy.

Tile that ends in the wrong place

Thin slivers of tile at the corners and edges come from no layout. We plan the pattern so cuts are even and hidden where possible.

Bare wall behind the counters

Paint behind a stove never stays clean for long. A tiled backsplash takes the grease and the water and still looks good.

Uneven wall surface

Large tiles need a flat wall. We fill low spots and grind high ones so the face of the backsplash reads as one plane.

Window or range hood in the middle

Windows and hoods are where layouts go wrong. We center the pattern on them and decide how far up the tile runs.
What we do on the job

  • Layout and tile selectionHelp choosing tile, grout color and pattern, and a layout planned around the range, sink and windows.
  • Wall repair and prepThe wall is repaired, leveled out and primed so the tile bonds.
  • Outlet box extendersReceptacles brought forward to the new surface, with cover plates that fit.
  • Setting the tileTile set level from a straight starting line, with spacers for even joints.
  • GroutingSanded, unsanded or epoxy grout chosen for the tile and joint width.
  • Edges and trimBullnose, pencil liner or a metal profile where the tile ends.
  • Caulk at the counterThe counter joint and inside corners sealed with caulk, not grout.

Materials and finishes

Natural stoneStone tile looks rich and needs a sealer to resist stains.
Slab backsplashOne continuous piece behind the range or along the whole wall.
Handmade-look and zelligeUneven edges and glaze give a hand-crafted look; the layout needs a little more patience.
Ceramic and porcelain tileThe everyday choice: durable, easy to clean and available in every size, from subway to large panels.
Subway tileSimple rectangles that work in nearly any kitchen; the pattern changes the look.

Kitchen Backsplash Installation before and after — Lisle homes

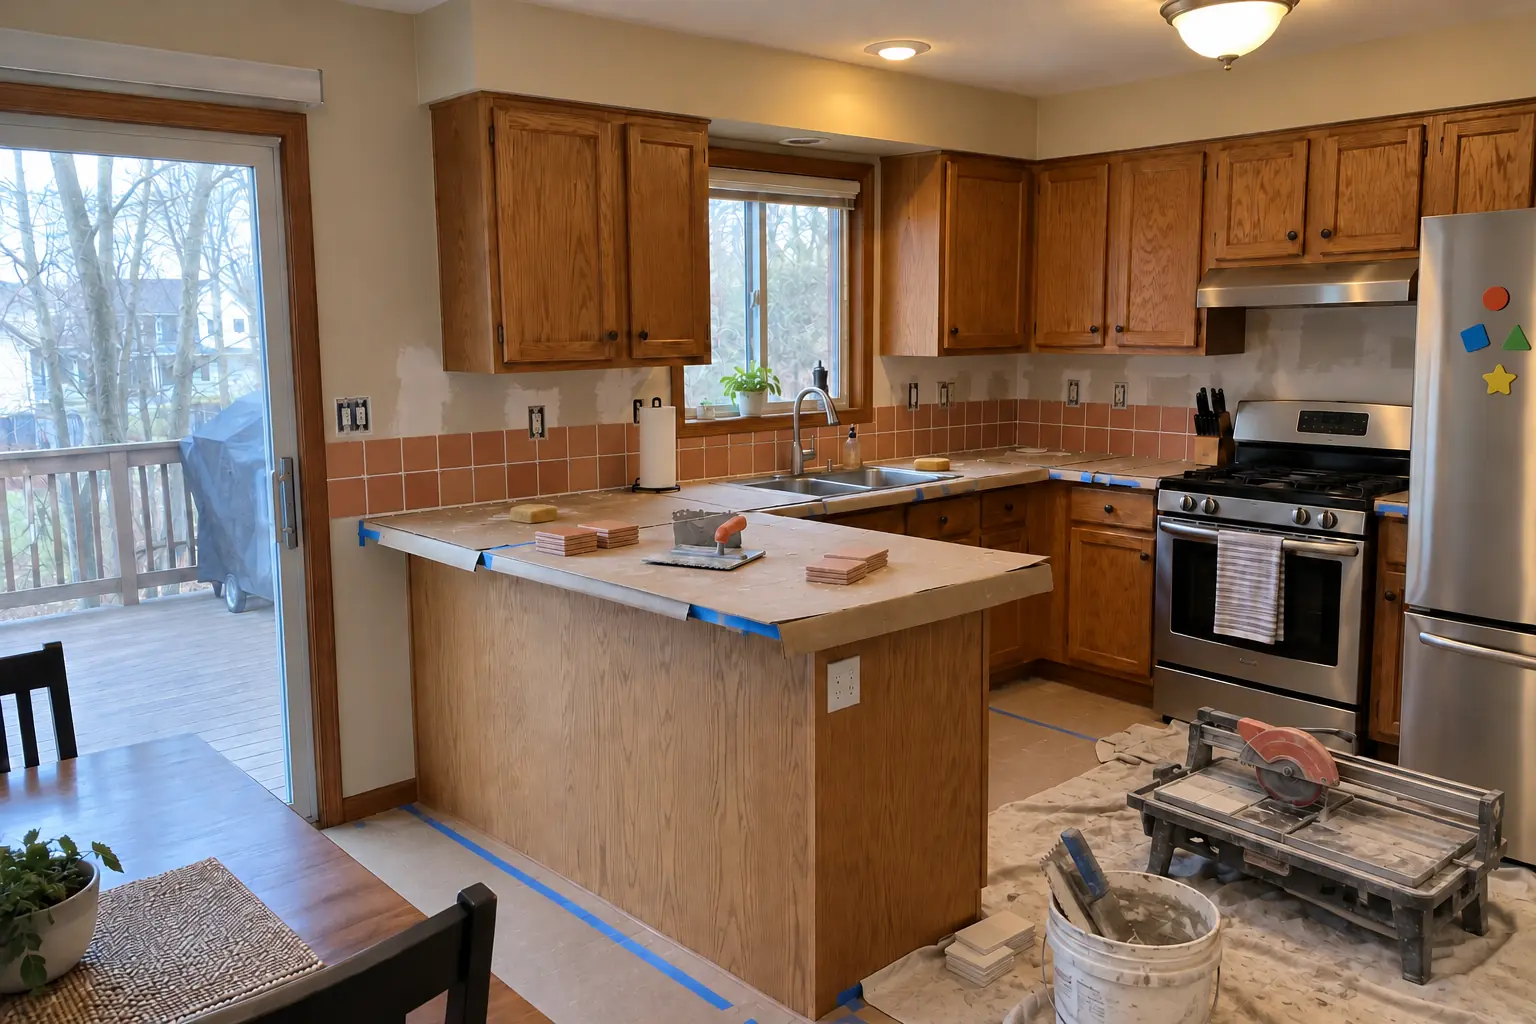
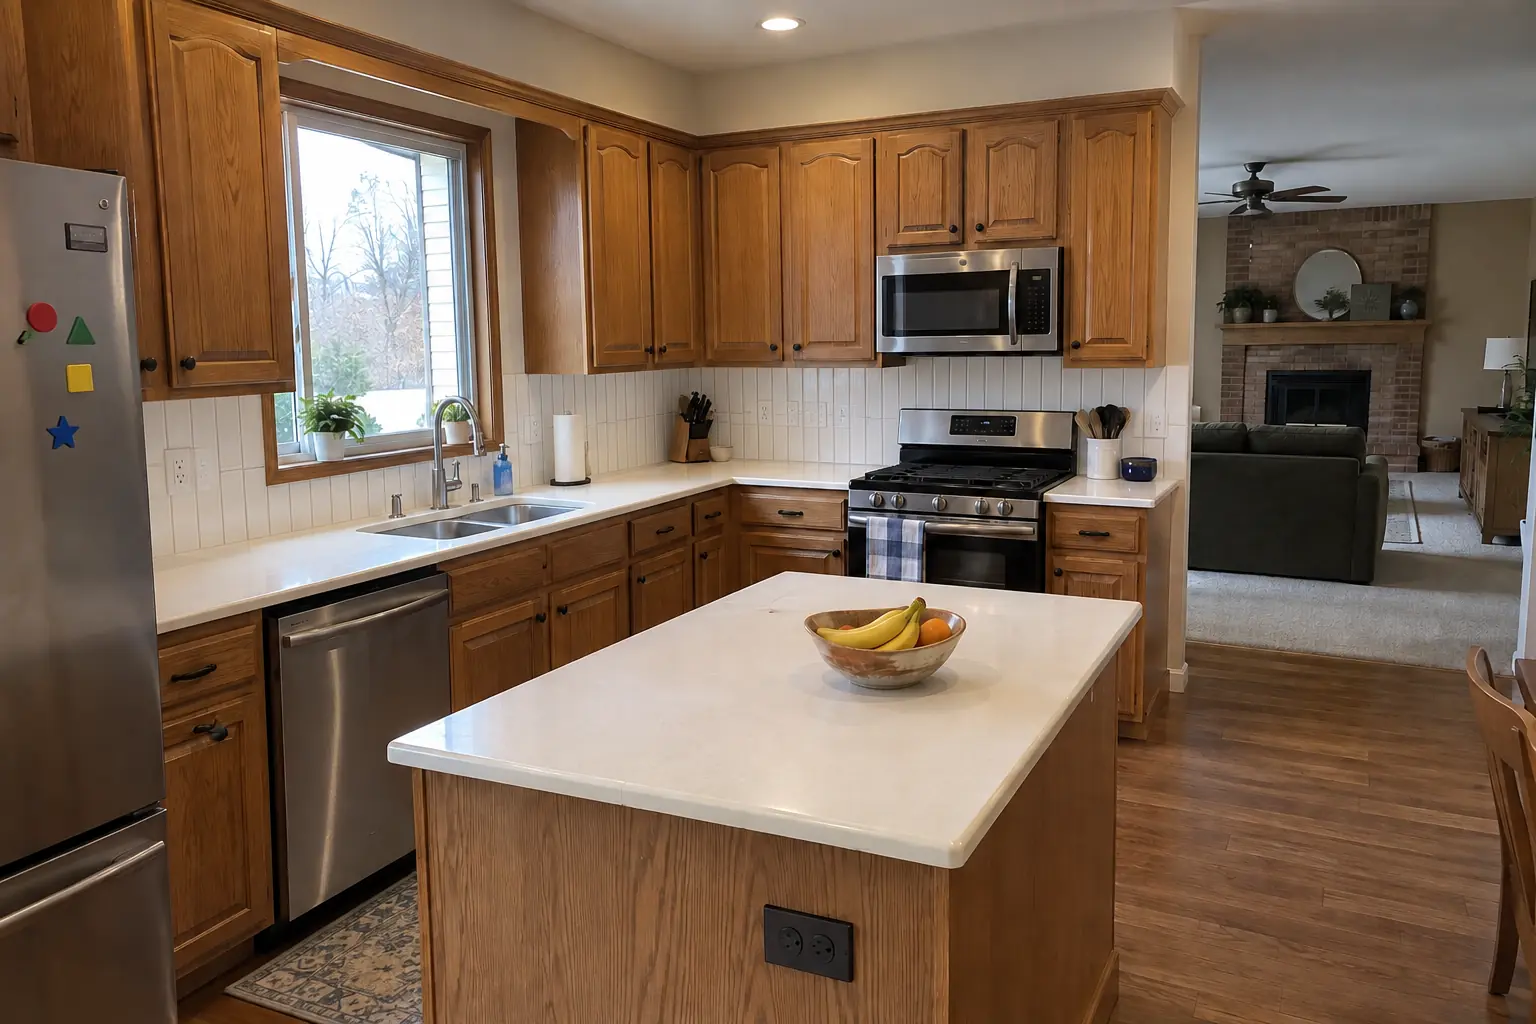
Kitchen Backsplash Installation in a 1980s-1990s two-story colonial / tract house — beforeBefore
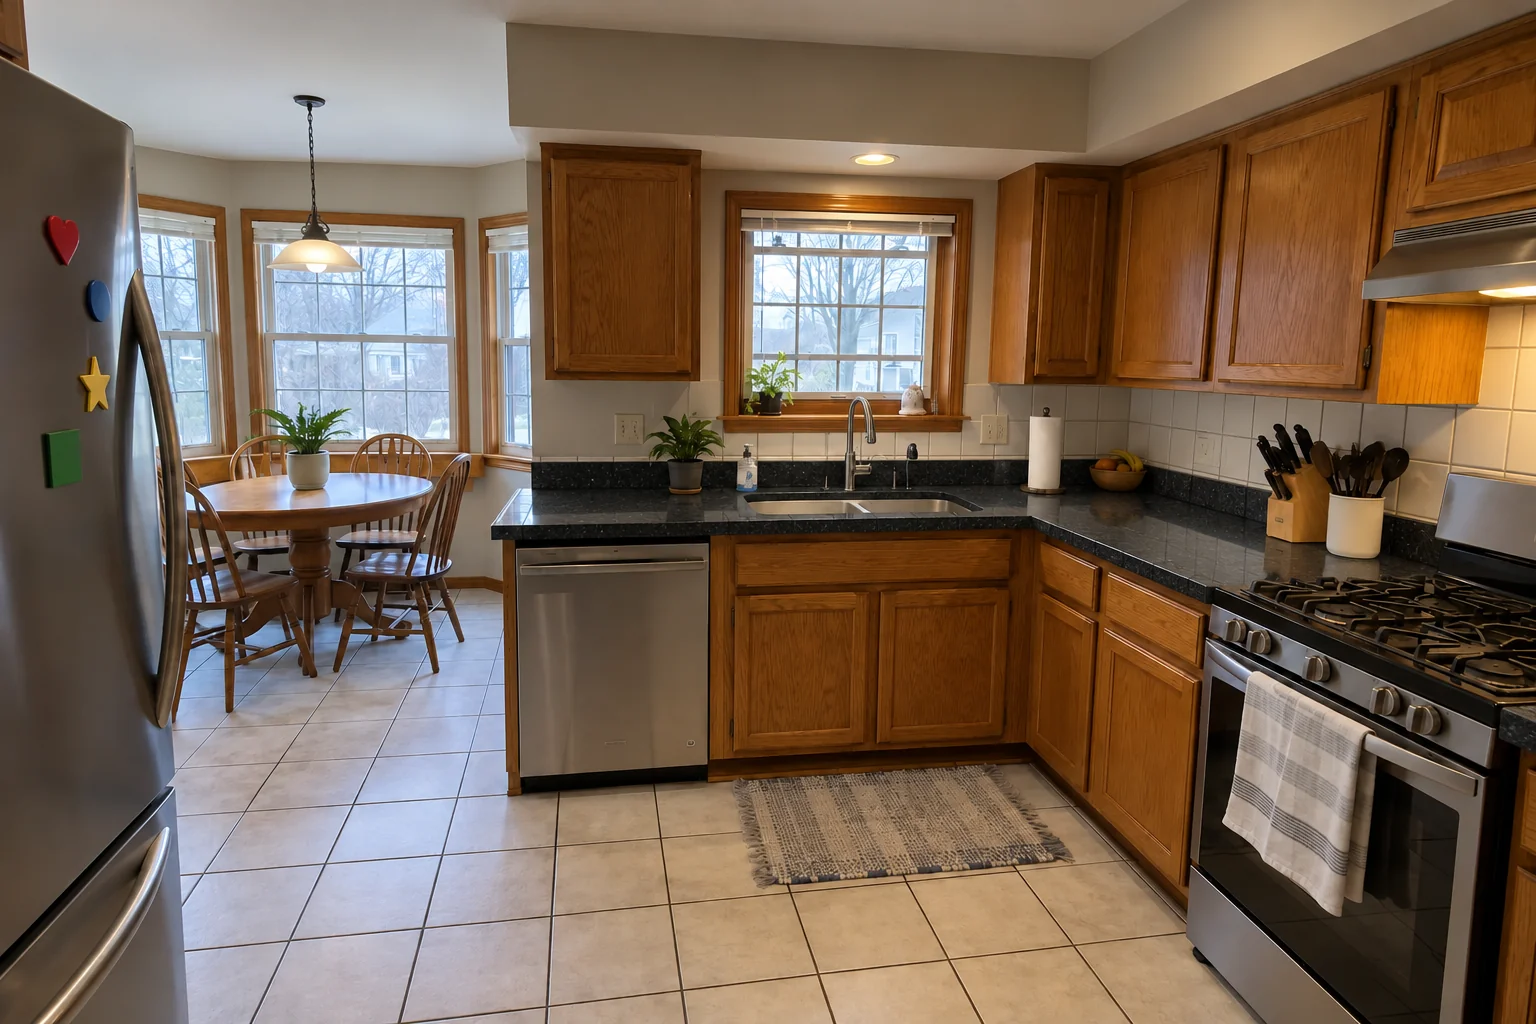
Kitchen Backsplash Installation in a 1980s-1990s two-story colonial / tract house — in progressIn progress
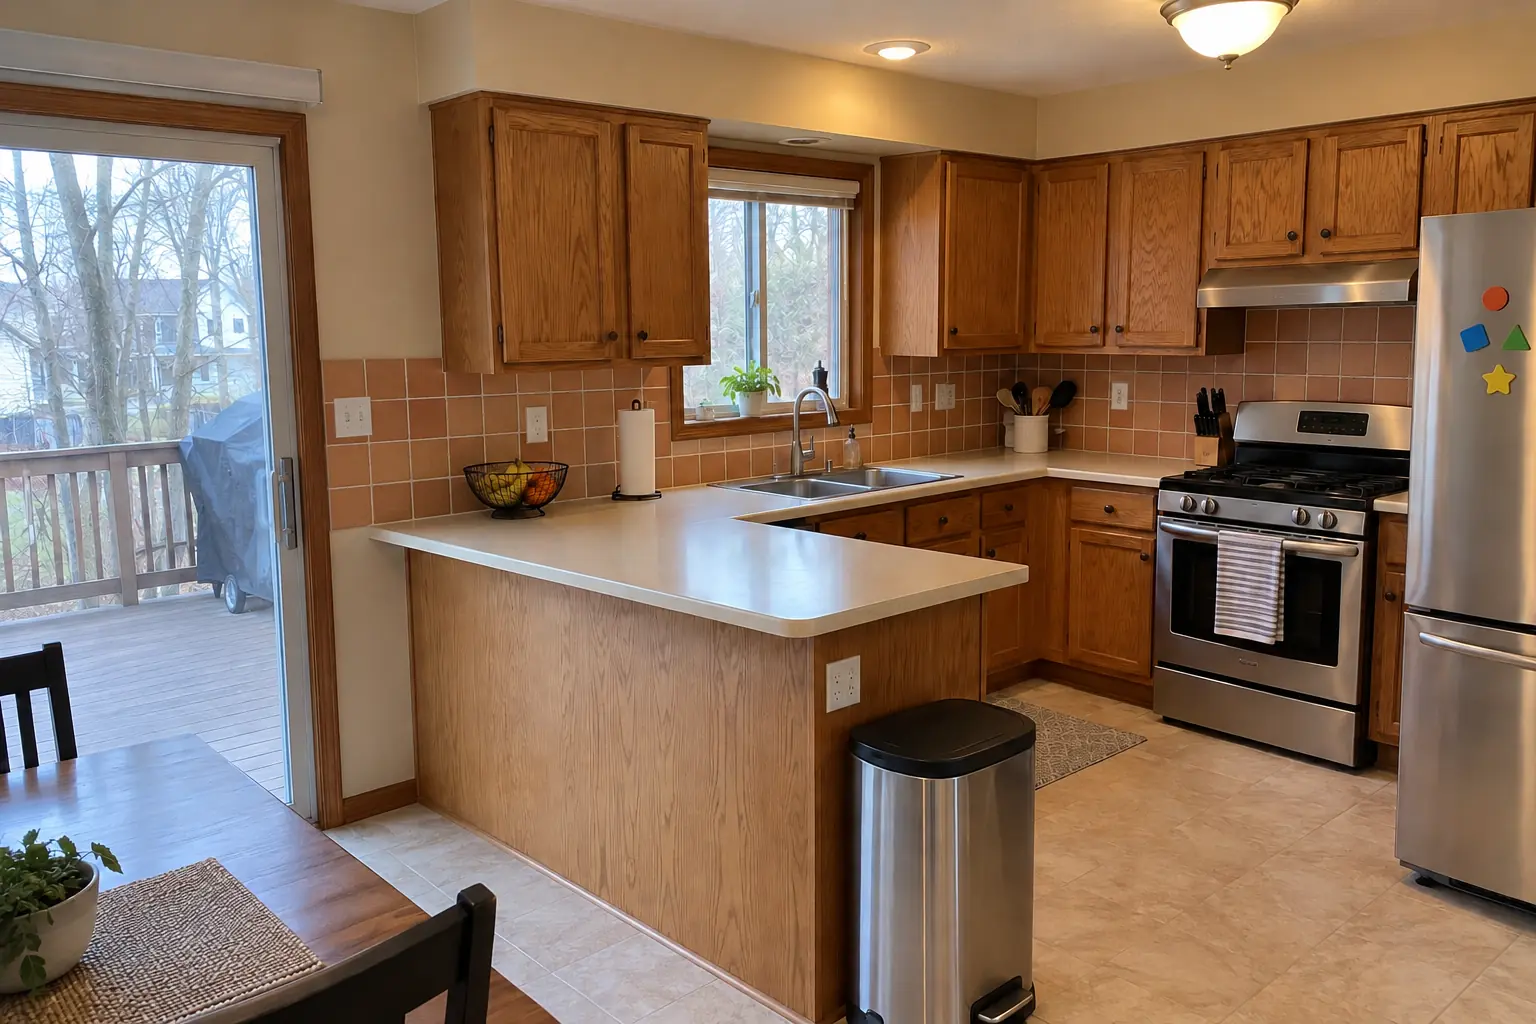
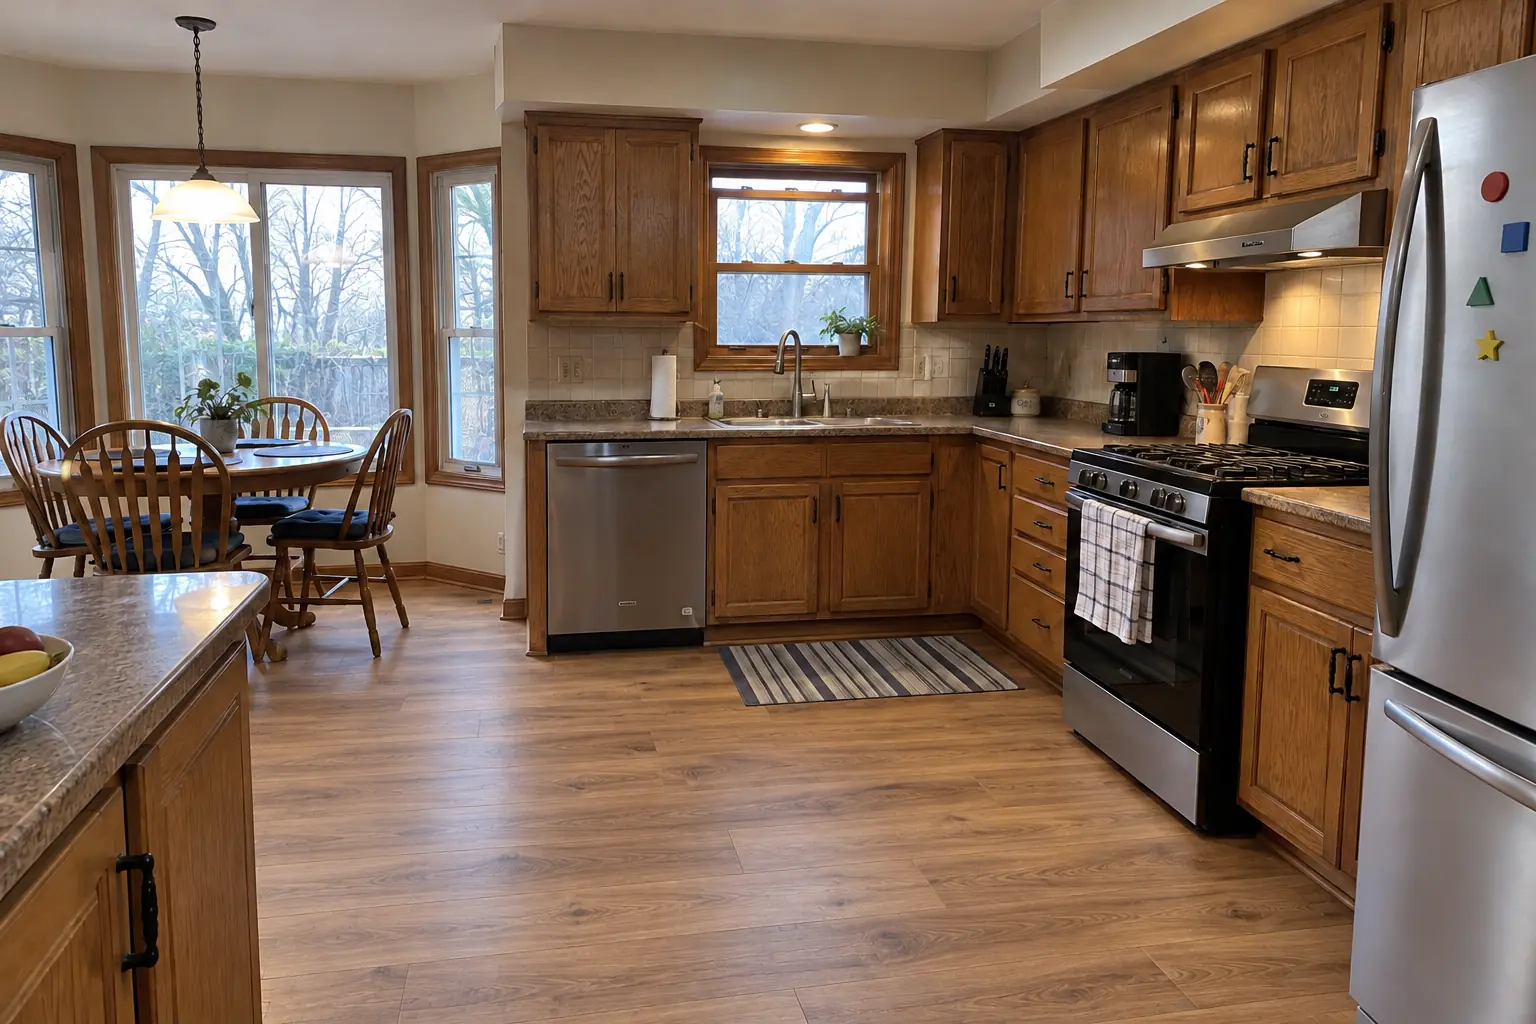
Kitchen Backsplash Installation in a 1980s-1990s two-story colonial / tract house — afterAfter
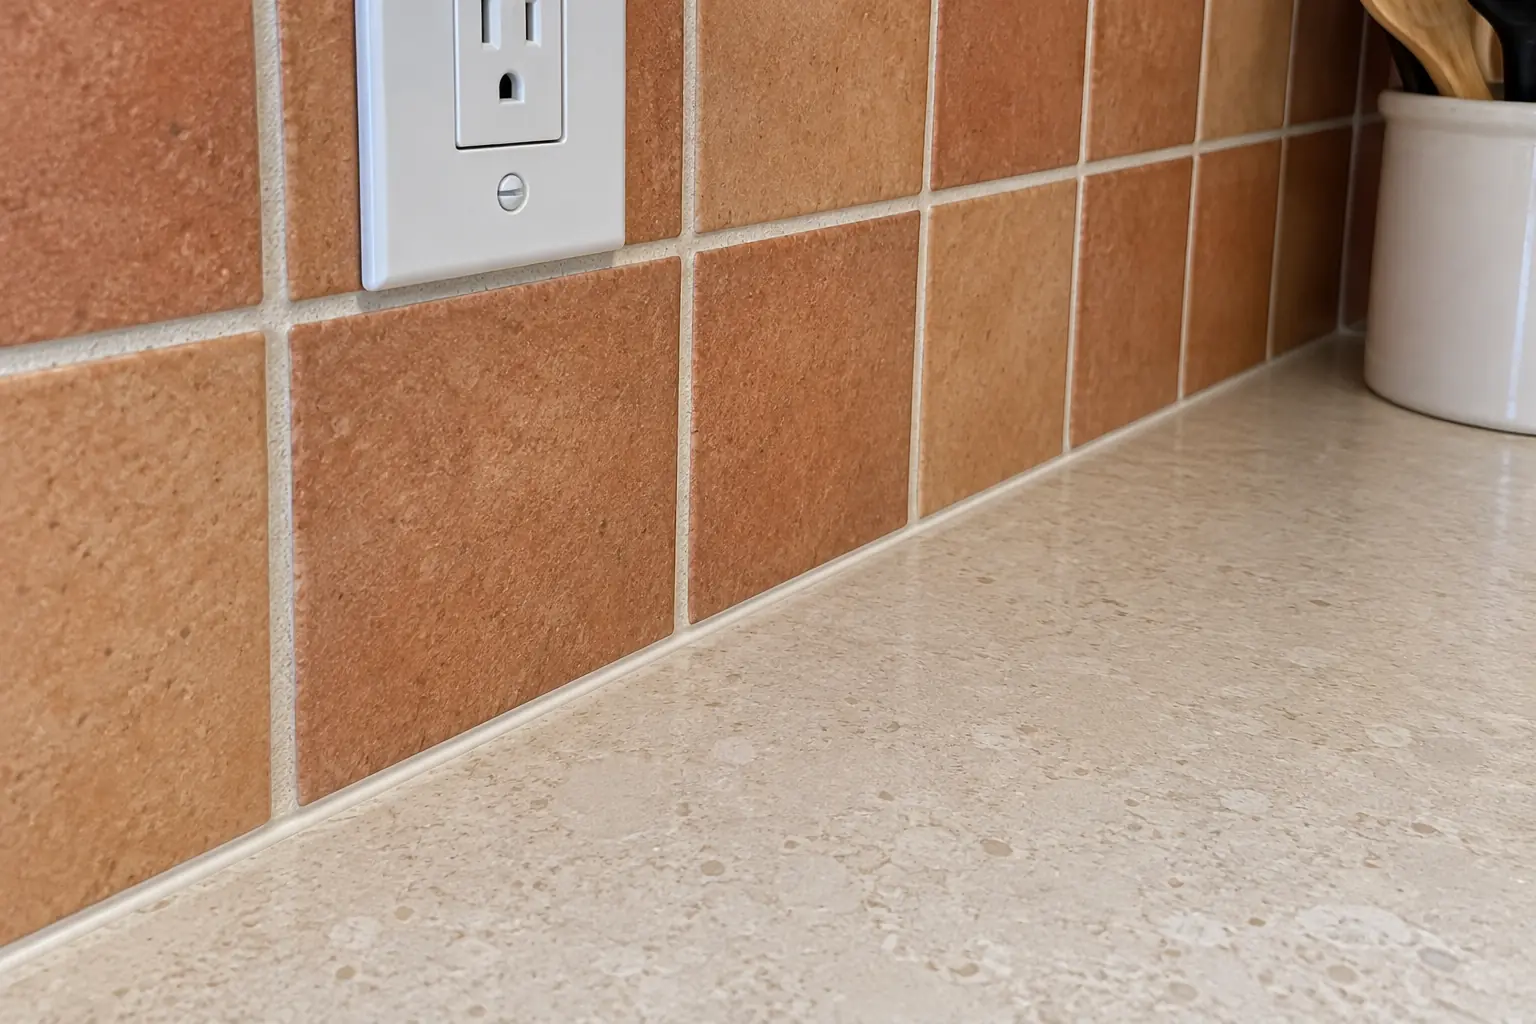
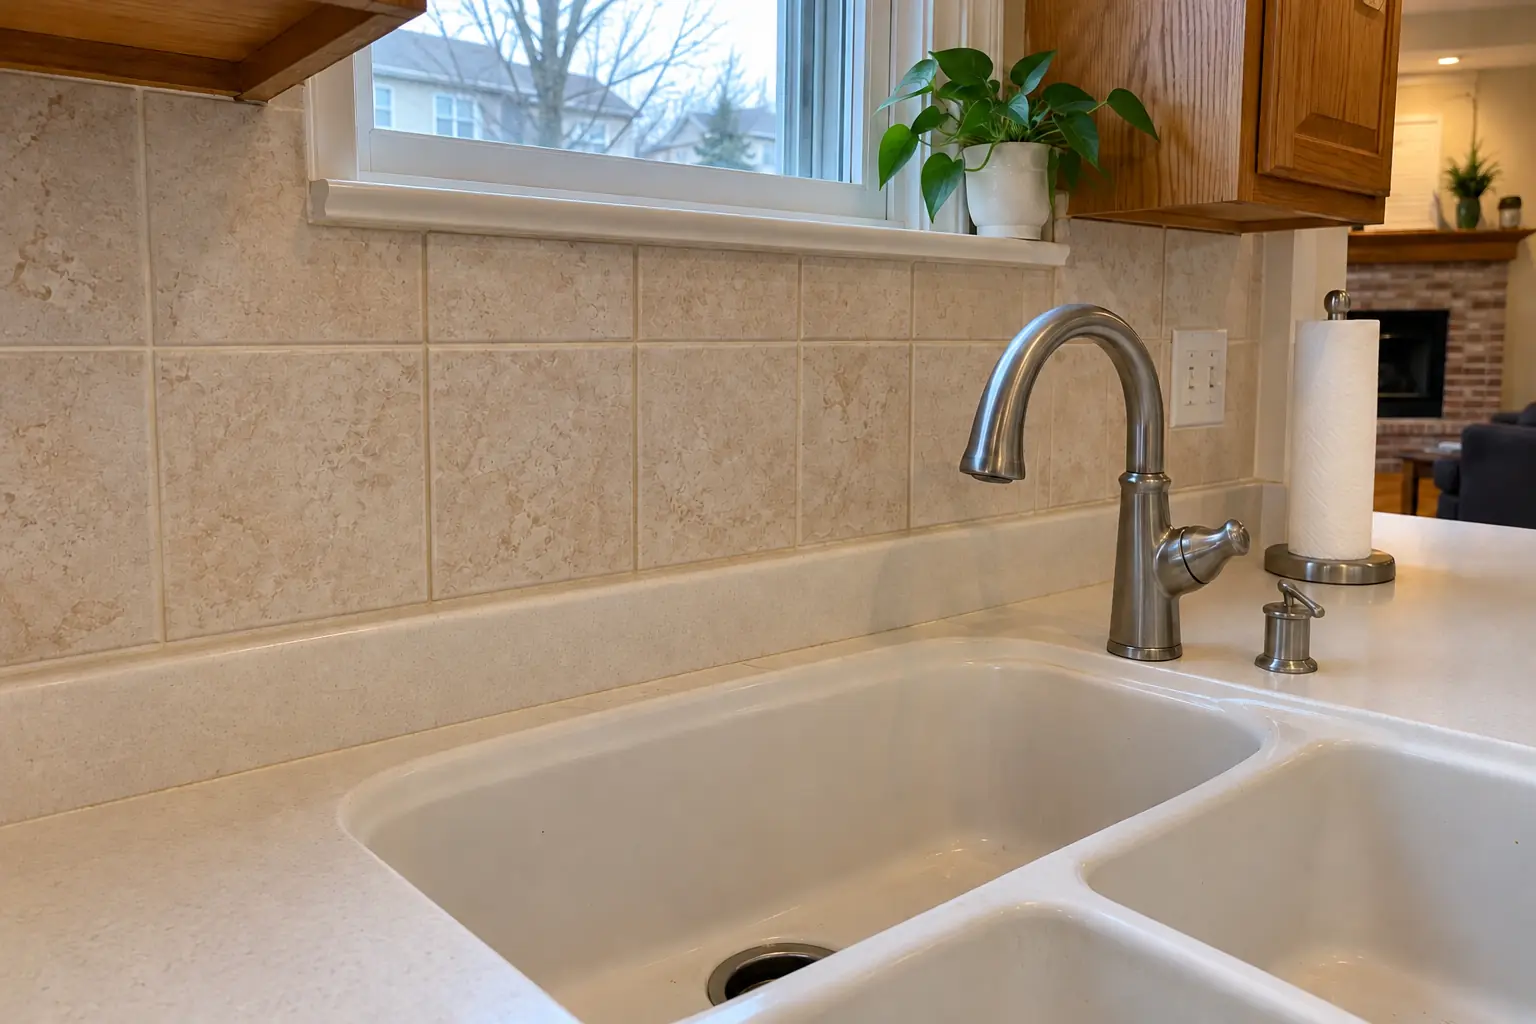
Kitchen Backsplash Installation in a 1980s-1990s two-story colonial / tract house — detailDetail

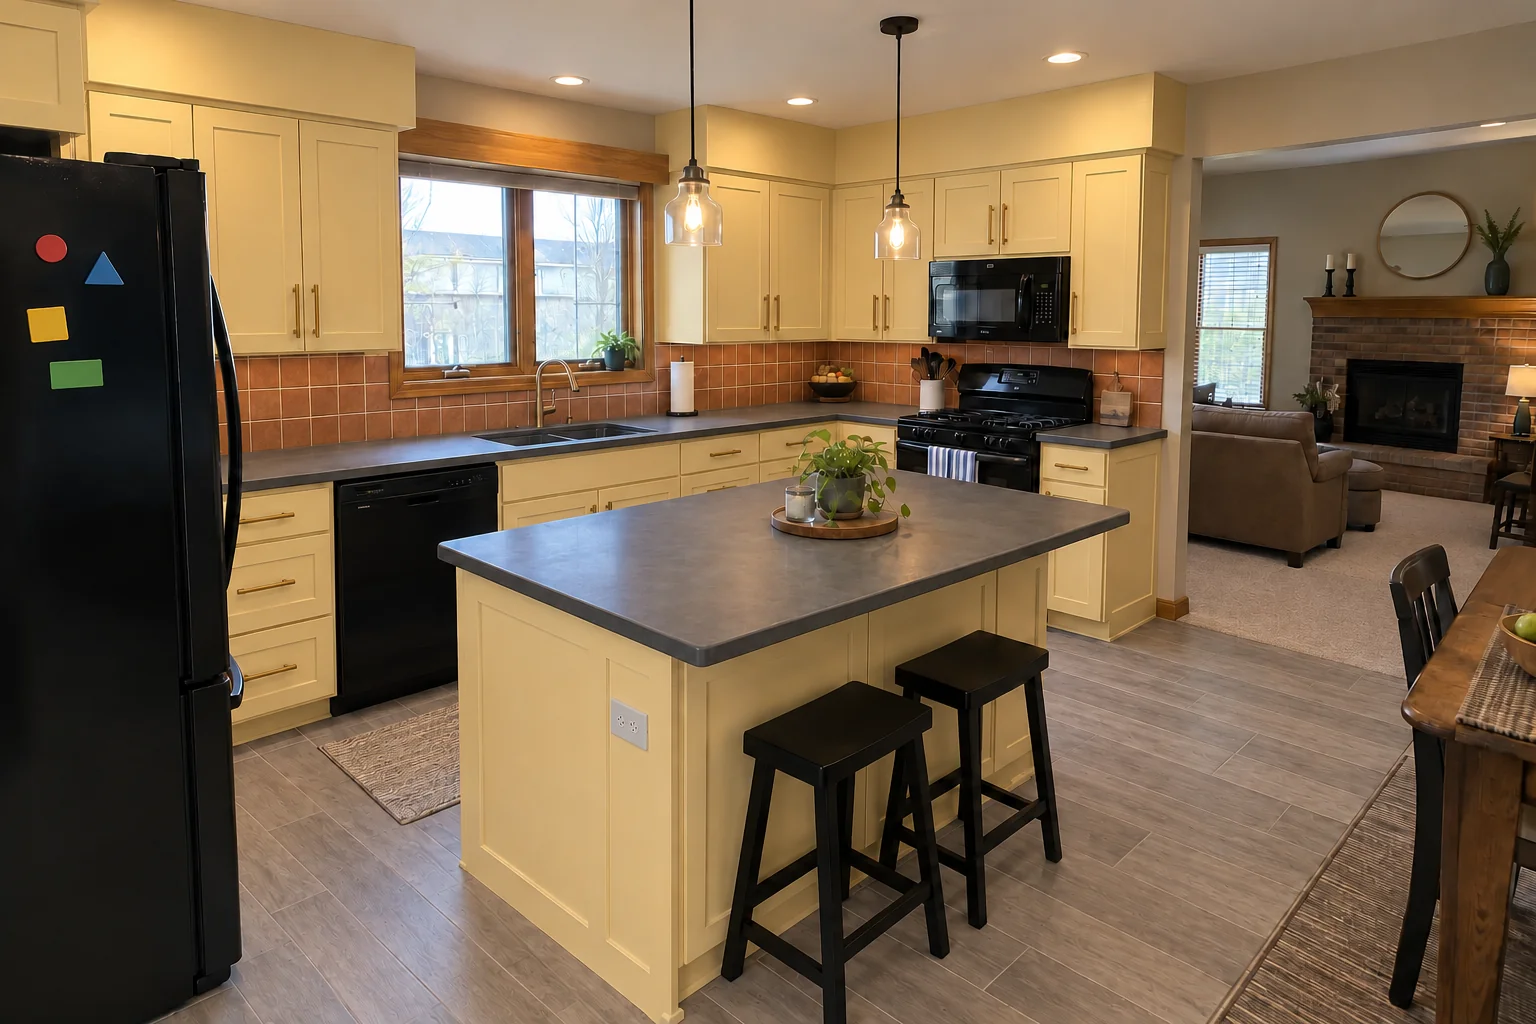
Lisle kitchen, 1990s two-story colonial: kitchen backsplash installation

A 1990s two-story colonial near Oakview, a typical kitchen for Lisle. Before: almond laminate with a backsplash lip. The main complaint was a laminate backsplash that dated the kitchen. Finished kitchen: a terracotta-look square tile backsplash with clean edges and outlets set flush. Work included layout and tile selection, outlet box extenders, plus caulk at the counter.
Kitchen Backsplash Installation project in Downers Grove, beforeBefore
Kitchen Backsplash Installation project in Downers Grove, afterAfter

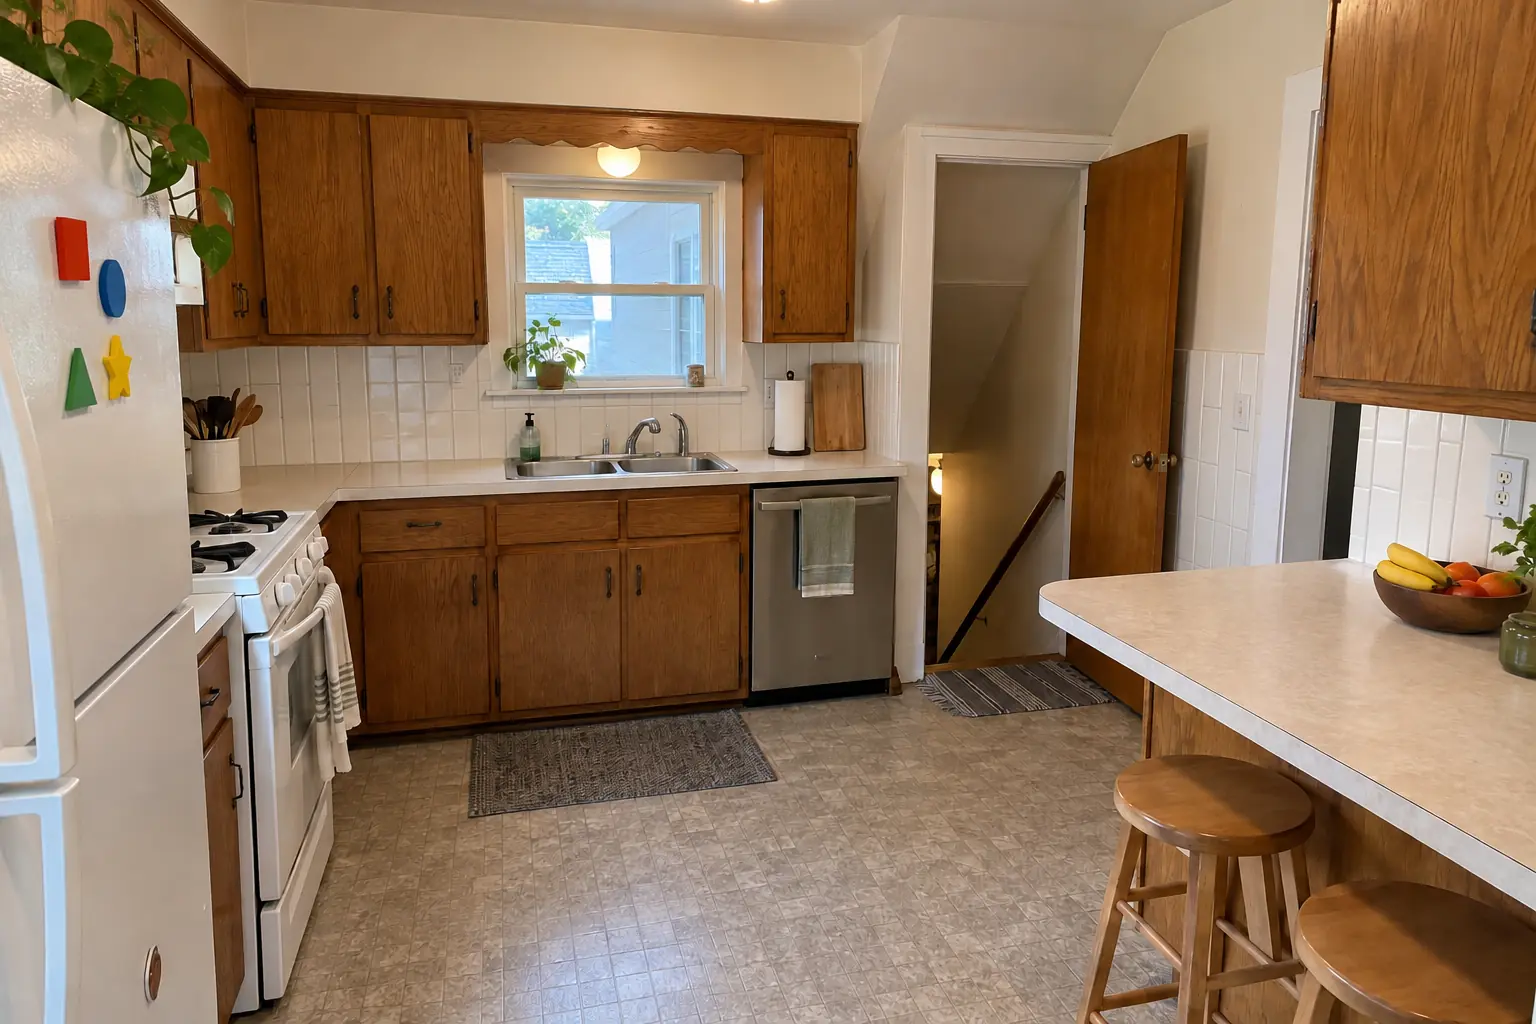
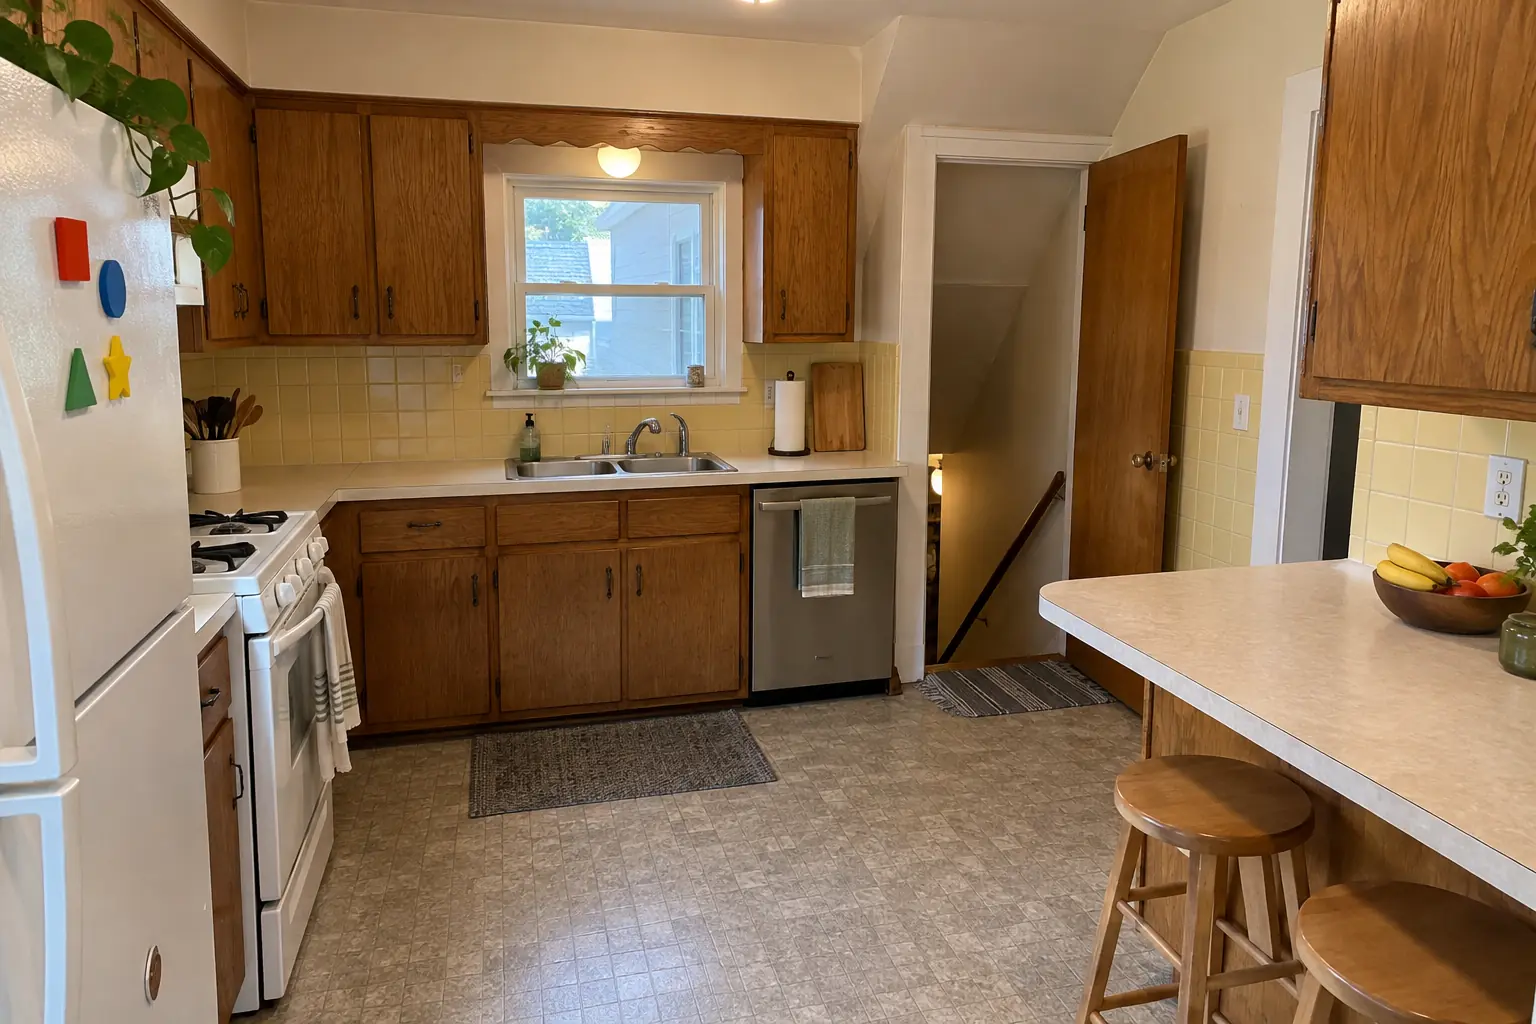
Before and after: a postwar Cape Cod in Downers Grove

The site: a postwar Cape Cod near Denburn Woods. Before: yellow 4-inch tile and light beige laminate. The reason for the call: a short 4-inch splash that looked unfinished. The result: a white 2x8 tile in a vertical stack backsplash with clean edges and outlets set flush. The job covered wall repair and prep, outlet box extenders, plus setting the tile.

Kitchen Backsplash Installation in Downers Grove →
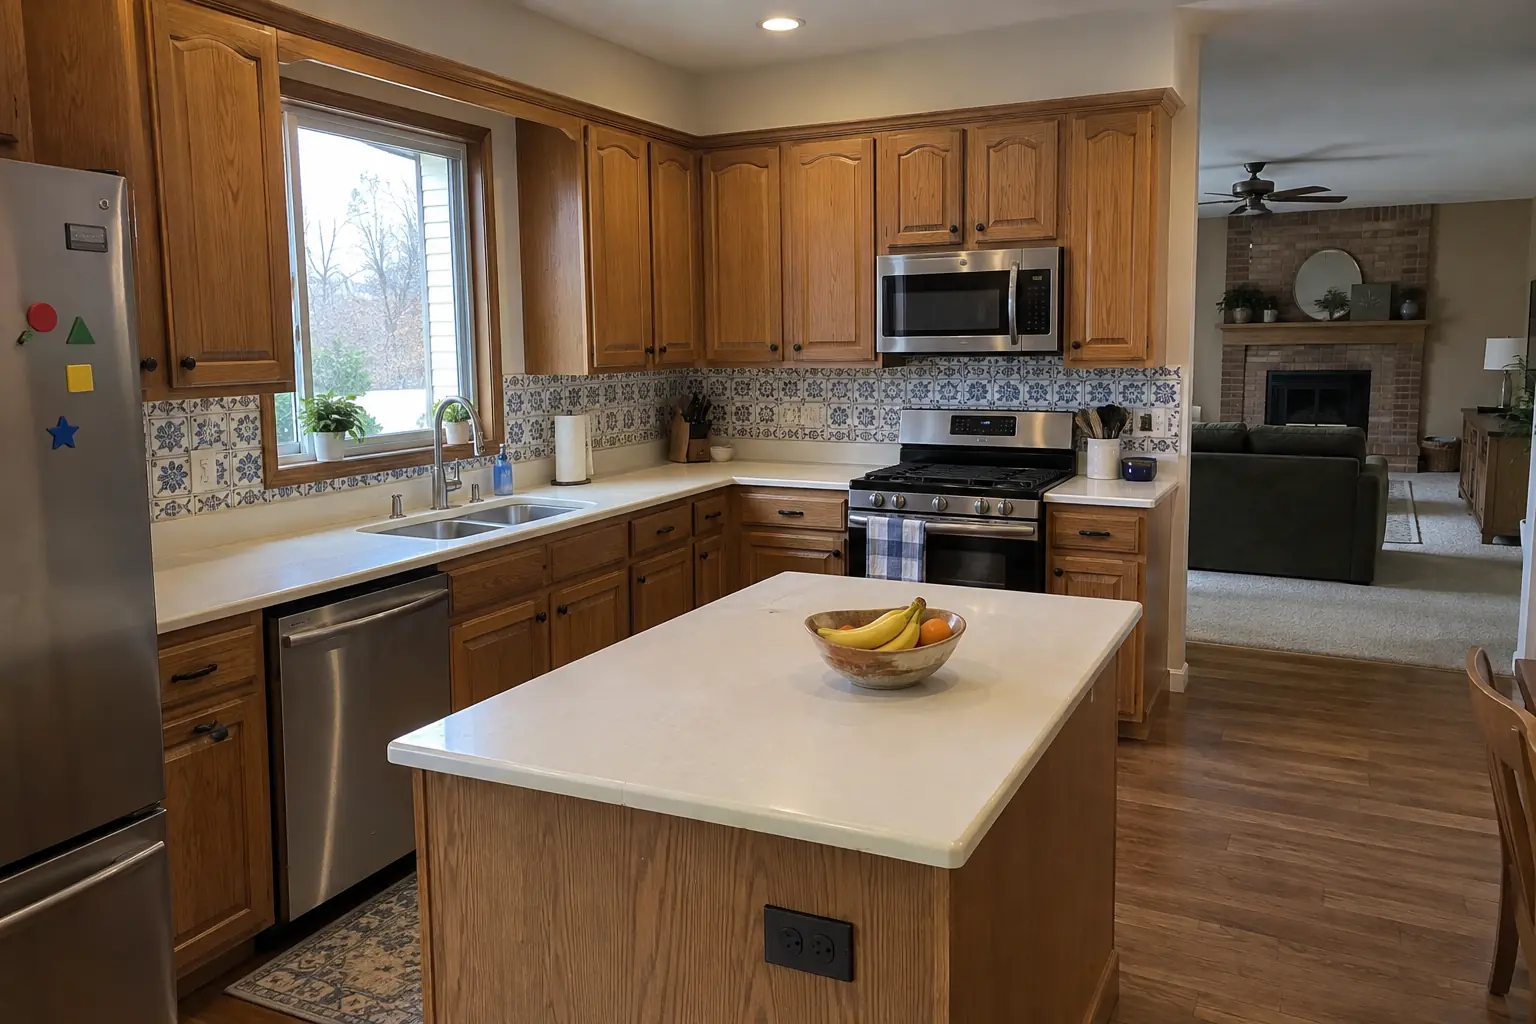
Kitchen Backsplash Installation project in Woodridge, beforeBefore
Kitchen Backsplash Installation project in Woodridge, afterAfter

A Woodridge 1990s two-story colonial: before and after

A 1990s two-story colonial near The Ridge, a typical kitchen for Woodridge. Before: blue-and-white decorative tile accent and white Corian-style solid surface with a yellowed seam. The main complaint was a busy backsplash that clashed with the new look. Finished kitchen: a white 2x8 tile in a vertical stack backsplash with clean edges and outlets set flush. On site this meant outlet box extenders, grouting, plus caulk at the counter.

Kitchen Backsplash Installation in Woodridge →
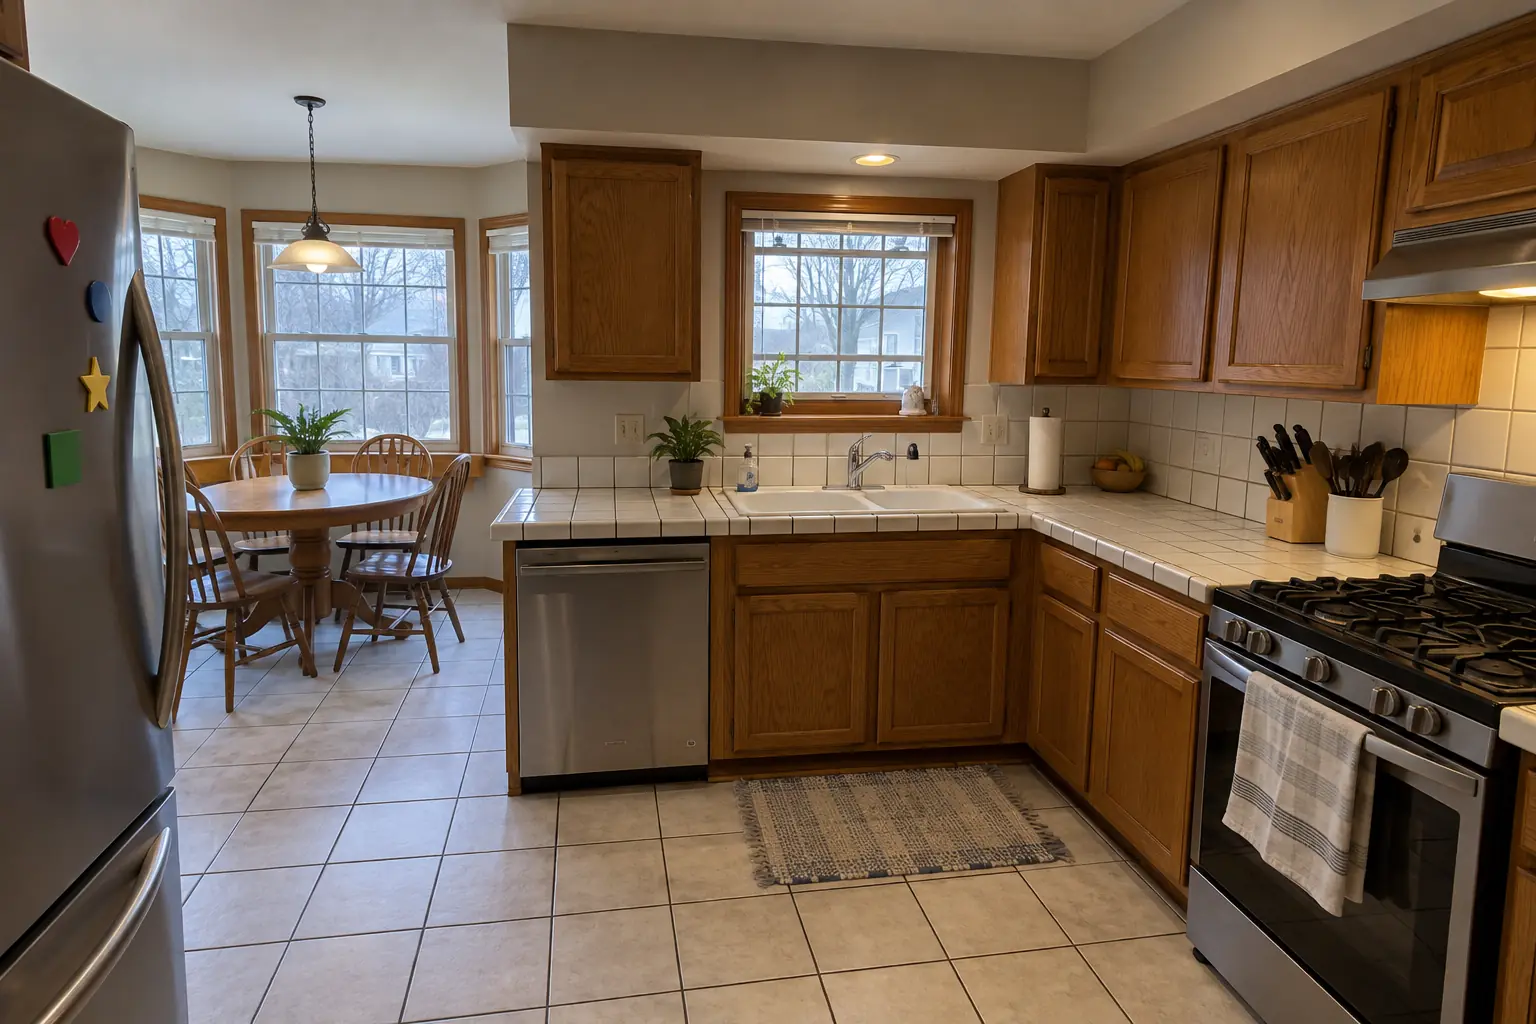
Countertop Fabrication & Installation project near Lisle, beforeBefore
Countertop Fabrication & Installation project near Lisle, afterAfter

Before and after: a 1990s two-story colonial in Lisle

Black honed granite countertops with a tight seam, an undermount sink and a new faucet.

Countertop Fabrication & Installation in Lisle →
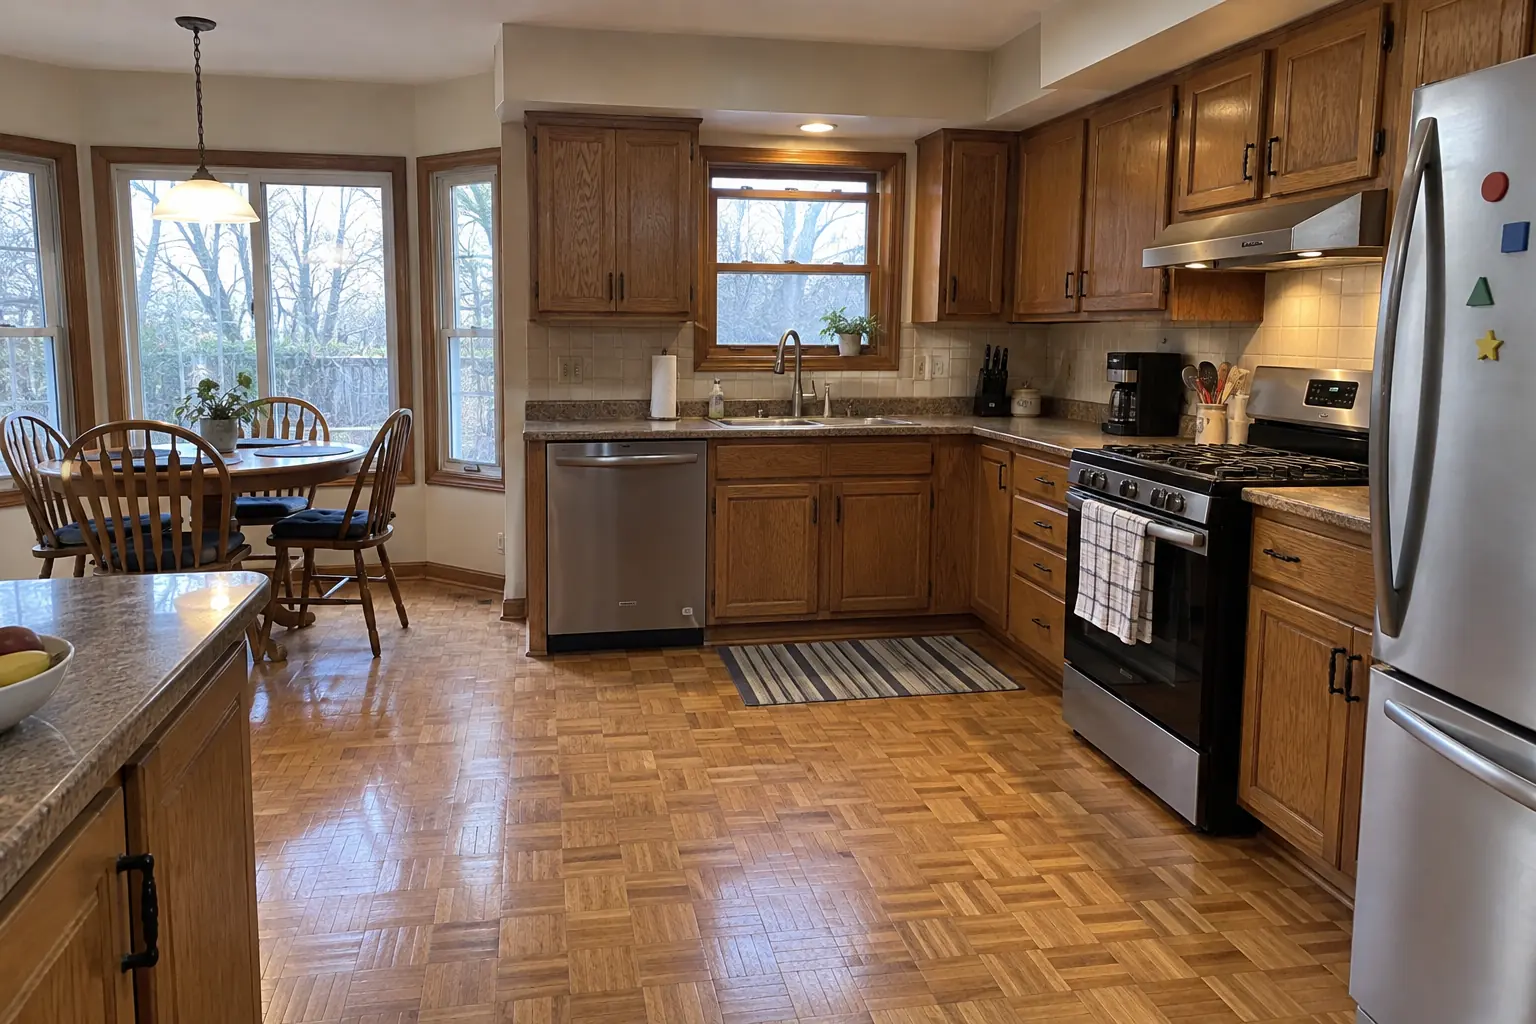
Kitchen Flooring Installation project near Lisle, beforeBefore
Kitchen Flooring Installation project near Lisle, afterAfter

Lisle kitchen, two-story colonial from the 1990s: kitchen flooring installation

What changed: warm oak luxury vinyl plank flooring through the kitchen with clean transitions.

Kitchen Flooring Installation in Lisle →

How the job goes

  1. Pick tile and patternChoose the tile and how it's laid; we figure out the quantity.
  2. Measure and planA site visit to check the wall and lay out the pattern on paper.
  3. Prep and setOld splash off, wall flattened, tile on the wall.
  4. Grout and finishGrout, caulk, trim, cover plates and cleanup, usually the next day.

Kitchen Backsplash Installation questions from Lisle homeowners

How high should the backsplash go?
Under the cabinets, the full gap. Behind a range hood or on open shelving walls, often all the way up.
Do you move outlets or add under-cabinet lighting?
We extend outlet boxes for the new tile. Relocating outlets or adding new circuits for lighting is wiring work we schedule before the tile goes up.
Can tile go over drywall?
For a backsplash, yes. Drywall works well away from direct water; we repair any damaged areas first.
Do I need to remove the 4-inch splash?
Not always. Tile can start above it, but removing it gives a cleaner, more current look with tile down to the counter.
What affects the price of a backsplash?
Mosaic and herringbone take longer than subway; removal and wall repair add work. We put it all in a written estimate.
Can you do backsplash installation in a Lisle condo?
Associations usually set rules for work hours, elevators, deliveries and insurance, and many require approval for plumbing, electrical or structural changes. We provide the certificate of insurance and follow the building's rules.
Do you work in my part of Lisle?
Yes. Our crews work across Lisle, including Oakview, The Meadows, Four Lakes Village — ZIP 60532 — and nearby Downers Grove, Woodridge, Wheaton.

Working in Lisle

  • A lot of Lisle kitchens date from the 1980s. We know these layouts well and what is worth keeping.
  • Condo or townhome? We follow association rules on work hours and elevators and bring the insurance certificate your board asks for.

OakviewThe MeadowsFour Lakes Village

ZIP 60532

Kitchen Backsplash Installation nearby

Planning a kitchen project in Lisle?

Call us — we'll check your ZIP, answer your questions and book an in-home estimate.
Call now (708) 400-7049
Call (708) 400-7049Callback