Serving Itasca & nearby Wood Dale, Elk Grove Village

Kitchen Backsplash Installation in Itasca, IL

Tile backsplashes set straight, grouted clean and finished around every outlet in Itasca kitchens.

  • Crews working in Itasca ZIP 60143
  • Most jobs done in days, with your kitchen still usable
  • Samples and a written quote before we start

Prefer a callback?

Leave your number and a Itasca tile setter will call you.

Backsplash problems we solve in Itasca

A backsplash is a small wall with a lot of cuts. In Itasca we prep the wall, plan the layout so the tile ends evenly at the cabinets and windows, set it level, grout it and finish every edge and outlet so nothing looks patched.

Grease-prone spot behind the range

Behind the range we often suggest a full-height feature, a larger tile or a slab panel with fewer grout lines to clean.

Grout stained or cracking

Cracked grout near the counter usually means the joint wasn't caulked. We use flexible caulk where tile meets the counter and grout everywhere else.

Uneven wall surface

Bumps and dips in the drywall show through as lipped tile. Flattening the wall first is part of our prep.

Awkward edges and ends

Raw tile edges at the ends look unfinished. Trim pieces or a slim metal profile give the backsplash a clean stop.

Old 4-inch splash with nothing above

That strip of 4-inch splash dates the kitchen. Tile above it, or in its place, finishes the wall to the cabinets.

Outlets sunk behind the tile

When tile adds thickness, the outlet box needs an extender ring. Our outlets end up flush, not buried.

Tile that ends in the wrong place

A backsplash that ends in a tiny strip by the window looks off. We lay it out first and center the pattern where your eye lands.

Bare wall behind the counters

If the wall above the counter is just paint, every spatter shows. Tile gives it a surface you can scrub.
What we do on the job

  • Protection and removalWe protect the counters, cut power to the outlets and take down the old backsplash.
  • Wall repair and prepDrywall or plaster patched and flattened, cement board where the wall needs it.
  • Outlet box extendersExtender rings so outlets and switches sit flush with the tile face.
  • Setting the tileTile set level from a straight starting line, with spacers for even joints.
  • Edges and trimBullnose, pencil liner or a metal profile where the tile ends.
  • Caulk at the counterFlexible caulk where tile meets the counter and the cabinets.
  • Sealing and cleanupNatural stone and cement-based grout sealed when needed; the kitchen cleaned.

Options to choose from

Handmade-look and zelligeIrregular tile with depth and shine, set with care for its varying thickness.
Mosaic and glassSmall tiles on mesh sheets for accents or full walls; glass needs careful setting and unsanded or epoxy grout.
Grout typesUnsanded for narrow joints, sanded for wider ones, epoxy where stain resistance matters most.
Ceramic and porcelain tileThe everyday choice: durable, easy to clean and available in every size, from subway to large panels.
Natural stoneMarble, travertine and slate tiles bring natural variation; they need sealing.

Before and after: kitchens near Itasca

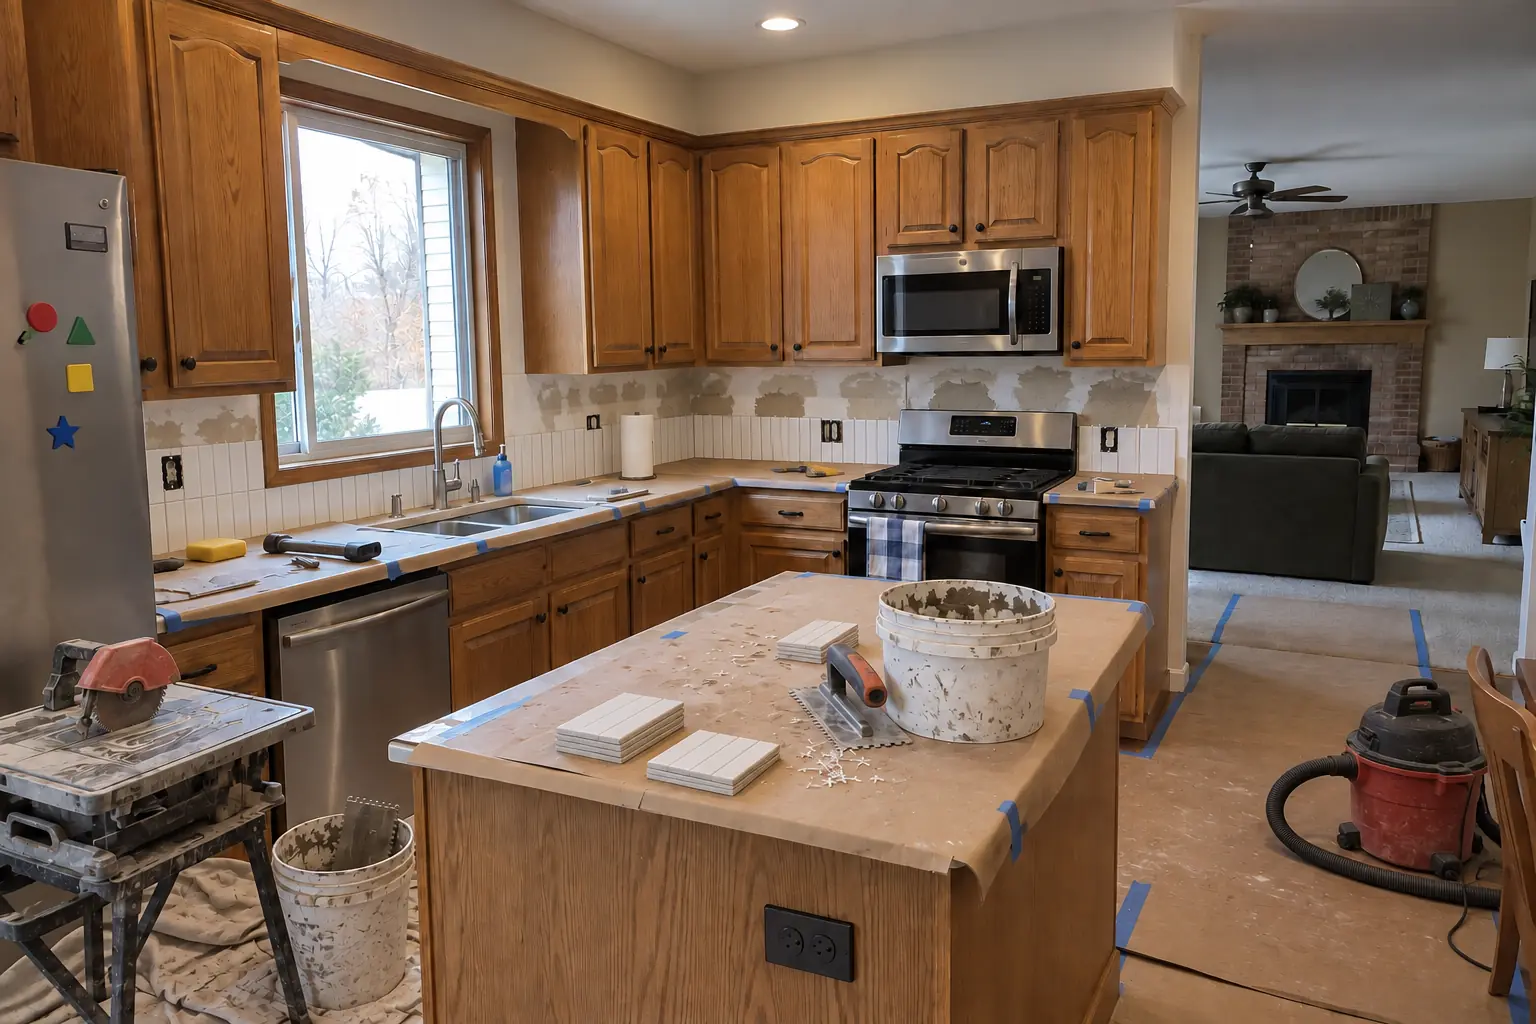
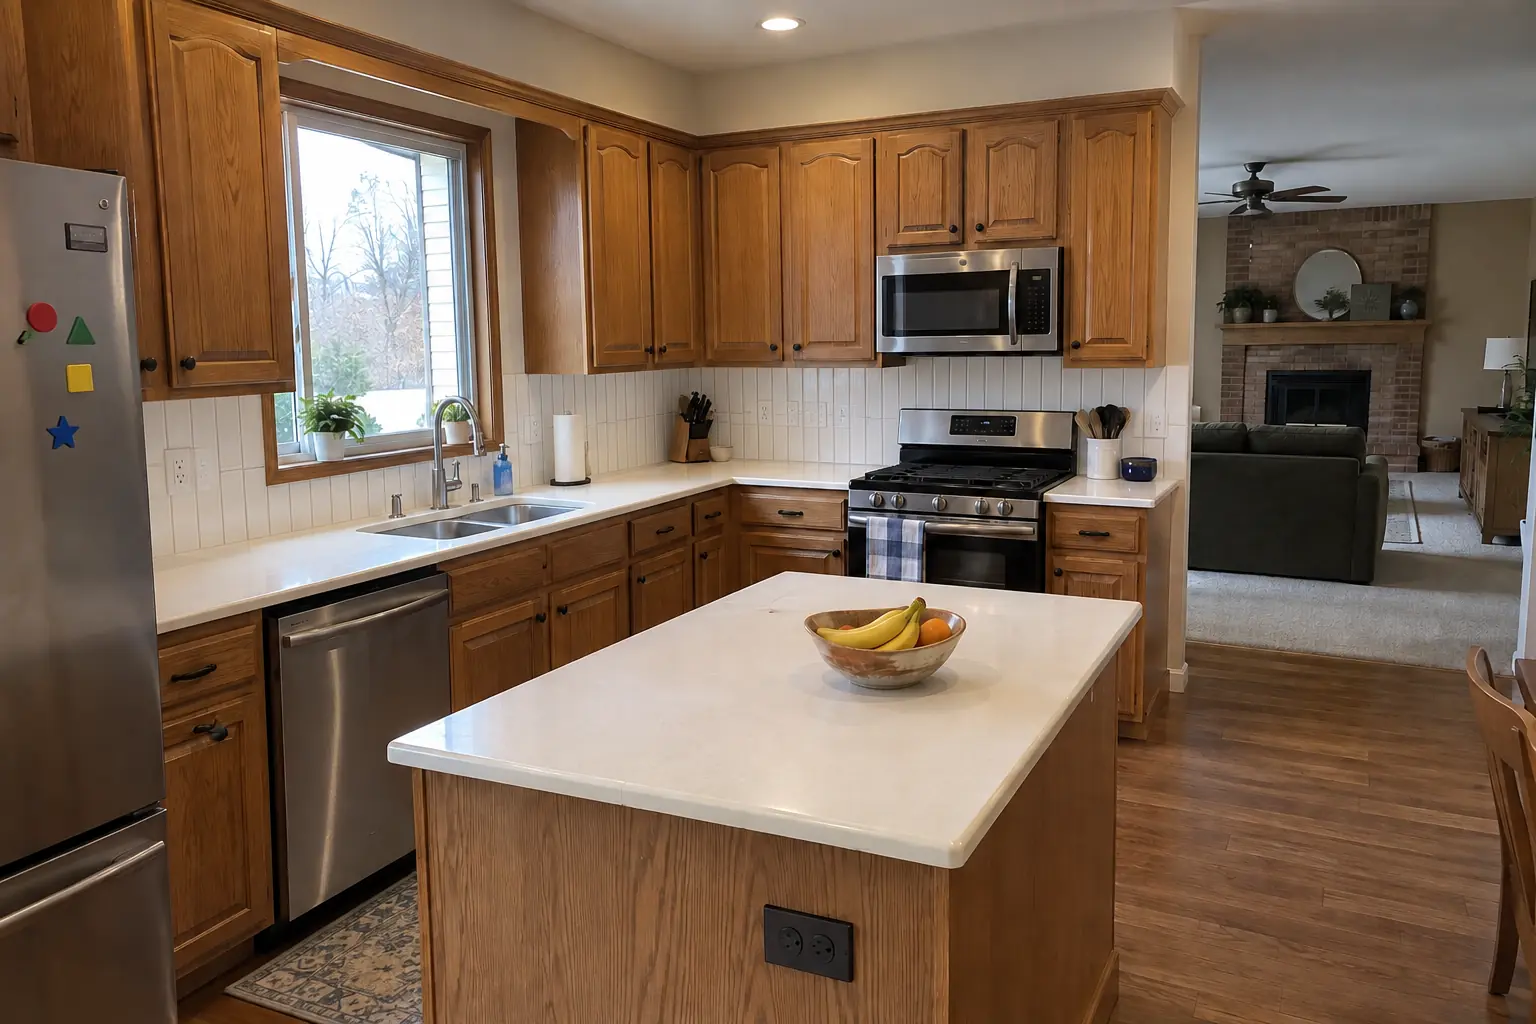
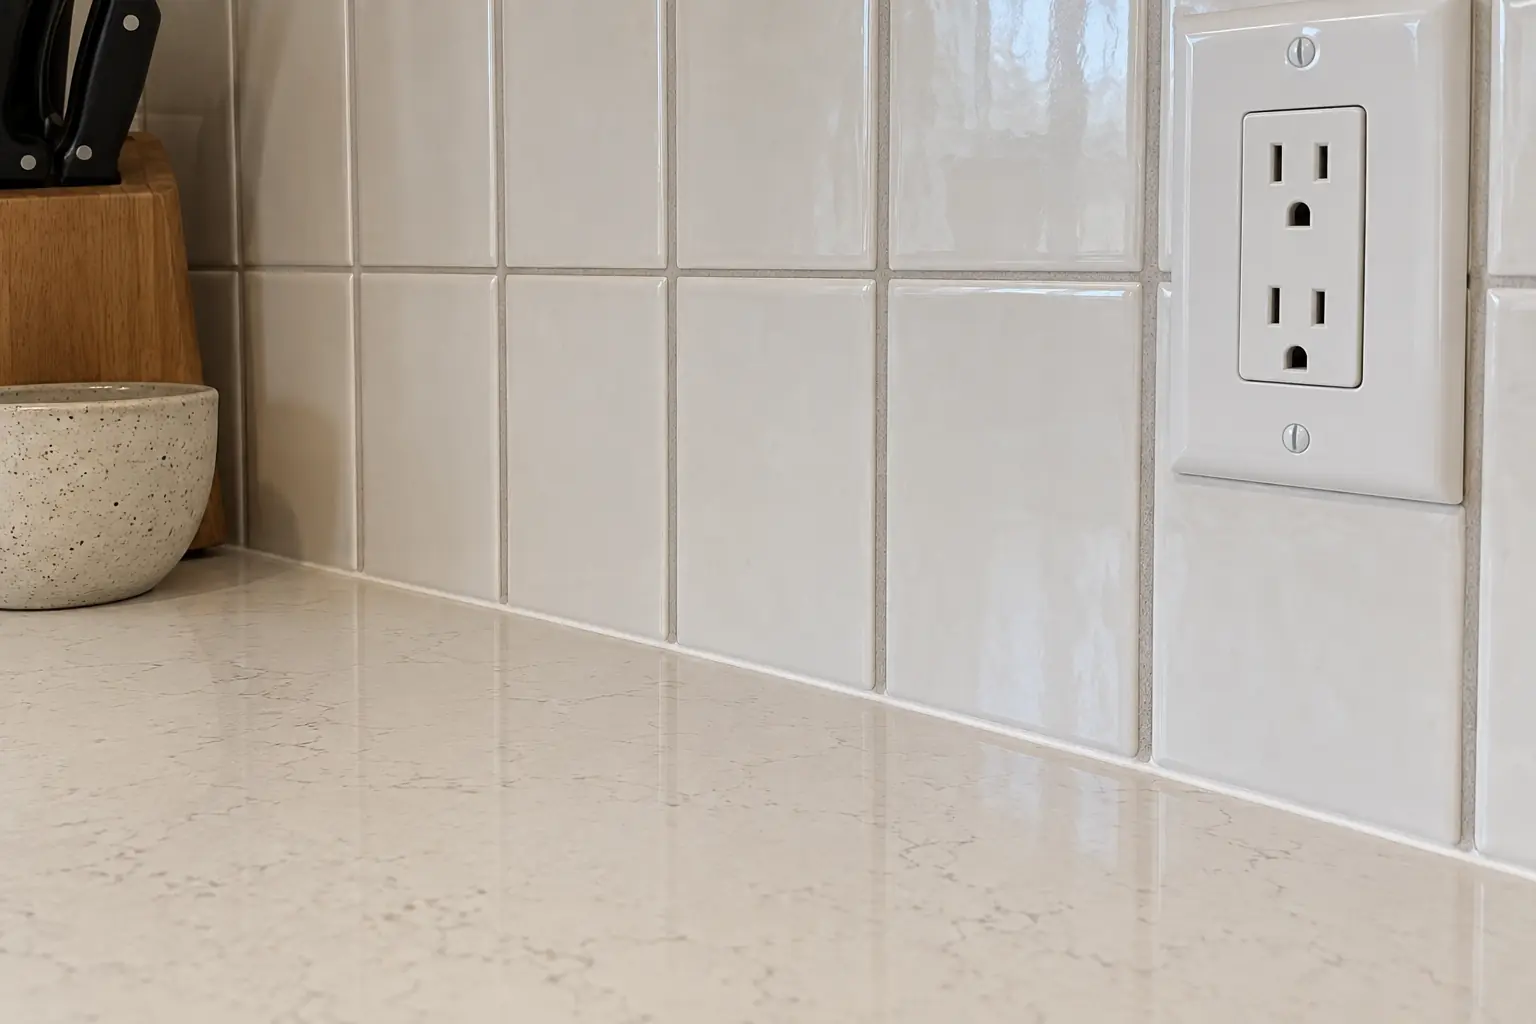
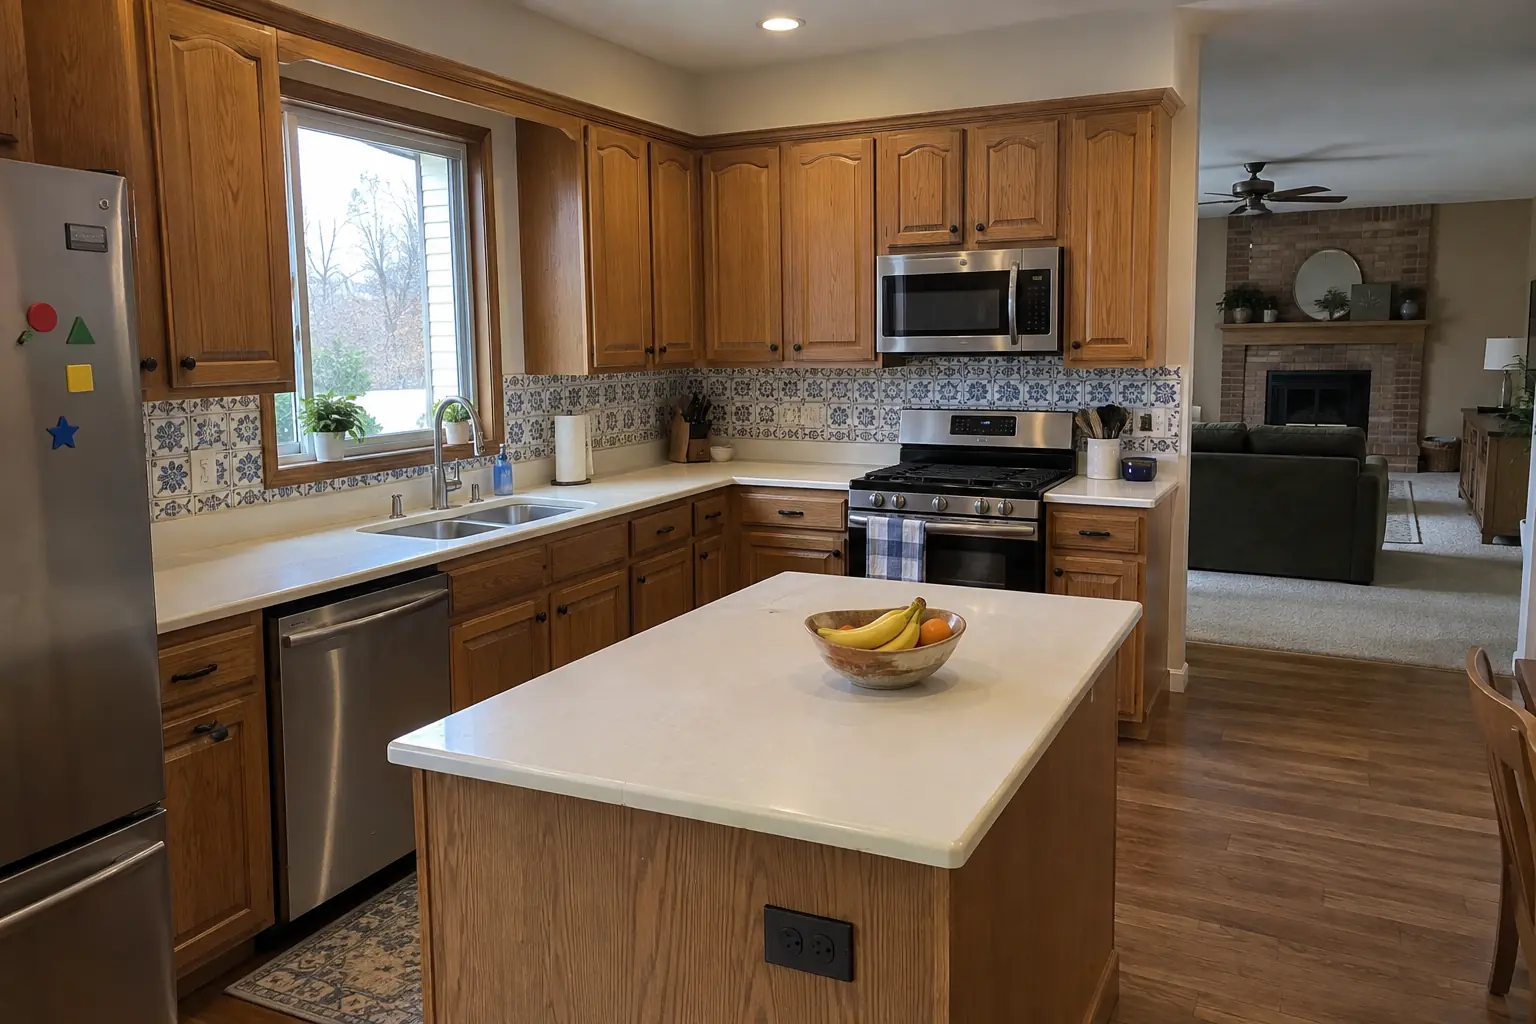
Kitchen Backsplash Installation in a 1980s-1990s two-story colonial / tract house — beforeBefore
Kitchen Backsplash Installation in a 1980s-1990s two-story colonial / tract house — in progressIn progress
Kitchen Backsplash Installation in a 1980s-1990s two-story colonial / tract house — afterAfter
Kitchen Backsplash Installation in a 1980s-1990s two-story colonial / tract house — detailDetail

Before and after: a 1990s two-story colonial in Itasca

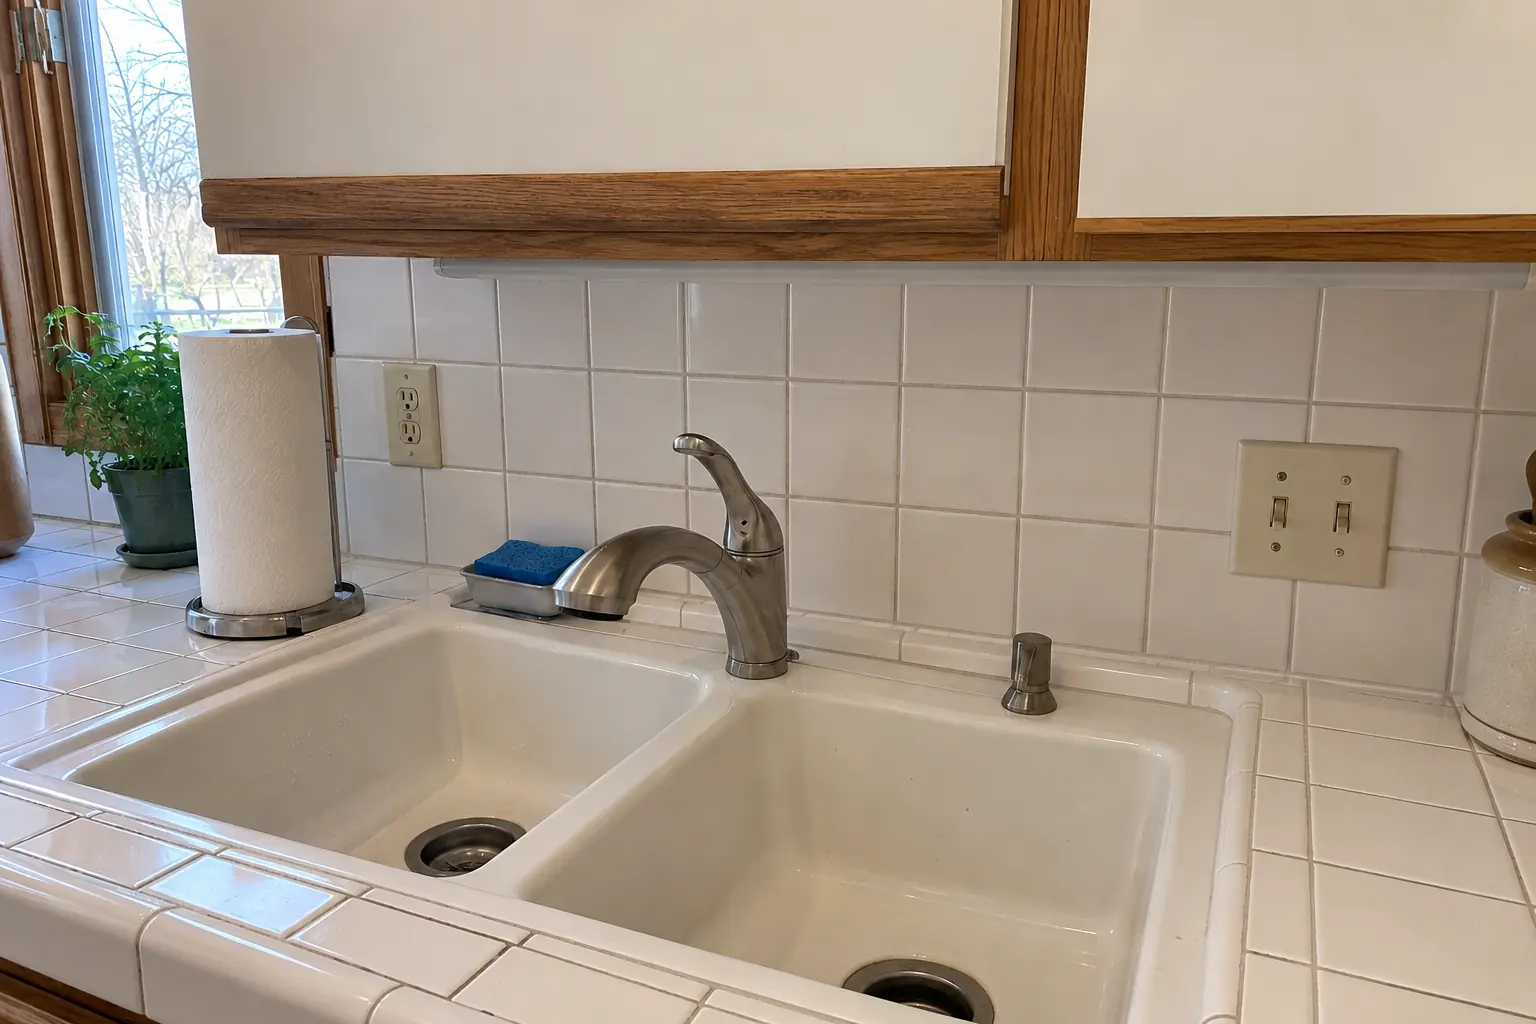
The site: a 1990s two-story colonial near North Side. What we started with: blue-and-white decorative tile accent and white Corian-style solid surface with a yellowed seam. The main complaint was a dated tile pattern they were tired of. After: a white 2x8 tile in a vertical stack backsplash with clean edges and outlets set flush. On site this meant setting the tile, edges and trim, plus sealing and cleanup.
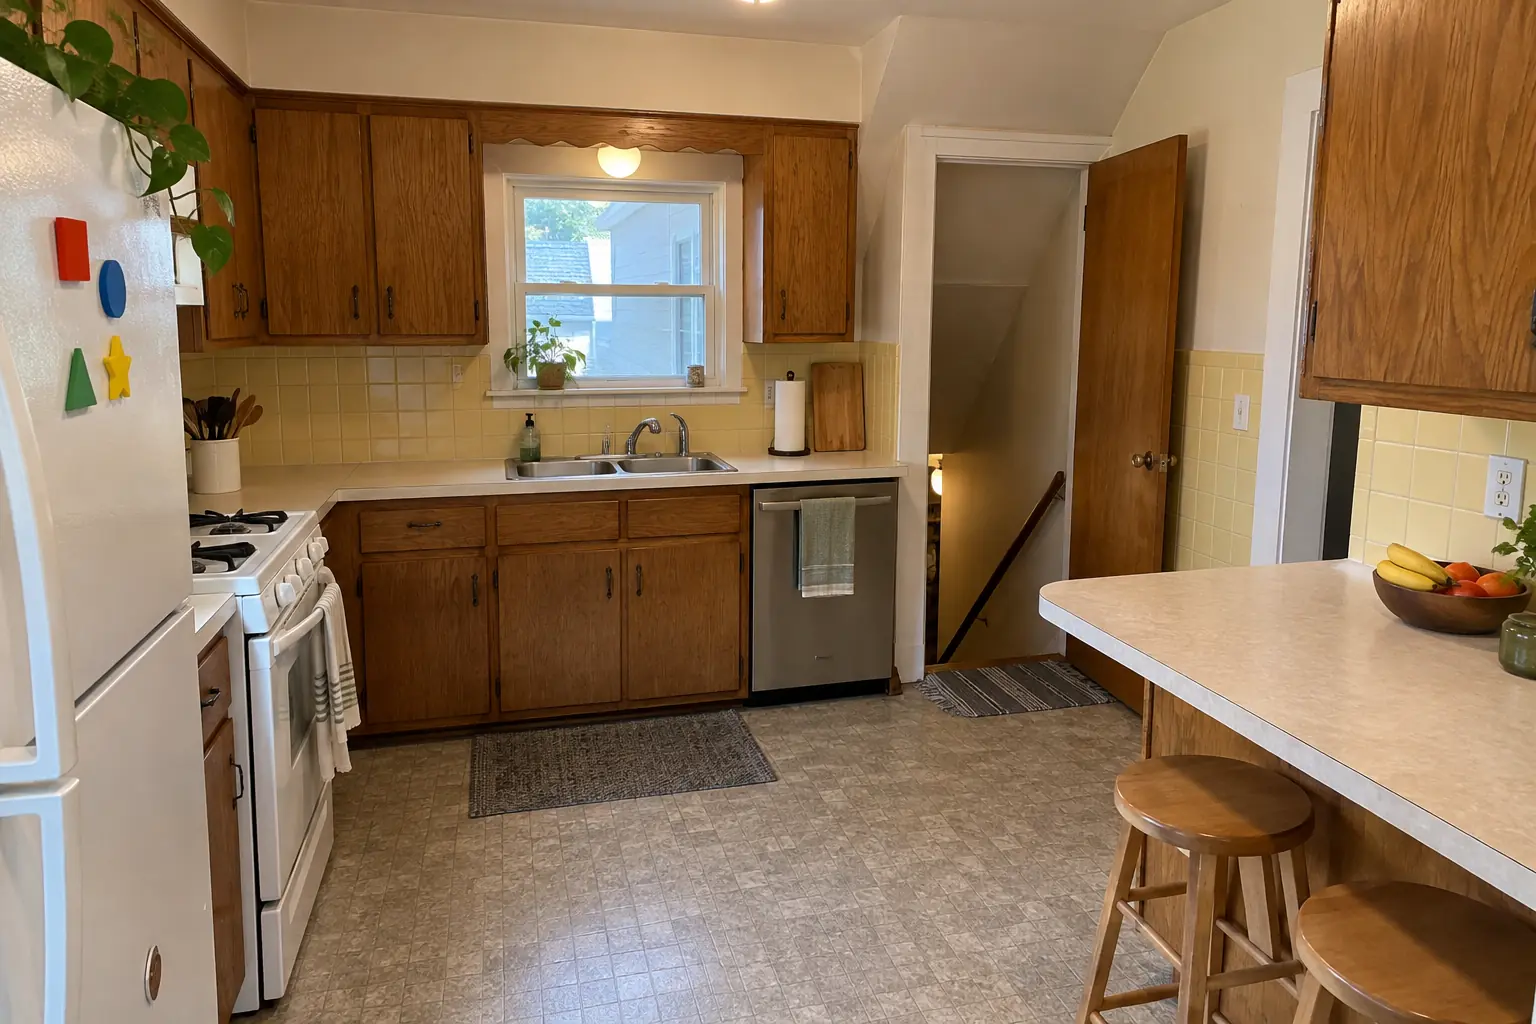
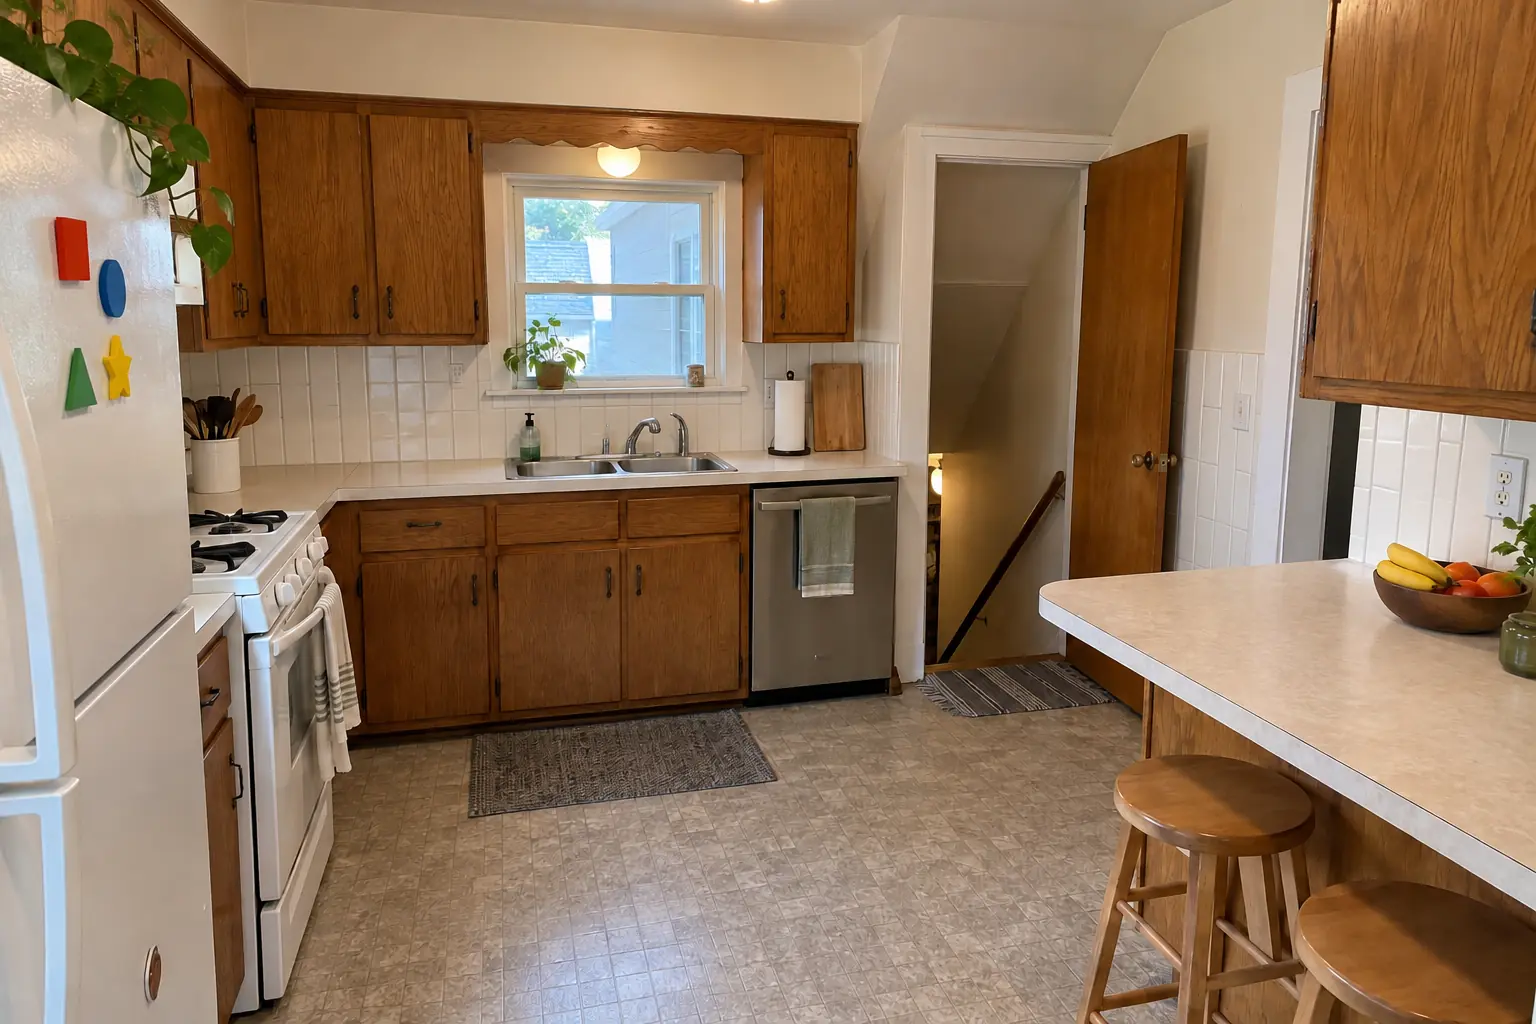
Kitchen Backsplash Installation project in Wood Dale, beforeBefore
Kitchen Backsplash Installation project in Wood Dale, afterAfter

Before and after: a 1950s ranch in Wood Dale

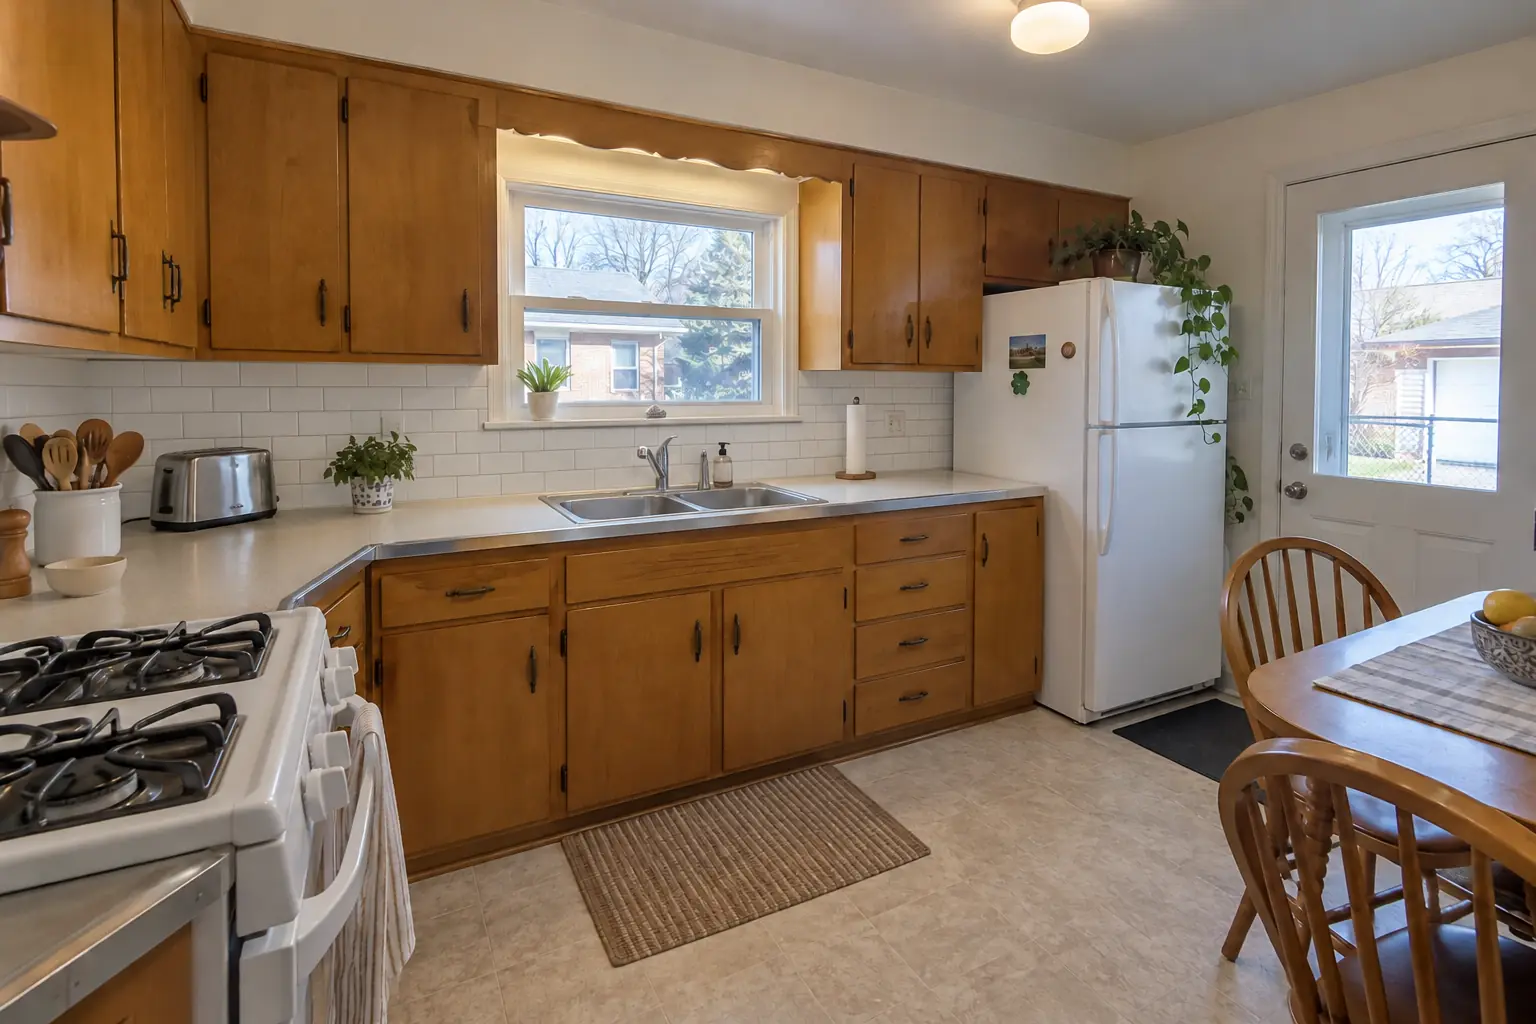
This one is a 1950s ranch in Wood Dale. The kitchen as it was: yellow 4-inch tile and light beige laminate. The reason for the call: a short 4-inch splash that looked unfinished. Finished kitchen: a white 2x8 tile in a vertical stack backsplash with clean edges and outlets set flush. Work included wall repair and prep, setting the tile, plus sealing and cleanup.

Kitchen Backsplash Installation in Wood Dale →
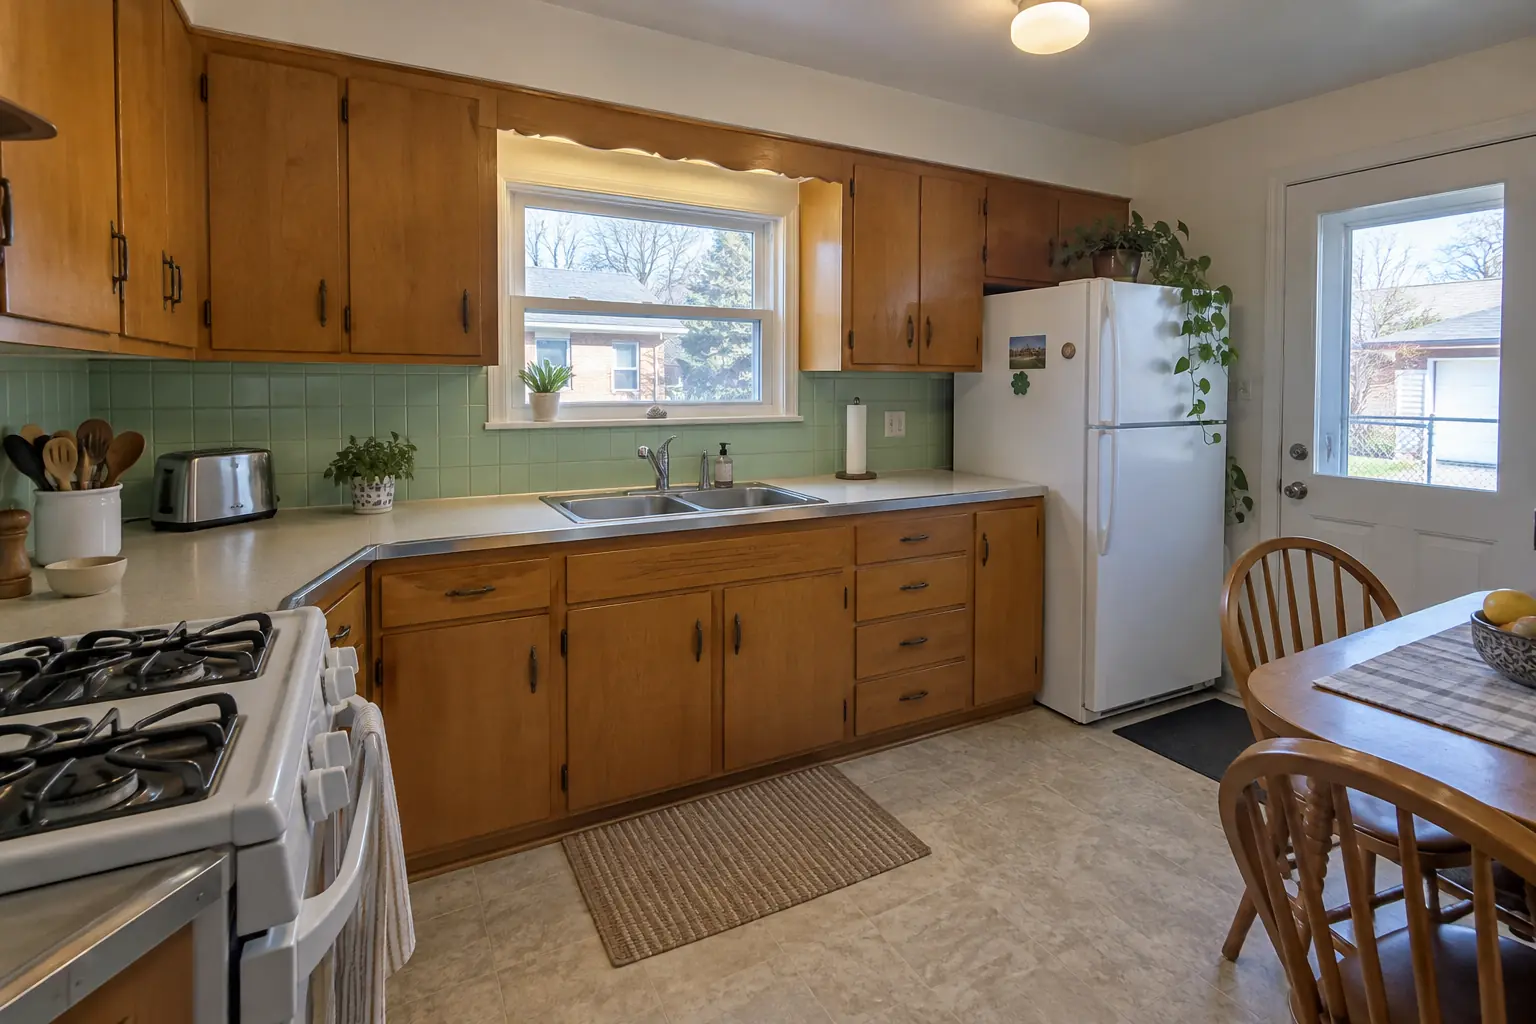
Kitchen Backsplash Installation project in Elk Grove Village, beforeBefore
Kitchen Backsplash Installation project in Elk Grove Village, afterAfter

Before and after: a 1960s ranch in Elk Grove Village

This one is a 1960s ranch in Elk Grove Village. The kitchen as it was: mint-green 4-inch ceramic tile and laminate with an aluminum edge band. The main complaint was an old 4-inch tile strip that dated the room. The result: a white subway tile backsplash with clean edges and outlets set flush. The job covered wall repair and prep, outlet box extenders, plus setting the tile.

Kitchen Backsplash Installation in Elk Grove Village →
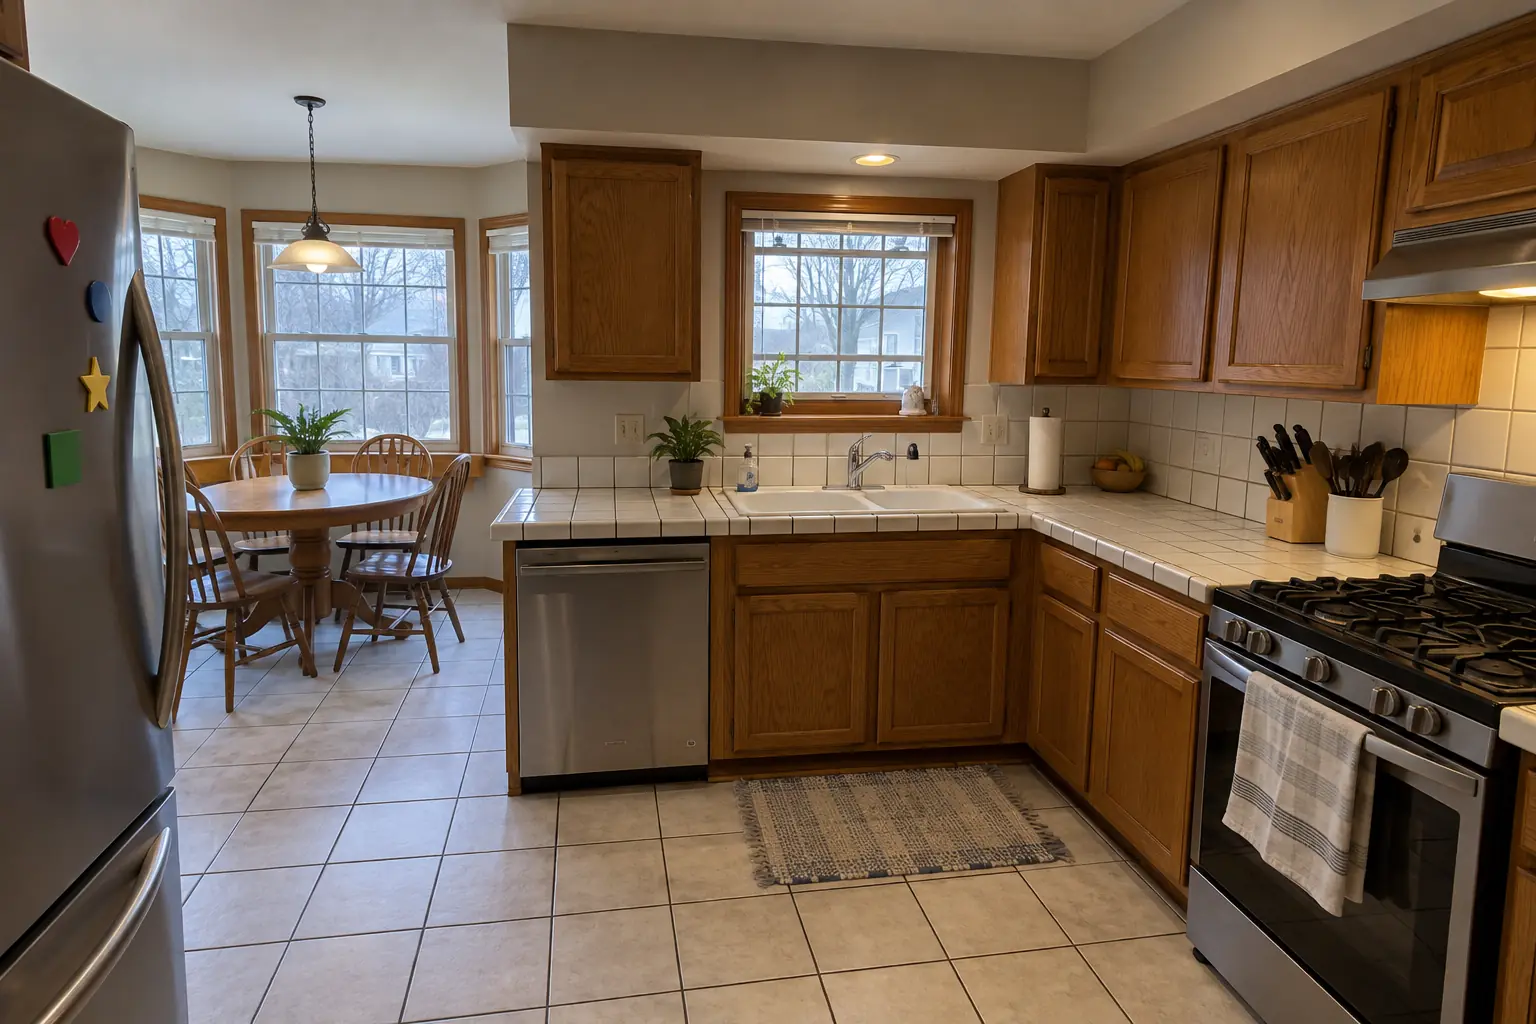
Countertop Fabrication & Installation project near Itasca, beforeBefore
Countertop Fabrication & Installation project near Itasca, afterAfter

Before and after: a 1980s two-story in Itasca

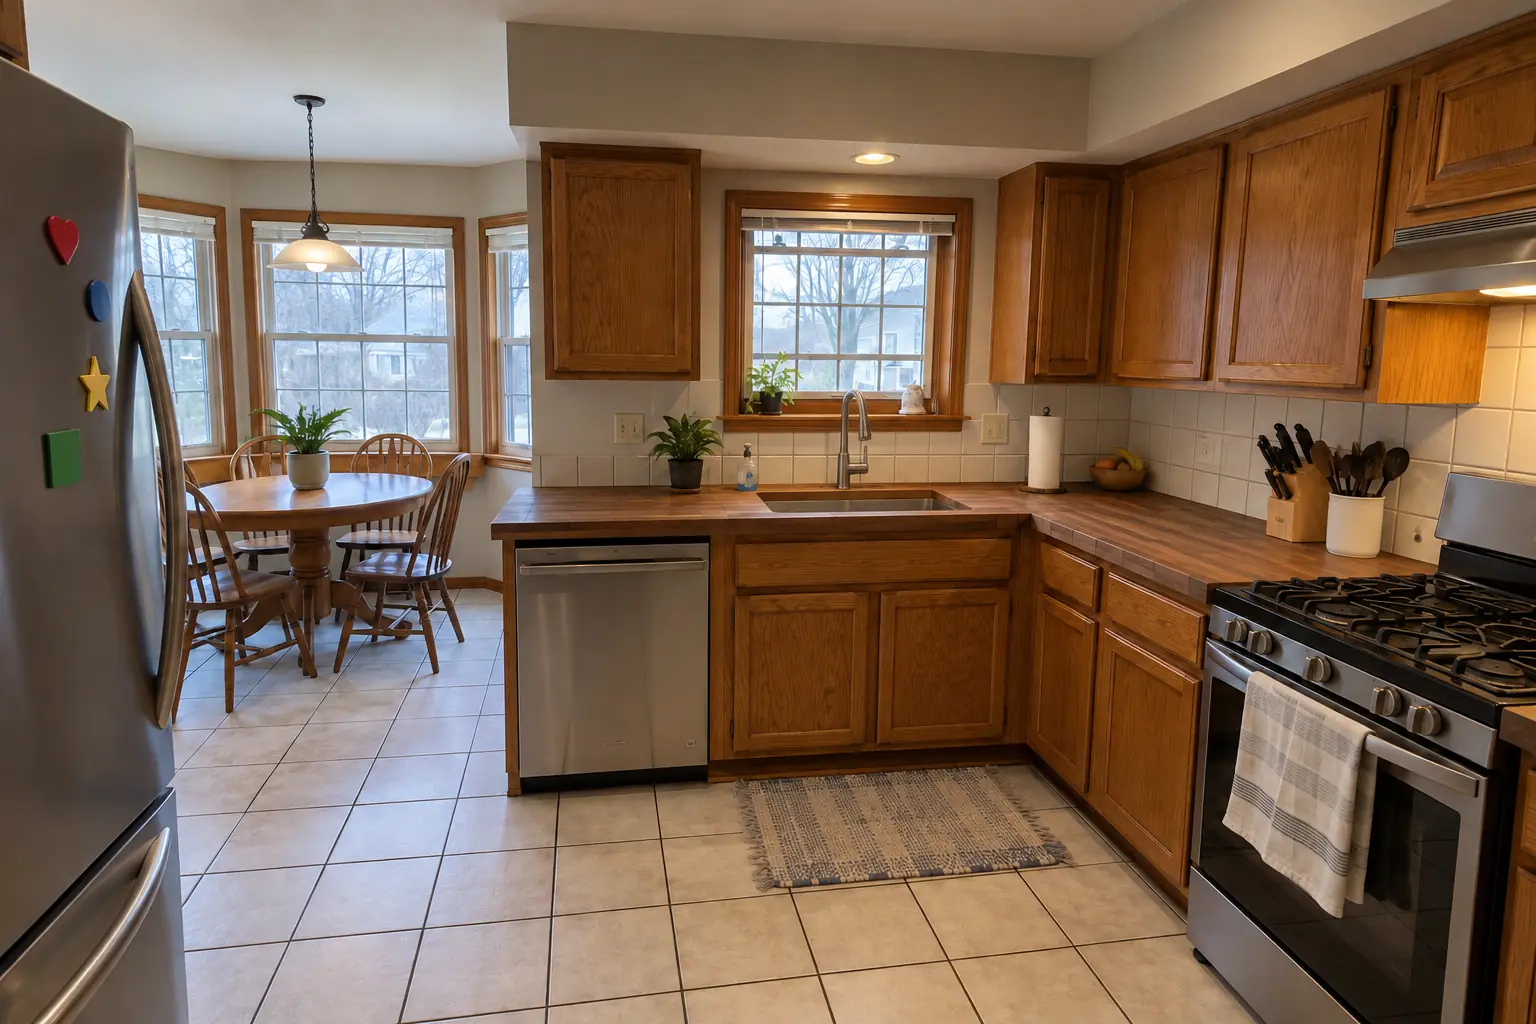
What changed: warm walnut butcher block countertops with a tight seam, an undermount sink and a new faucet.

Countertop Fabrication & Installation in Itasca →
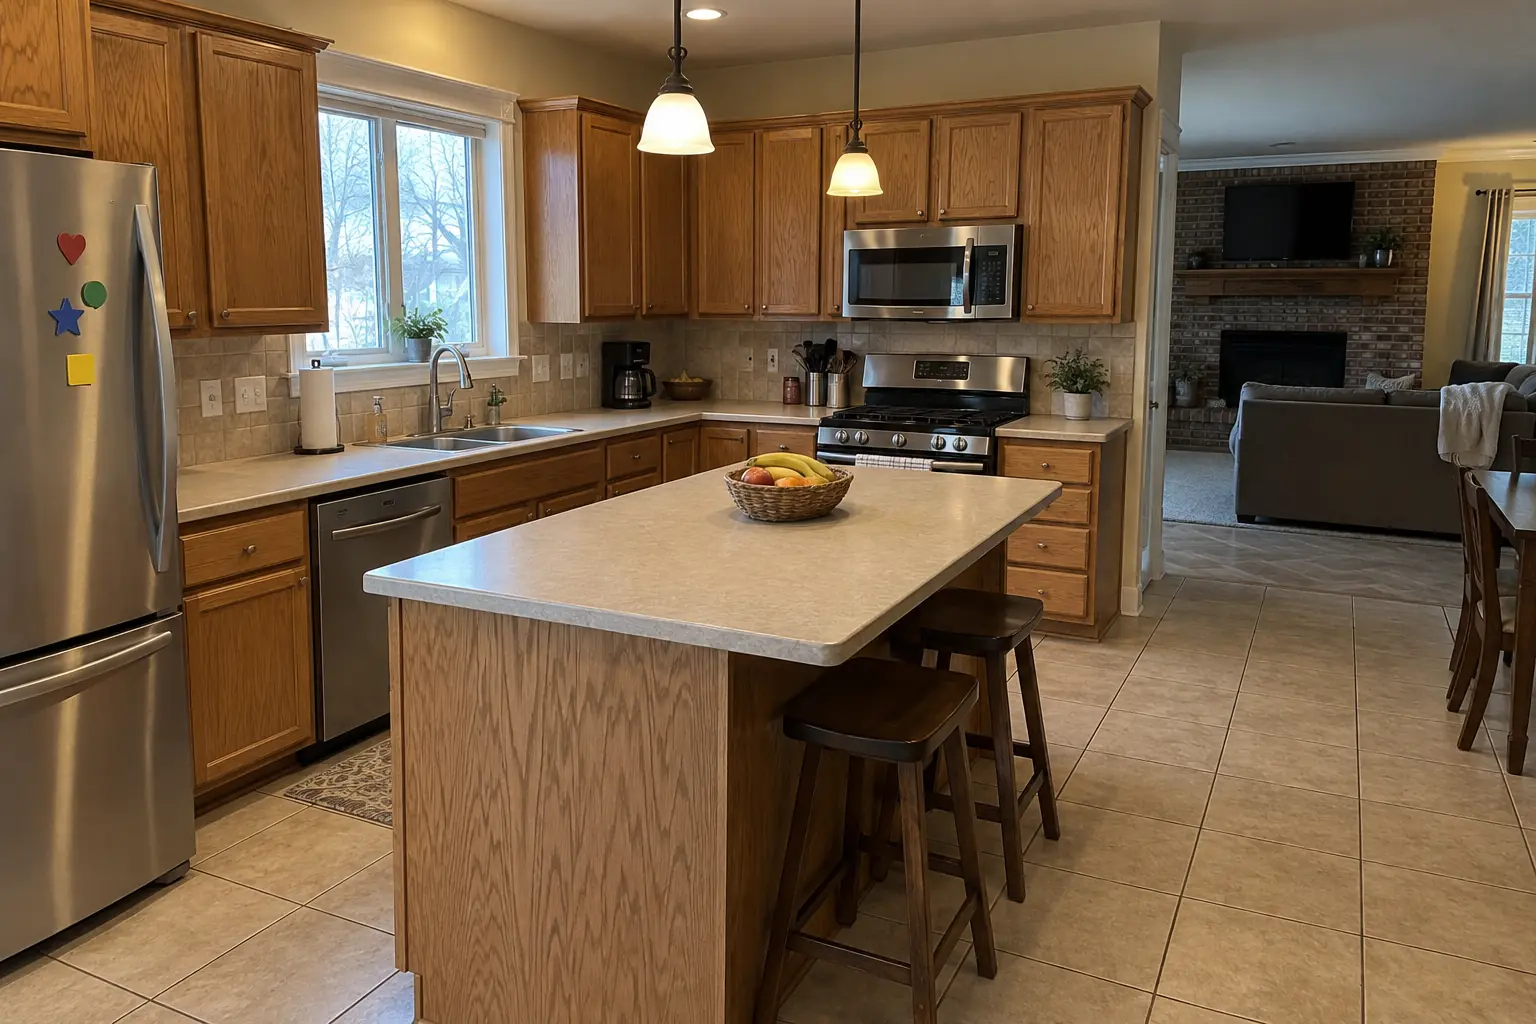
Kitchen Flooring Installation project near Itasca, beforeBefore
Kitchen Flooring Installation project near Itasca, afterAfter

An Itasca 1980s two-story: before and after

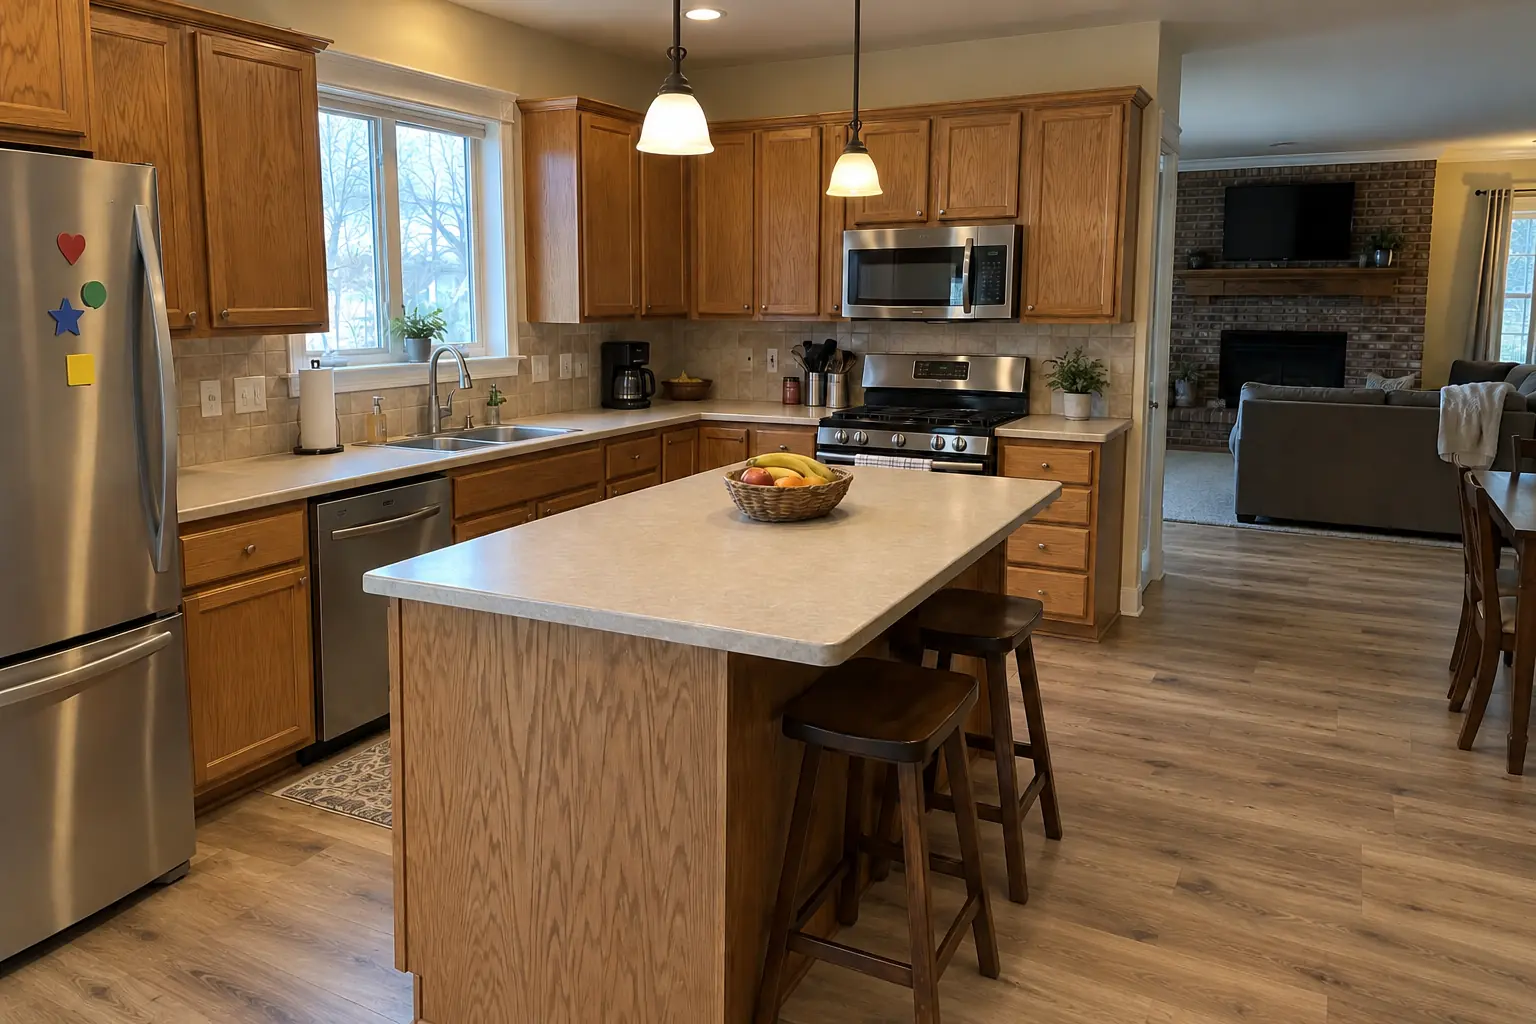
Finished: hickory luxury vinyl plank flooring through the kitchen with clean transitions.

Kitchen Flooring Installation in Itasca →

How your backsplash installation goes

  1. Pick tile and patternChoose the tile and how it's laid; we figure out the quantity.
  2. Measure and planWe measure the wall, mark outlets and windows and plan where the cuts fall.
  3. Prep and setWall repaired, outlets extended and tile set — often in a day or two for a typical kitchen.
  4. Grout and finishGrout, caulk, trim, cover plates and cleanup, usually the next day.

Kitchen Backsplash Installation questions from Itasca homeowners

Should I install the backsplash before or after the counters?
Always after the countertops are installed; the bottom row is set to the counter line.
Can you install a backsplash in the bathroom too?
We do. Adding a bathroom vanity backsplash during the kitchen job is common.
How high should the backsplash go?
Between the counter and the uppers at minimum. Where there are no cabinets, a clean stop line or full height works.
How long does a backsplash installation take?
A typical kitchen often takes one to three days: prep and setting first, grout after the thin-set cures.
Can tile go over drywall?
Yes. Sound, flat drywall is a fine base for a kitchen backsplash once it is clean and primed.
What kind of Itasca homes do you work in?
In Itasca we see Pre-1900 and early 1900s homes in the historic district and Suburban growth after the 1940s. Each comes with its own walls, wiring and plumbing, and we plan the job around them.
Do Itasca condo associations need to approve backsplash installation?
Associations usually set rules for work hours, elevators, deliveries and insurance, and many require approval for plumbing, electrical or structural changes. We provide the certificate of insurance and follow the building's rules.
Itasca contractor registration: do kitchen contractors need it?
Contractors must register with the Village and be bonded before a permit is issued; Certificate of Insurance naming the Village required. We take care of that before work starts.
Do you work in my part of Itasca?
Yes. Our crews work across Itasca, including North Side, South Side, Nordic Park, The Ranchettes — ZIP 60143 — and nearby Wood Dale, Elk Grove Village, Addison.

Working in Itasca

  • A lot of Itasca kitchens date from the 1970s. We know these layouts well and what is worth keeping.
  • Condo or townhome? We follow association rules on work hours and elevators and bring the insurance certificate your board asks for.
  • Live in the Itasca Historic District? Interior kitchen work is usually not reviewed. We check before anything touches the exterior.

North SideSouth SideNordic ParkThe RanchettesItasca Historical DistrictWalnut Street downtown

ZIP 60143

Kitchen Backsplash Installation nearby

Planning a kitchen project in Itasca?

Call us — we'll check your ZIP, answer your questions and book an in-home estimate.
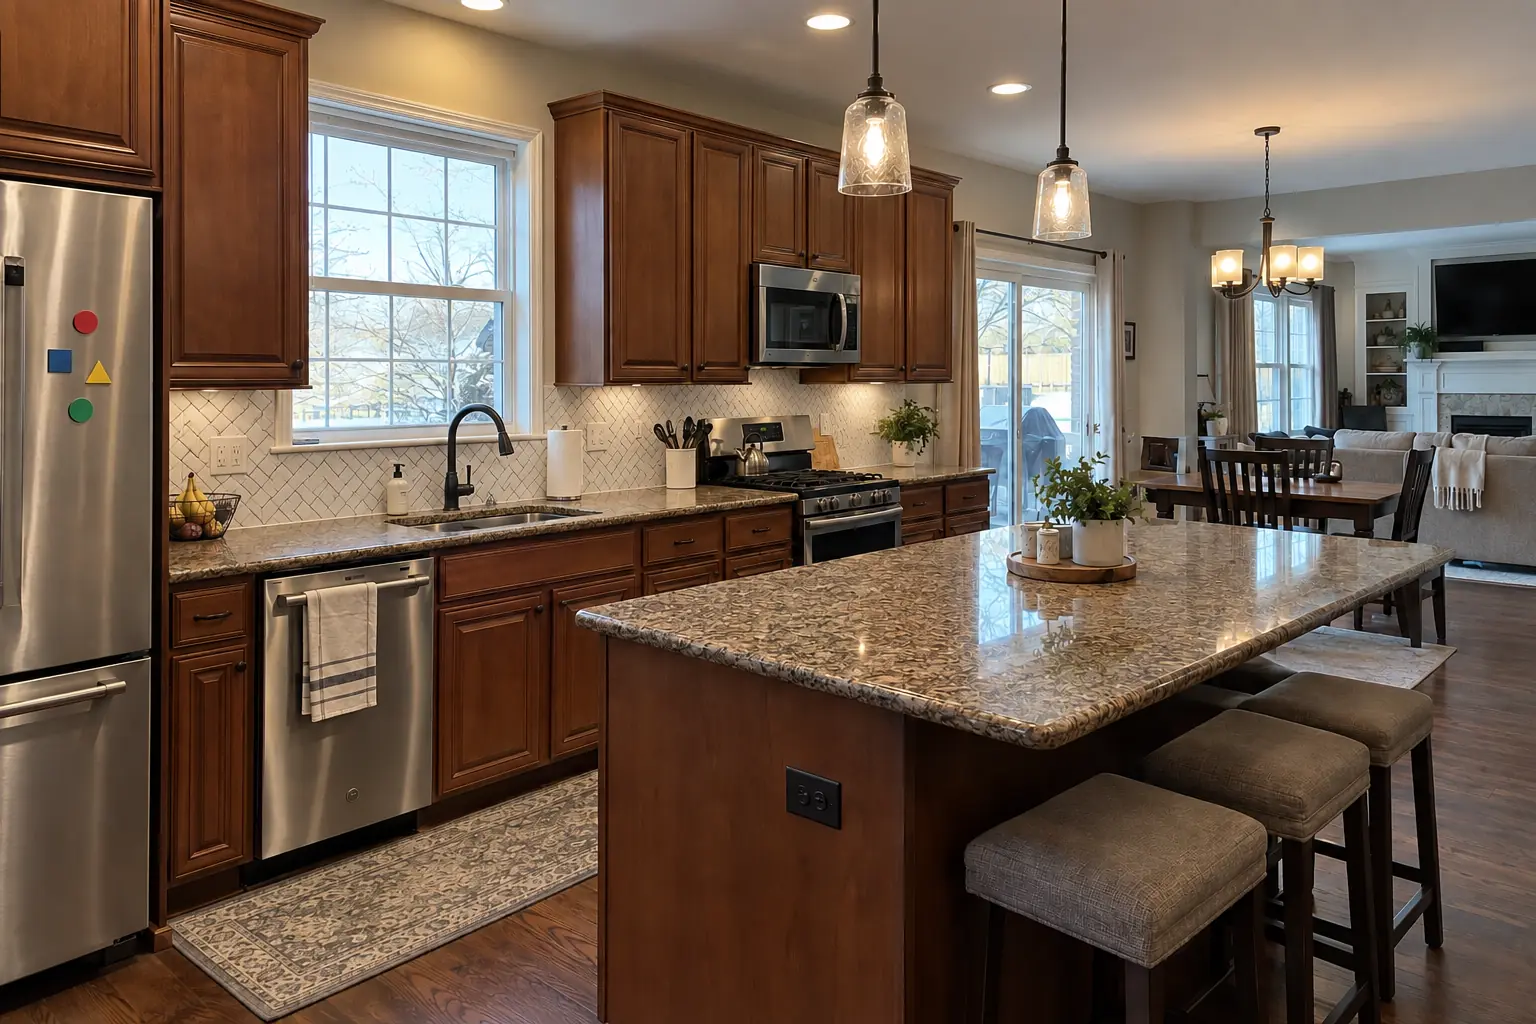
Call now (708) 400-7049
Call (708) 400-7049Callback