Serving Batavia & nearby Geneva, St. Charles

Kitchen Backsplash Installation in Batavia, IL

Tile backsplashes set straight, grouted clean and finished around every outlet in Batavia kitchens.

  • Serving Batavia ZIP 60510, 60539
  • A new look without tearing the kitchen out
  • Clean, protected work area every day

Prefer a callback?

Leave your number and a Batavia tile setter will call you.

Backsplash problems we solve in Batavia

Most of the work in a good backsplash happens before the first tile goes up. Our Batavia tile setters flatten the wall, extend the outlet boxes and lay out the pattern, then set and grout subway, mosaic, stone or porcelain tile.

Tile that ends in the wrong place

Good layout puts full tiles at the focal points and balanced cuts at the ends. We dry-plan it before setting anything.

Uneven wall surface

Wavy walls make tile edges catch the light unevenly. We skim or patch the wall flat before setting, especially for large-format tile.

Grout stained or cracking

Dark, stained or cracking grout behind the sink is often a wrong grout choice. We match sanded, unsanded or epoxy grout to the tile and the spot.

Awkward edges and ends

Raw tile edges at the ends look unfinished. Trim pieces or a slim metal profile give the backsplash a clean stop.

Outlets sunk behind the tile

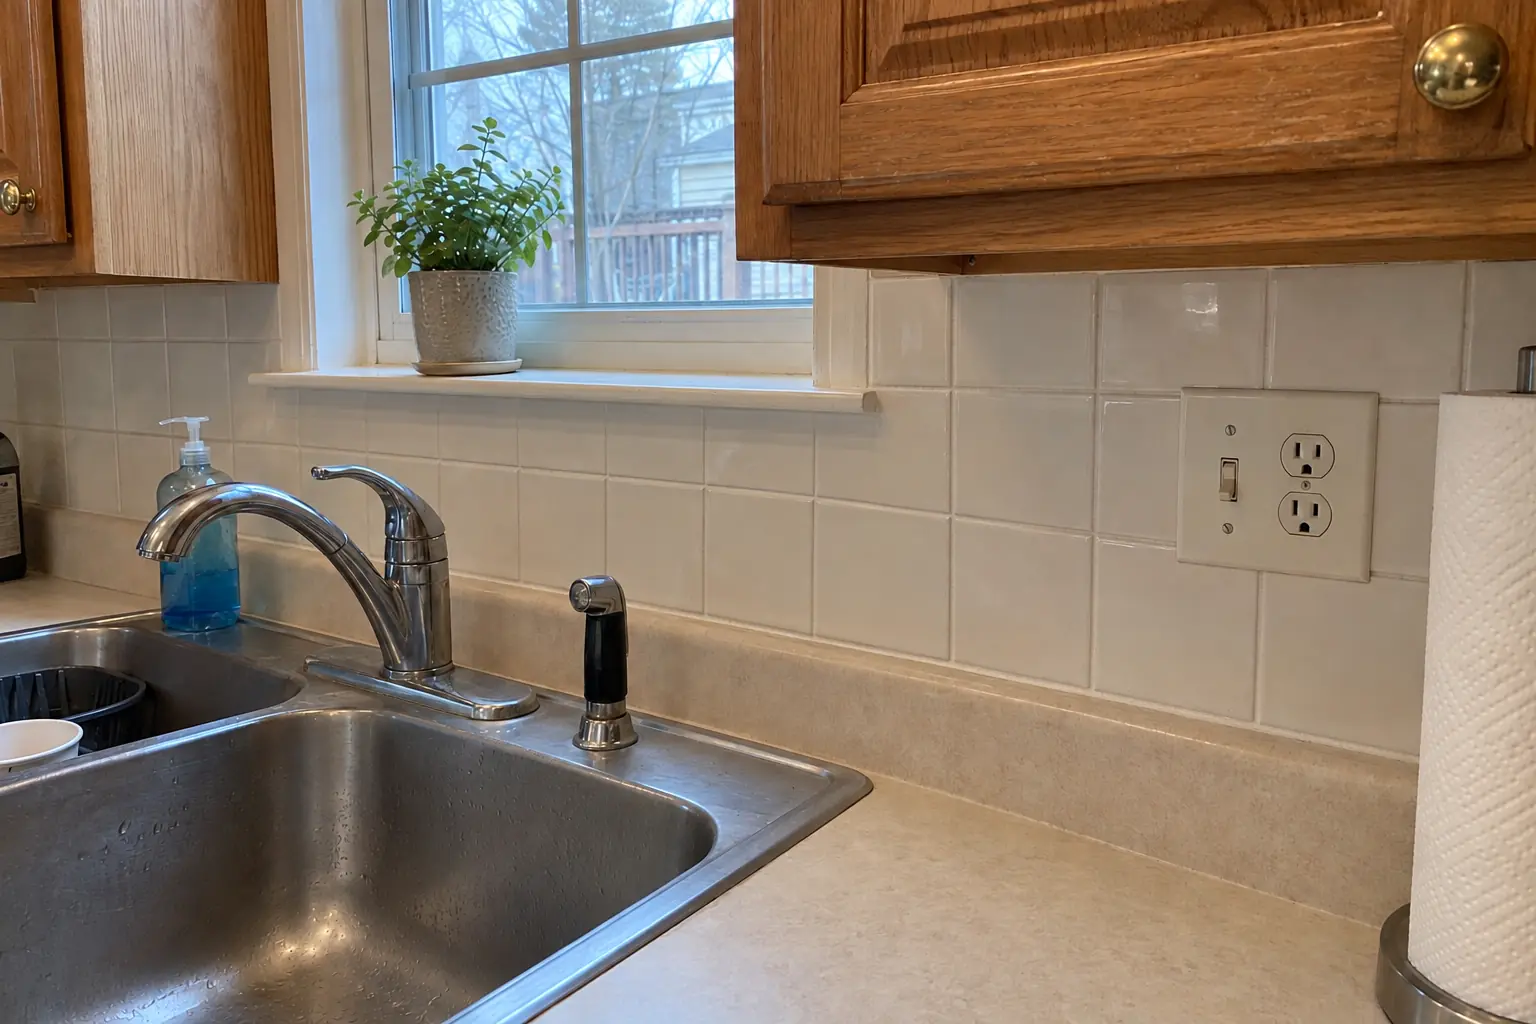
Outlets recessed behind new tile are a common shortcut. We use box extenders so receptacles and covers sit flush with the finished surface.

Peel-and-stick that didn't last

Peel-and-stick tiles lift near the stove and bubble behind the sink. We remove them, clean the adhesive off the wall and install real tile.

Window or range hood in the middle

A window over the sink and a hood over the range break up the wall. We plan the layout around both so the pattern lines up on each side.

Dated or cracked tile

Old tile in a color you don't like, with cracked pieces and stained grout, is removed and the wall repaired before new tile goes up.
What we do on the job

  • Layout and tile selectionHelp choosing tile, grout color and pattern, and a layout planned around the range, sink and windows.
  • Protection and removalWe protect the counters, cut power to the outlets and take down the old backsplash.
  • Outlet box extendersReceptacles brought forward to the new surface, with cover plates that fit.
  • Setting the tileWe set the field tile, the cuts and the details around the window and hood.
  • GroutingJoints filled, tooled and cleaned so the tile face is free of haze.
  • Caulk at the counterThe counter joint and inside corners sealed with caulk, not grout.
  • Sealing and cleanupNatural stone and cement-based grout sealed when needed; the kitchen cleaned.

Materials and finishes

Grout typesGrout is chosen by joint width and location: sanded, unsanded or epoxy.
Mosaic and glassMosaics add texture; glass tile reflects light and shows thin-set through if set poorly.
Natural stoneMarble, travertine and slate tiles bring natural variation; they need sealing.
Slab backsplashOne continuous piece behind the range or along the whole wall.
Ceramic and porcelain tileThe everyday choice: durable, easy to clean and available in every size, from subway to large panels.

Kitchen Backsplash Installation before and after — Batavia homes

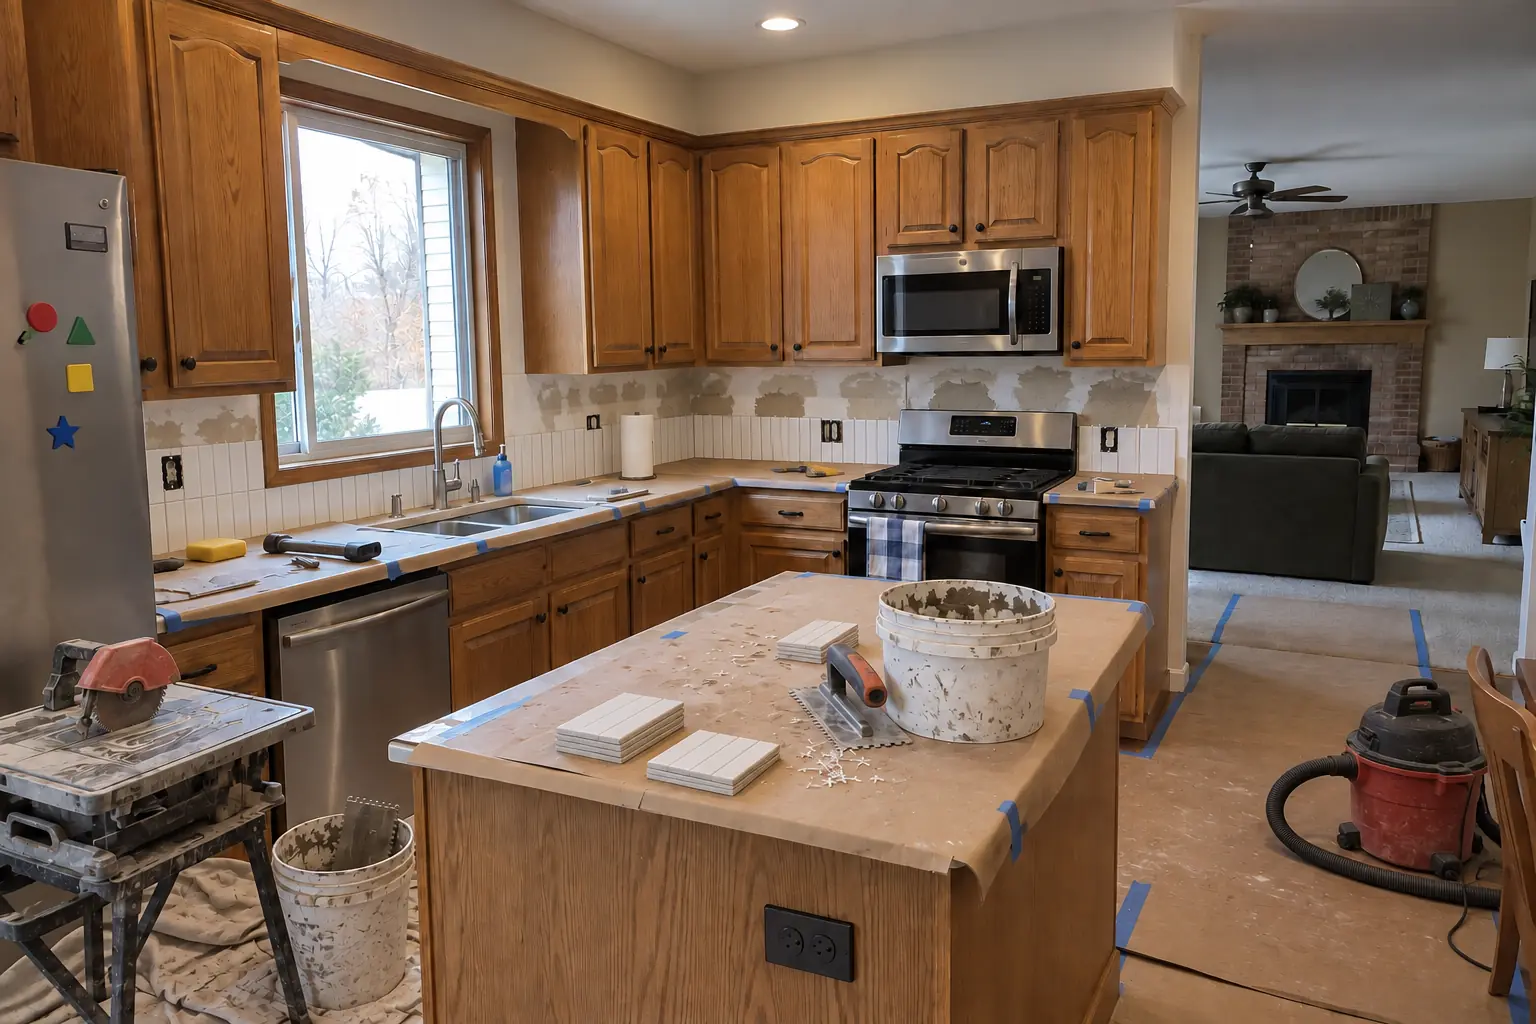
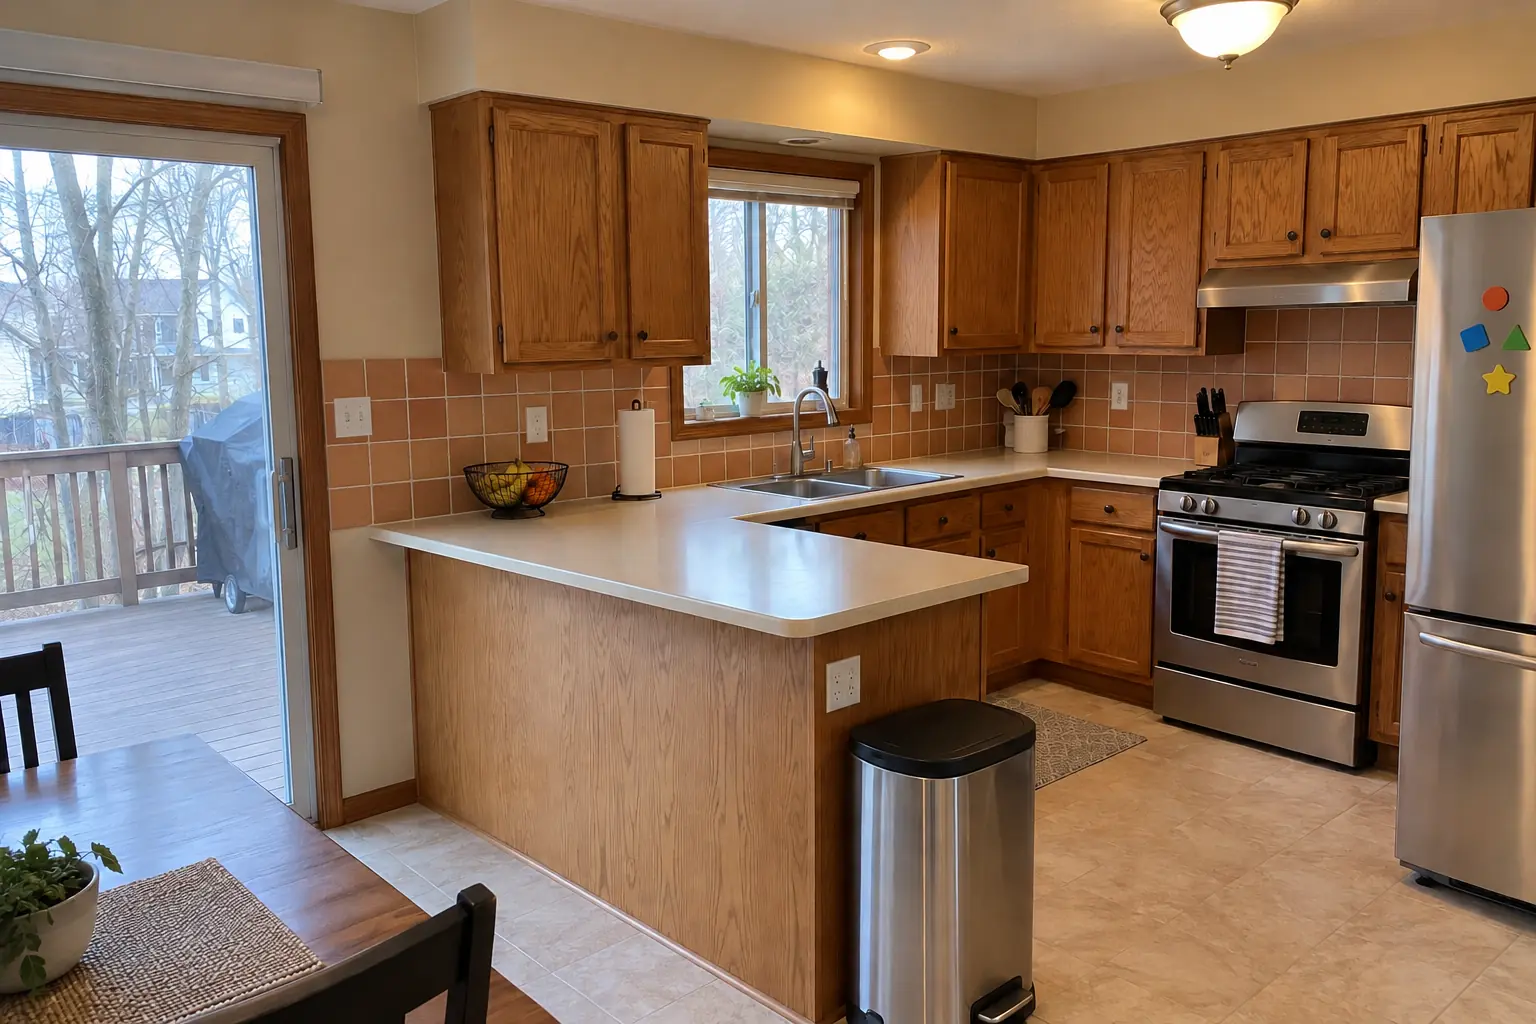
Kitchen Backsplash Installation in a 1980s-1990s two-story colonial / tract house — beforeBefore
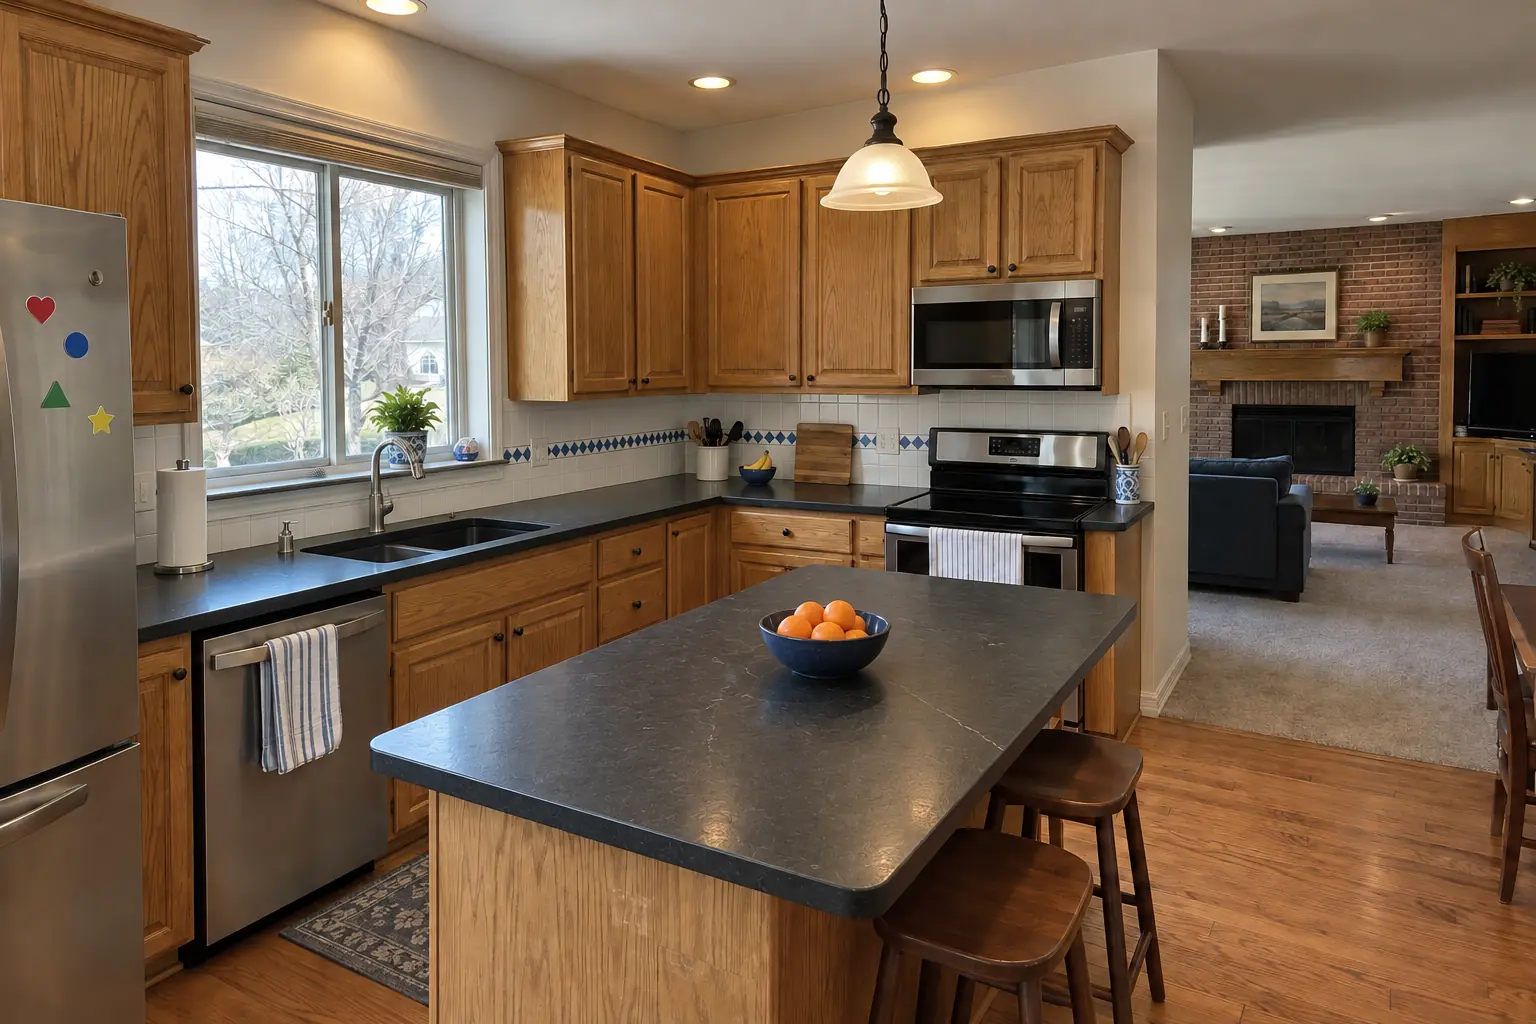
Kitchen Backsplash Installation in a 1980s-1990s two-story colonial / tract house — in progressIn progress
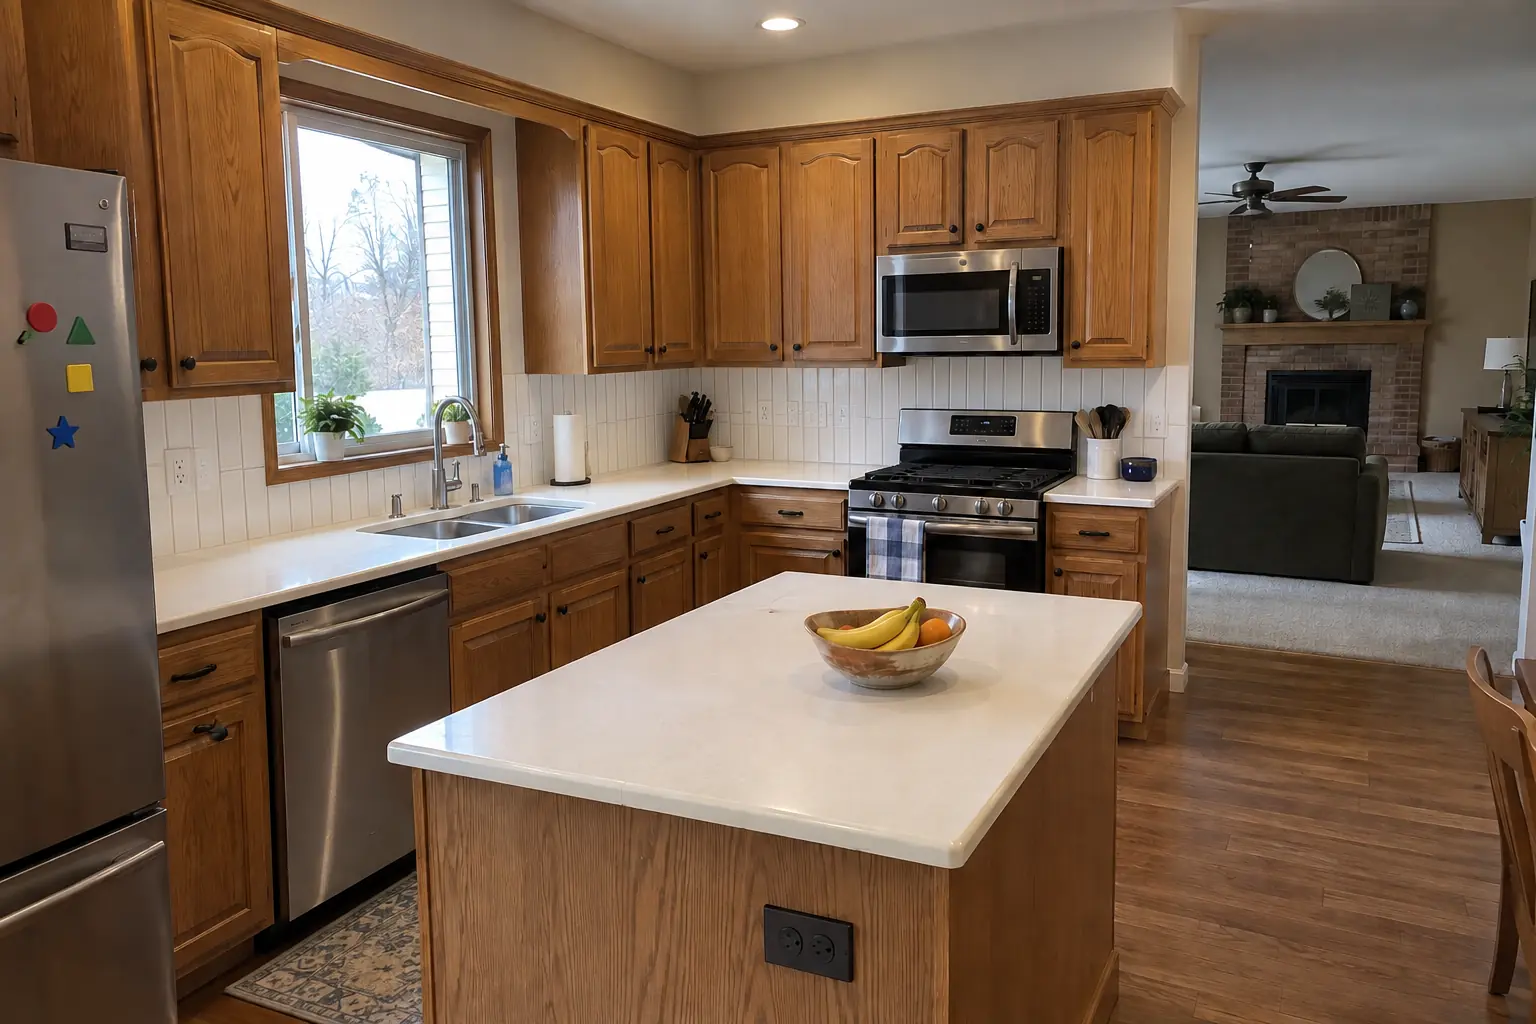
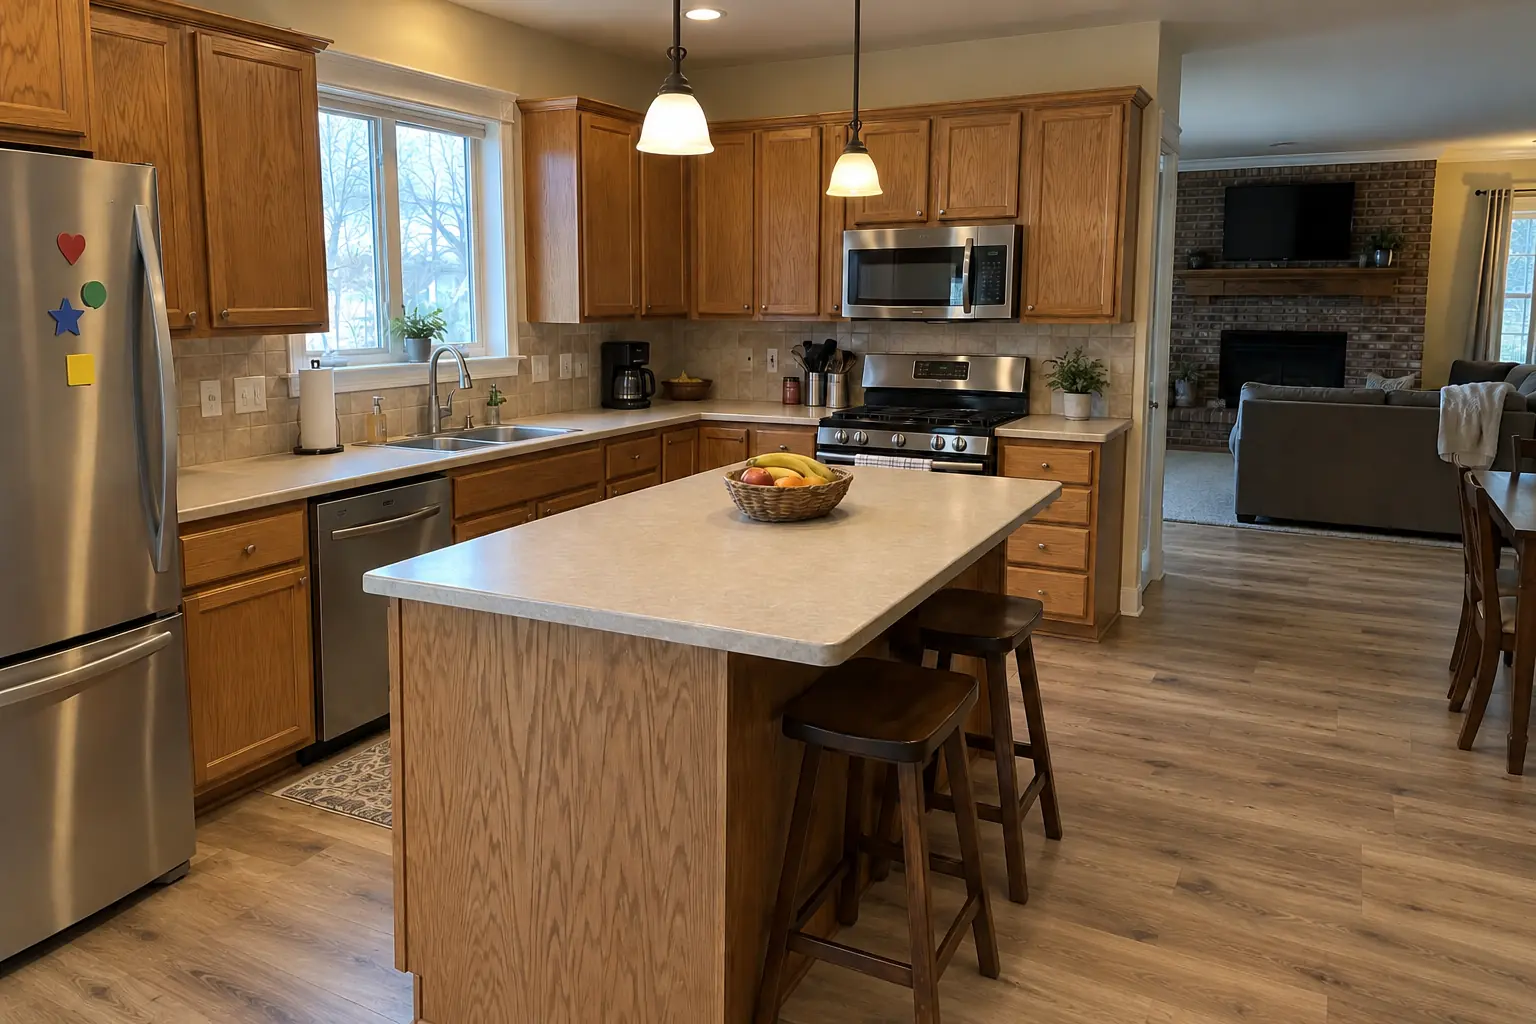
Kitchen Backsplash Installation in a 1980s-1990s two-story colonial / tract house — afterAfter
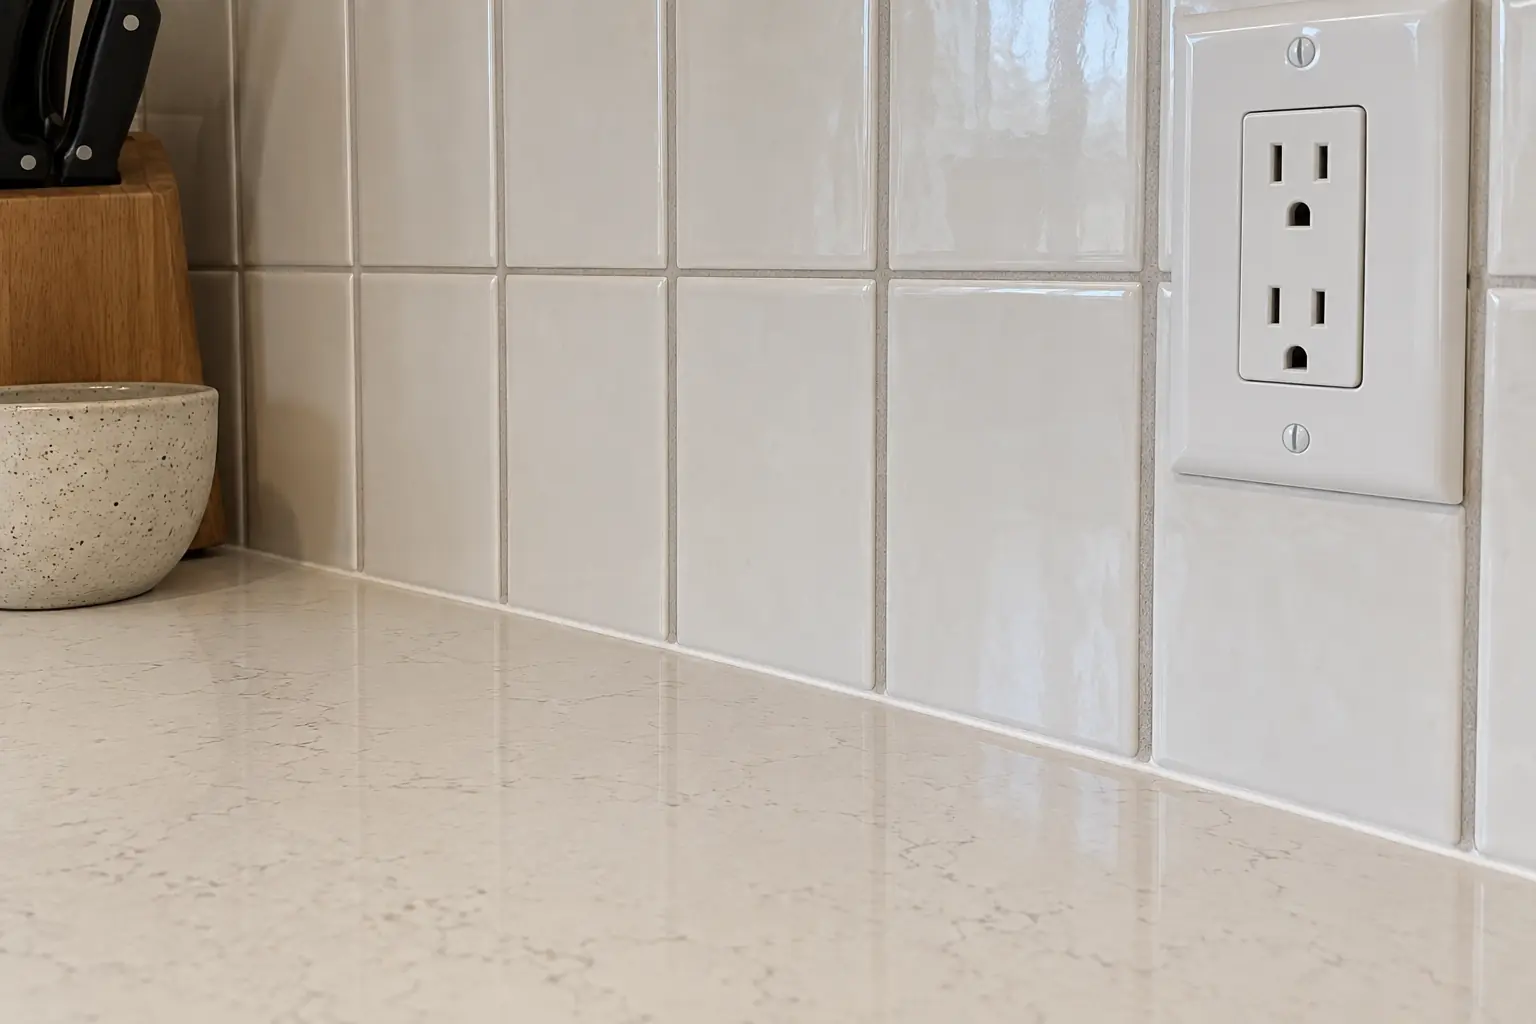
Kitchen Backsplash Installation in a 1980s-1990s two-story colonial / tract house — detailDetail

Kitchen Backsplash Installation in a 1990s two-story colonial, Batavia

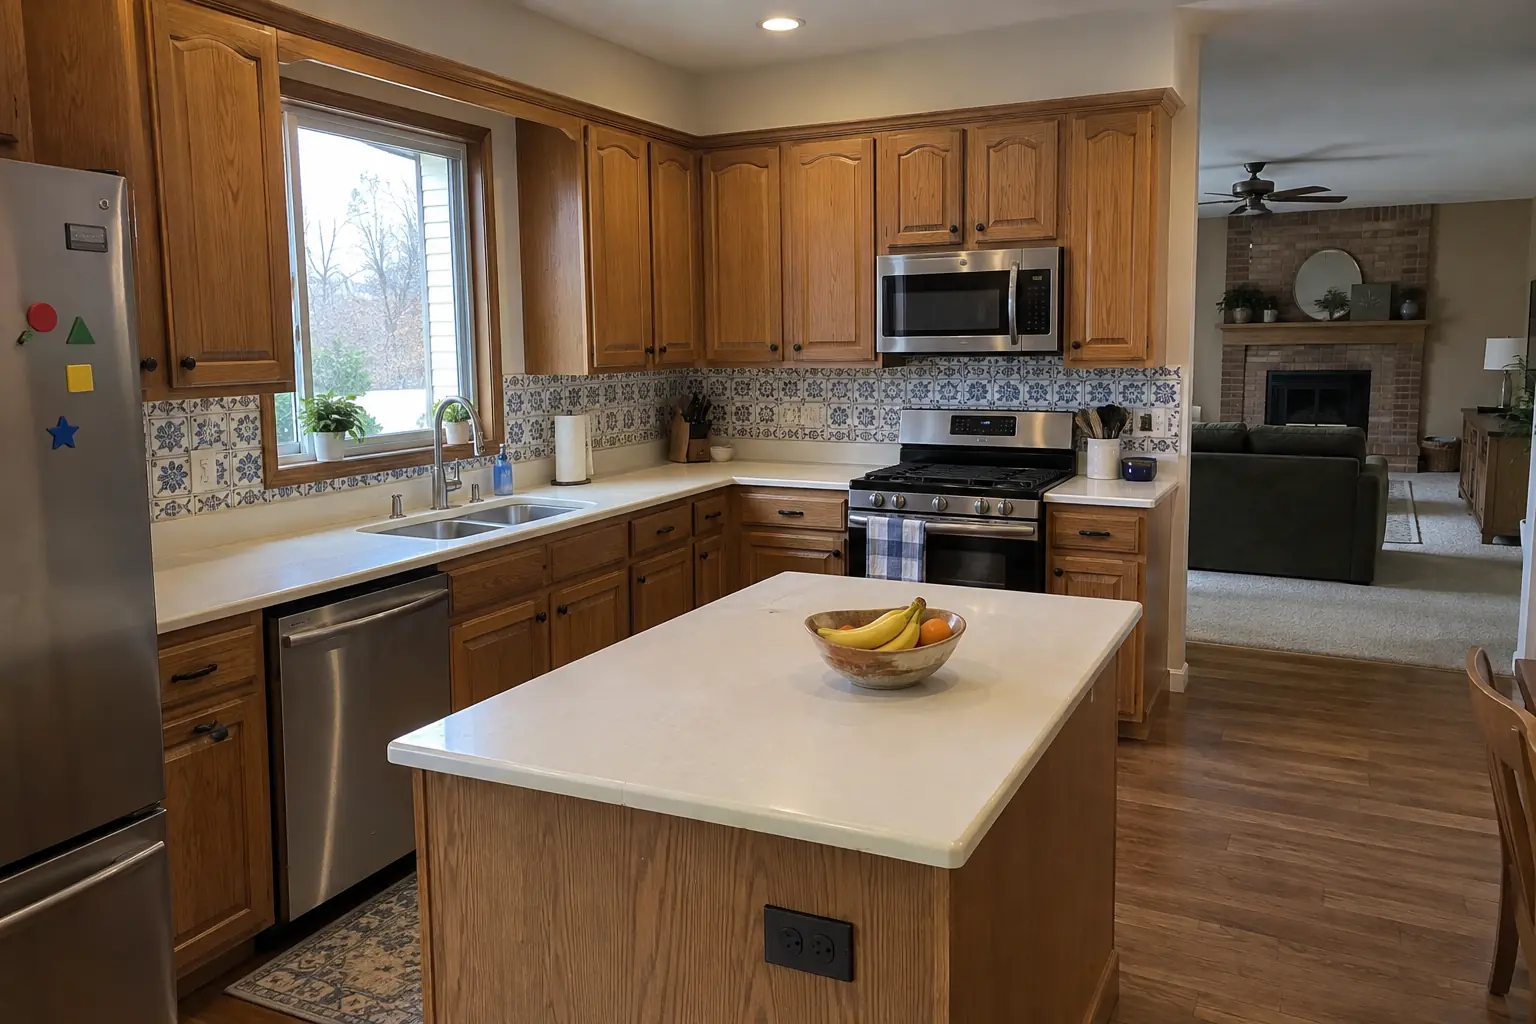
This one is a 1990s two-story colonial in Batavia. The kitchen as it was: blue-and-white decorative tile accent and white Corian-style solid surface with a yellowed seam. What bothered the owners most: a dated tile pattern they were tired of. After: a white 2x8 tile in a vertical stack backsplash with clean edges and outlets set flush. The job covered outlet box extenders, setting the tile, plus sealing and cleanup.
Kitchen Backsplash Installation project in Geneva, beforeBefore
Kitchen Backsplash Installation project in Geneva, afterAfter

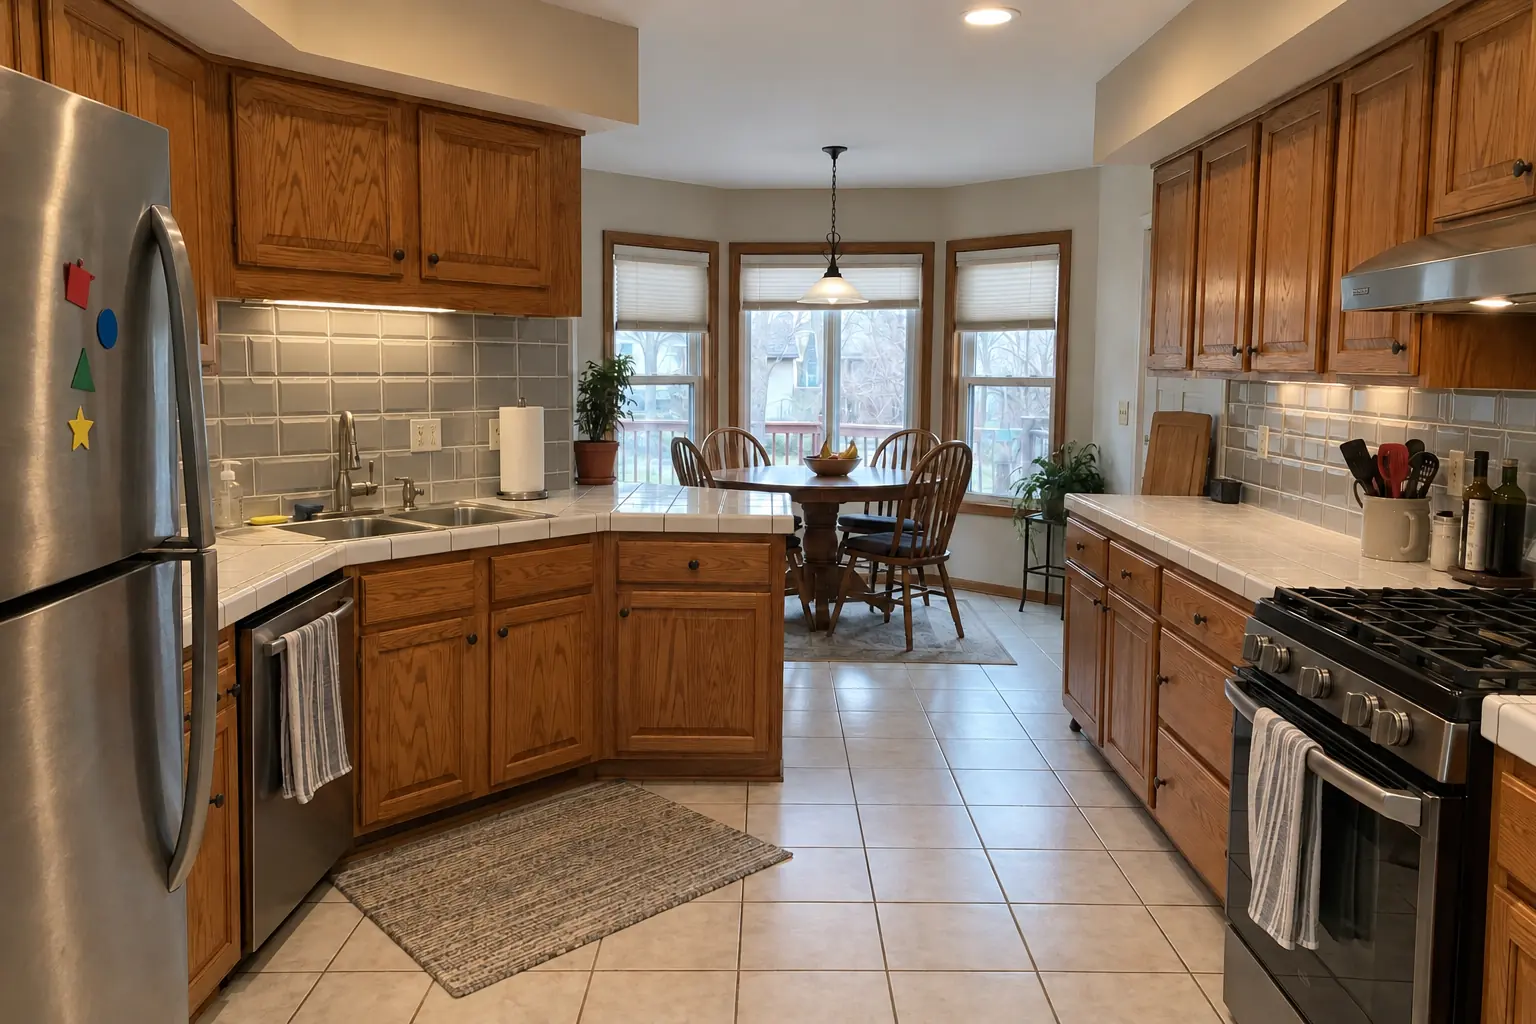
Geneva kitchen, 1990s two-story colonial: kitchen backsplash installation

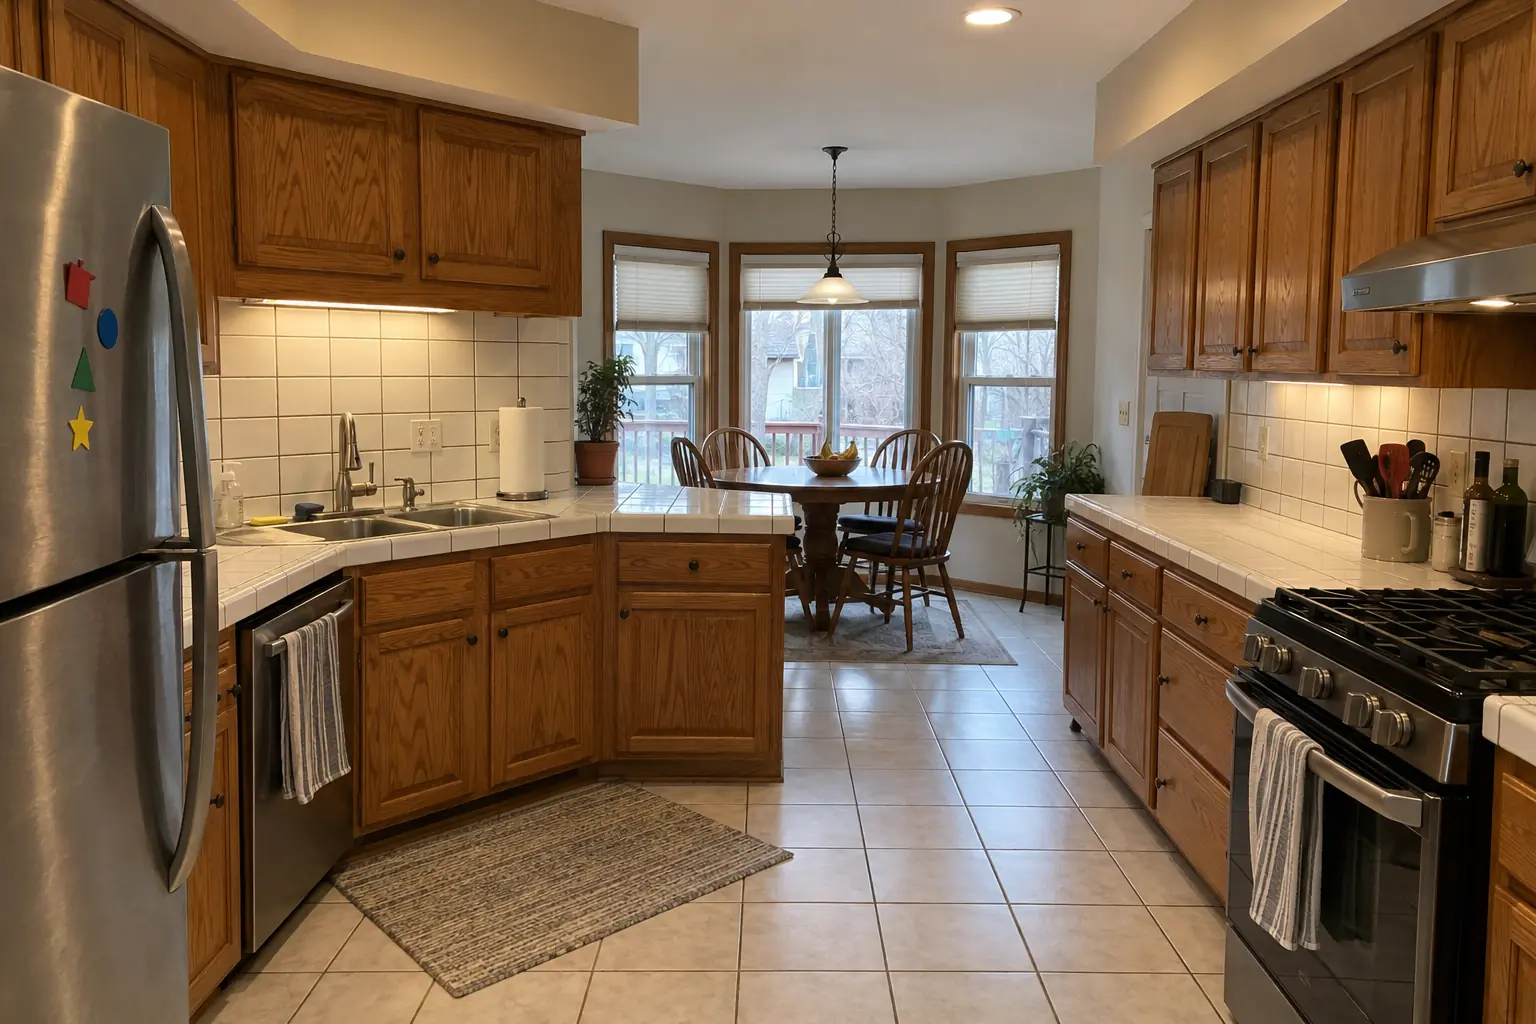
This one is a 1990s two-story colonial near Mill Creek. Before: white ceramic tile with dark stained grout lines. The main complaint was a backsplash that looked its age. The result: a gray beveled subway tile backsplash with clean edges and outlets set flush. On site this meant layout and tile selection, outlet box extenders, plus sealing and cleanup.

Kitchen Backsplash Installation in Geneva →
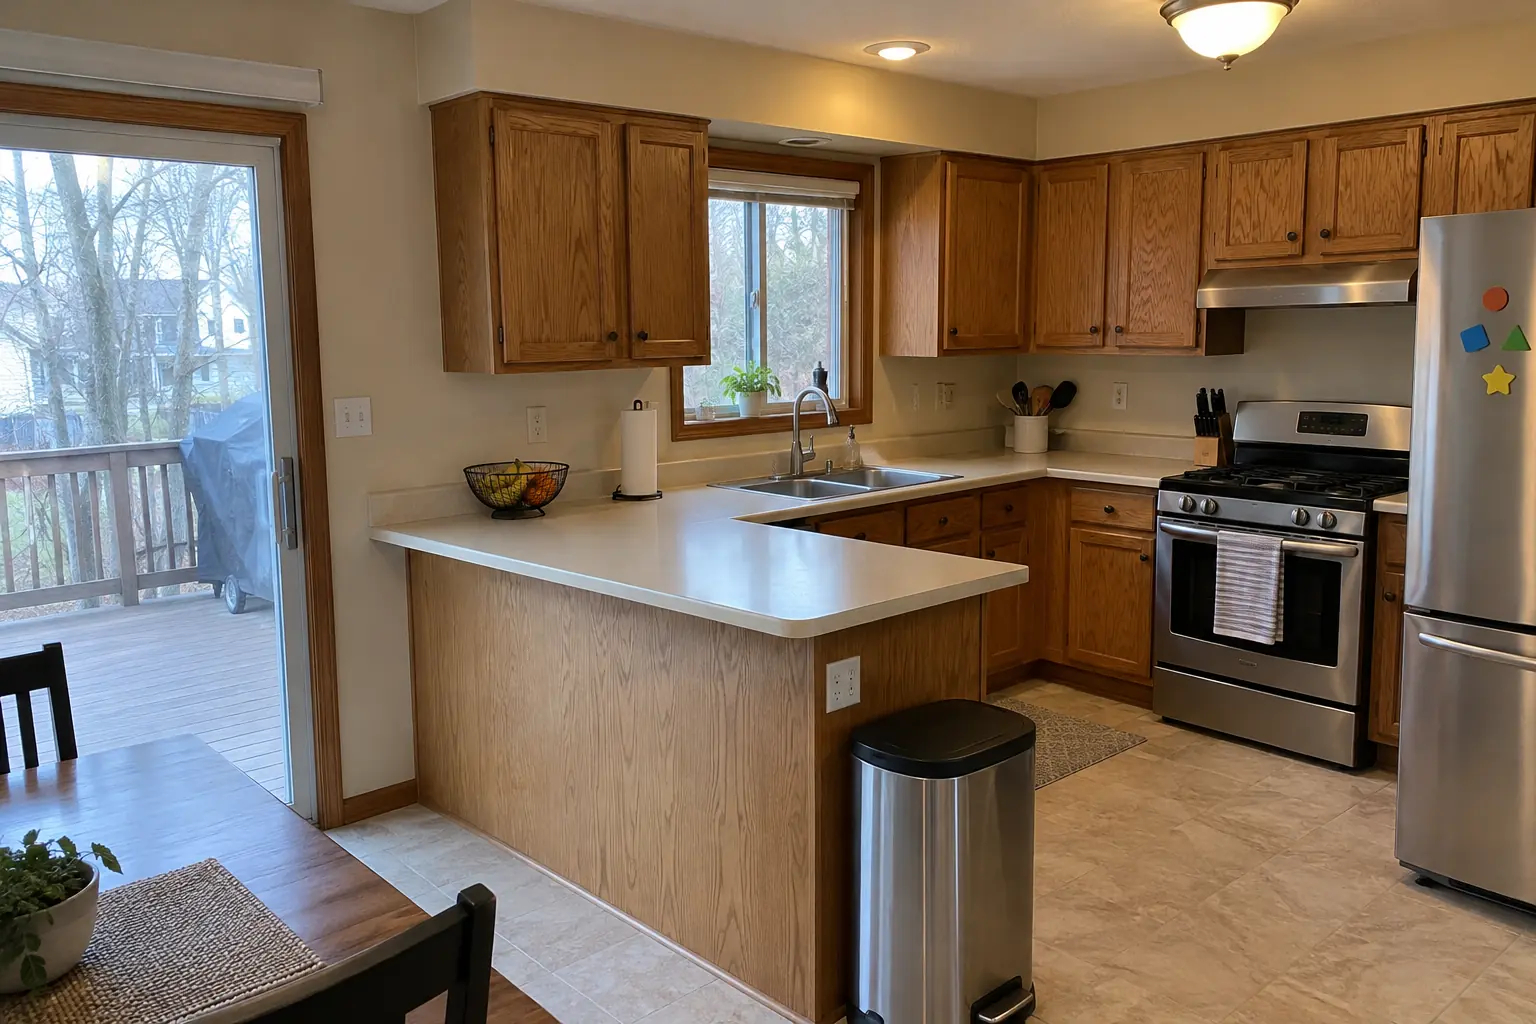
Kitchen Backsplash Installation project in St. Charles, beforeBefore
Kitchen Backsplash Installation project in St. Charles, afterAfter

Kitchen Backsplash Installation in a 1980s two-story, St. Charles

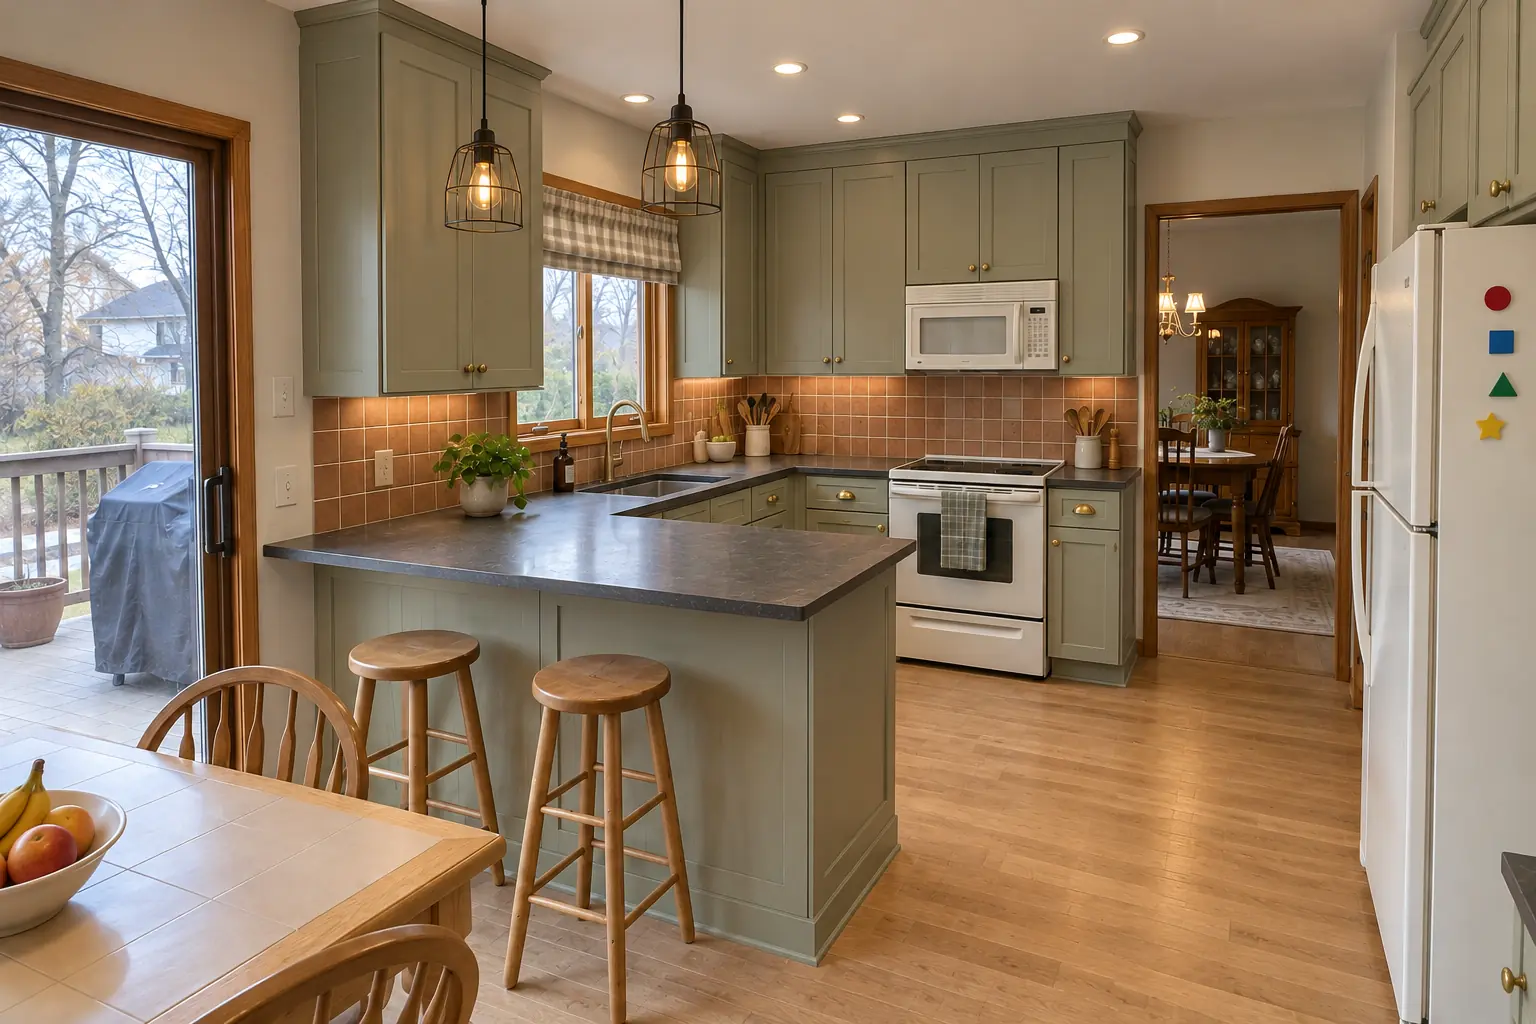
A 1980s two-story in St. Charles, a typical kitchen for St. Charles. What we started with: almond laminate with a backsplash lip. The main complaint was the old laminate lip and bare wall above it. After: a terracotta-look square tile backsplash with clean edges and outlets set flush. Work included outlet box extenders, grouting, plus caulk at the counter.

Kitchen Backsplash Installation in St. Charles →
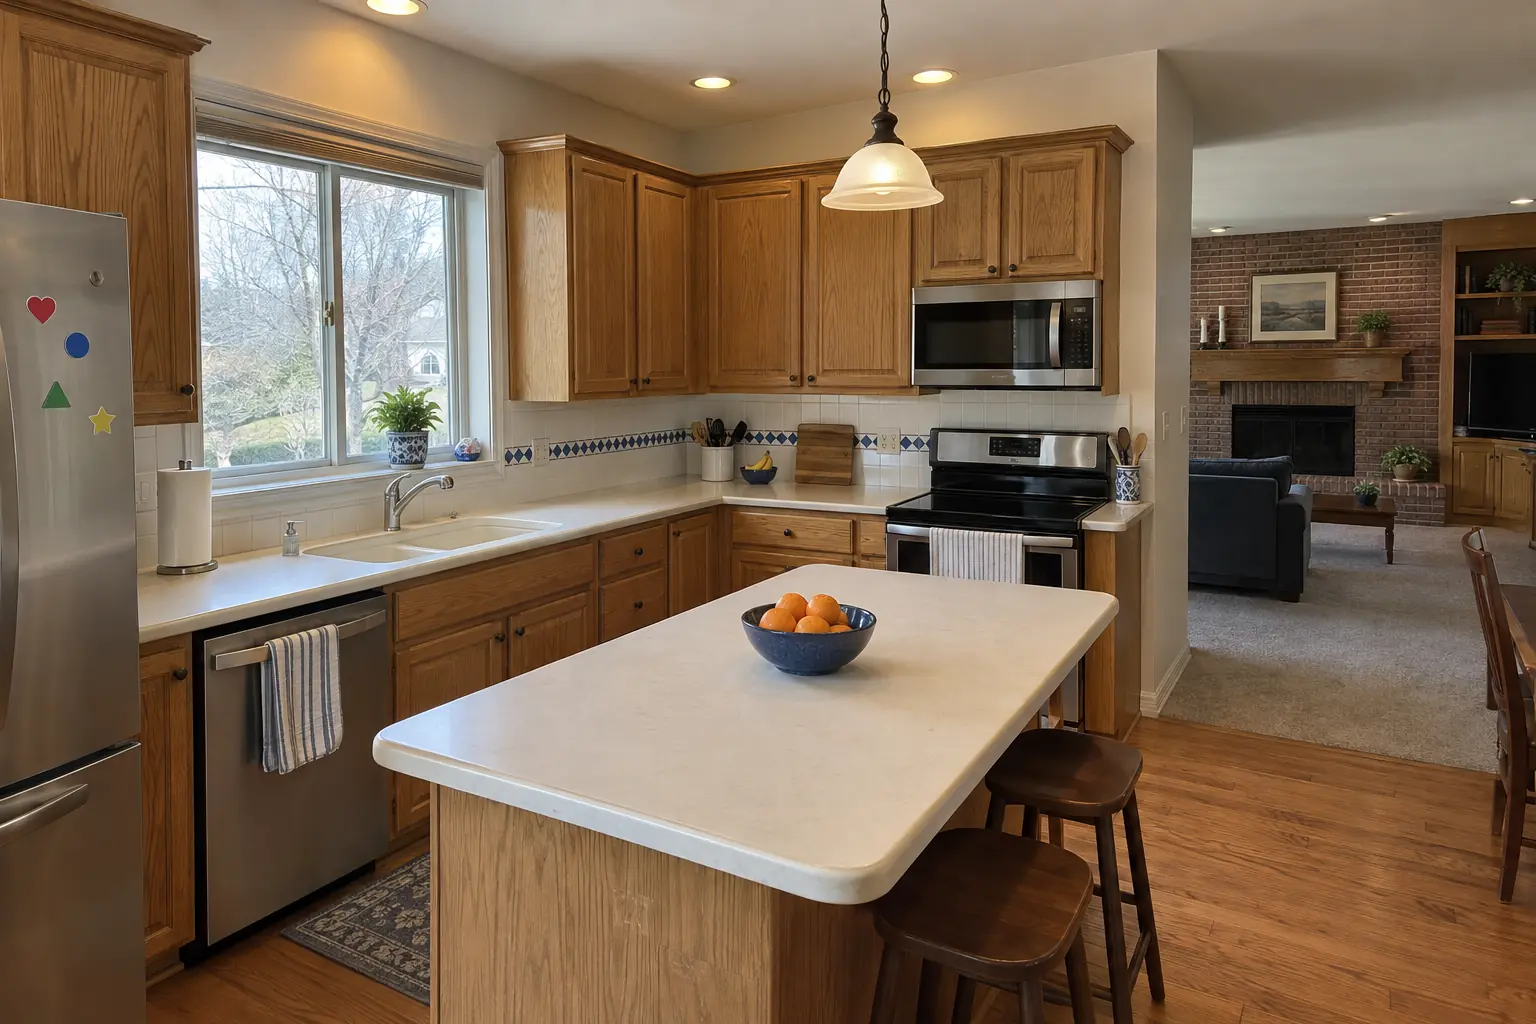
Countertop Fabrication & Installation project near Batavia, beforeBefore
Countertop Fabrication & Installation project near Batavia, afterAfter

Batavia kitchen, 1990s two-story colonial: countertop fabrication & installation

Finished: black honed granite countertops with a tight seam, an undermount sink and a new faucet.

Countertop Fabrication & Installation in Batavia →
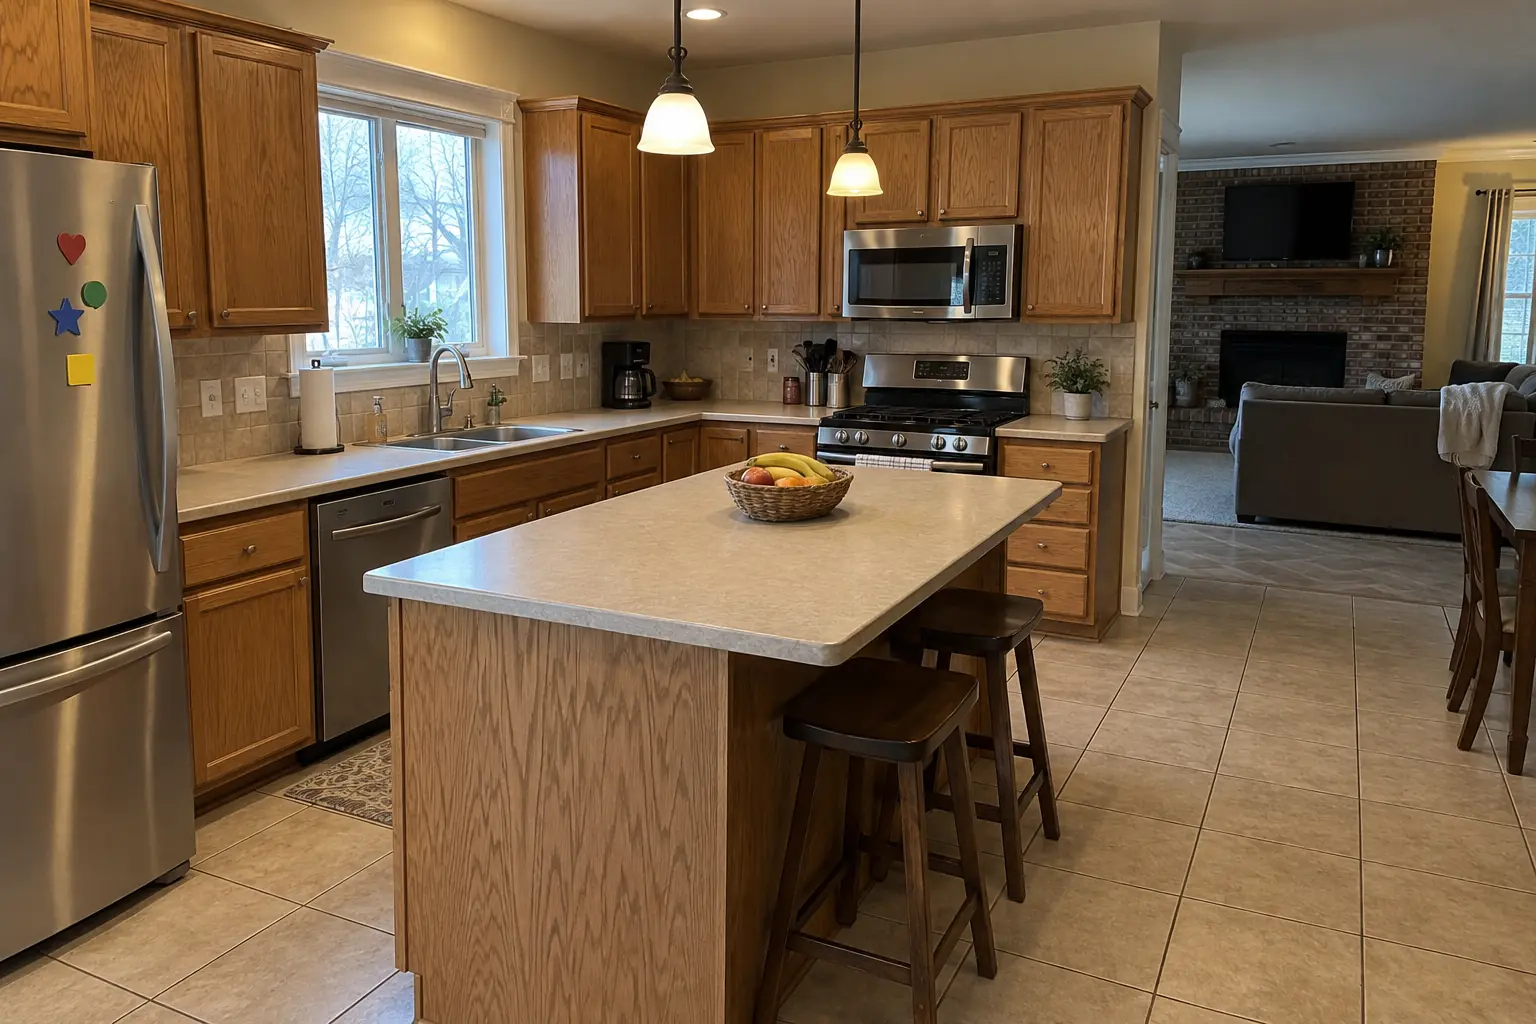
Kitchen Flooring Installation project near Batavia, beforeBefore
Kitchen Flooring Installation project near Batavia, afterAfter

Before and after: a 1980s two-story in Batavia

Hickory luxury vinyl plank flooring through the kitchen with clean transitions.

Kitchen Flooring Installation in Batavia →

How the job goes

  1. Pick tile and patternBring samples or ideas; we help you choose tile, grout color and layout.
  2. Measure and planWe measure the wall, mark outlets and windows and plan where the cuts fall.
  3. Prep and setOld splash off, wall flattened, tile on the wall.
  4. Grout and finishGrout, caulk, trim, cover plates and cleanup, usually the next day.

Kitchen Backsplash Installation questions from Batavia homeowners

Do I need to remove the 4-inch splash?
Not always. Tile can start above it, but removing it gives a cleaner, more current look with tile down to the counter.
What is the easiest backsplash to keep clean?
Fewer joints and a glazed surface: big porcelain tile, a slab or subway with epoxy grout.
Can you install a backsplash in the bathroom too?
Yes, we tile vanity backsplashes and can match the kitchen tile.
Do I need to seal my backsplash?
Only some materials: marble, travertine and other stone, plus cement grout if you want it more stain resistant.
How long does a backsplash installation take?
A typical kitchen often takes one to three days: prep and setting first, grout after the thin-set cures.
Do I need a permit for backsplash installation in Batavia?
It depends on the scope. Batavia's rule in short: Building permits are required for all construction; a Residential Alteration handout is available. We handle the permit when one is needed with City of Batavia Community & Economic Development - Building Division.
Do you work in my part of Batavia?
Yes. Our crews work across Batavia — ZIP 60510, 60539 — and nearby Geneva, St. Charles, West Chicago.

Working in Batavia

  • A lot of Batavia kitchens date from the 1990s. We know these layouts well and what is worth keeping.
  • Most Batavia homes are single-family. We protect floors and driveways and leave the site clean every day.
  • Live in the Downtown Historic District? Interior kitchen work is usually not reviewed. We check before anything touches the exterior.

ZIP 60510ZIP 60539

Kitchen Backsplash Installation nearby

Planning a kitchen project in Batavia?

Call us — we'll check your ZIP, answer your questions and book an in-home estimate.
Call now (708) 400-7049
Call (708) 400-7049Callback